The Ingenico iCT250 is a countertop terminal available through Moneris. Before setting up, ensure that you have your admin card and Merchant ID from Moneris.
Setting the language of the terminal
To switch the language between French and English:
- Press the # button to go to the main menu.
- Use the arrow buttons to navigate to ADMIN, then press the green OK button.
- Select LANGUAGE and press OK.
- Select ENGLISH or FRENCH and press OK.
Connecting your terminal to ethernet
Note: If you are using an existing terminal, skip this step and proceed to Configuring the terminal with a static IP address.
- Plug the terminal in according to the documentation provided by Moneris.
- Once the terminal is on, it will display TERMINAL SETUP REQUIRED.
- Press the # button on the keypad.
- Use the arrow buttons to navigate to CONFIGURATION and press the green OK button.
- Select GENERAL PARAMS > COMMS TYPE > ETHERNET.
- Press the red Cancel button to return to the Configuration menu.
- Select ETHERNET CFG > TERMINAL SETUP > TERMINAL TYPE > DYNAMIC.
- Press the red Cancel button until the screen displays REBOOT TERMINAL. The terminal should automatically reboot. If it does not, hold down the yellow Correction button and the # button to reboot it manually.

Printing network configuration information
- Once the terminal has rebooted, press # to go to the main menu.
- Select REPORTS > CONFIG LIST.
- When prompted to PRINT TRAILER MESSAGES, select NO by pressing the button below the screen.
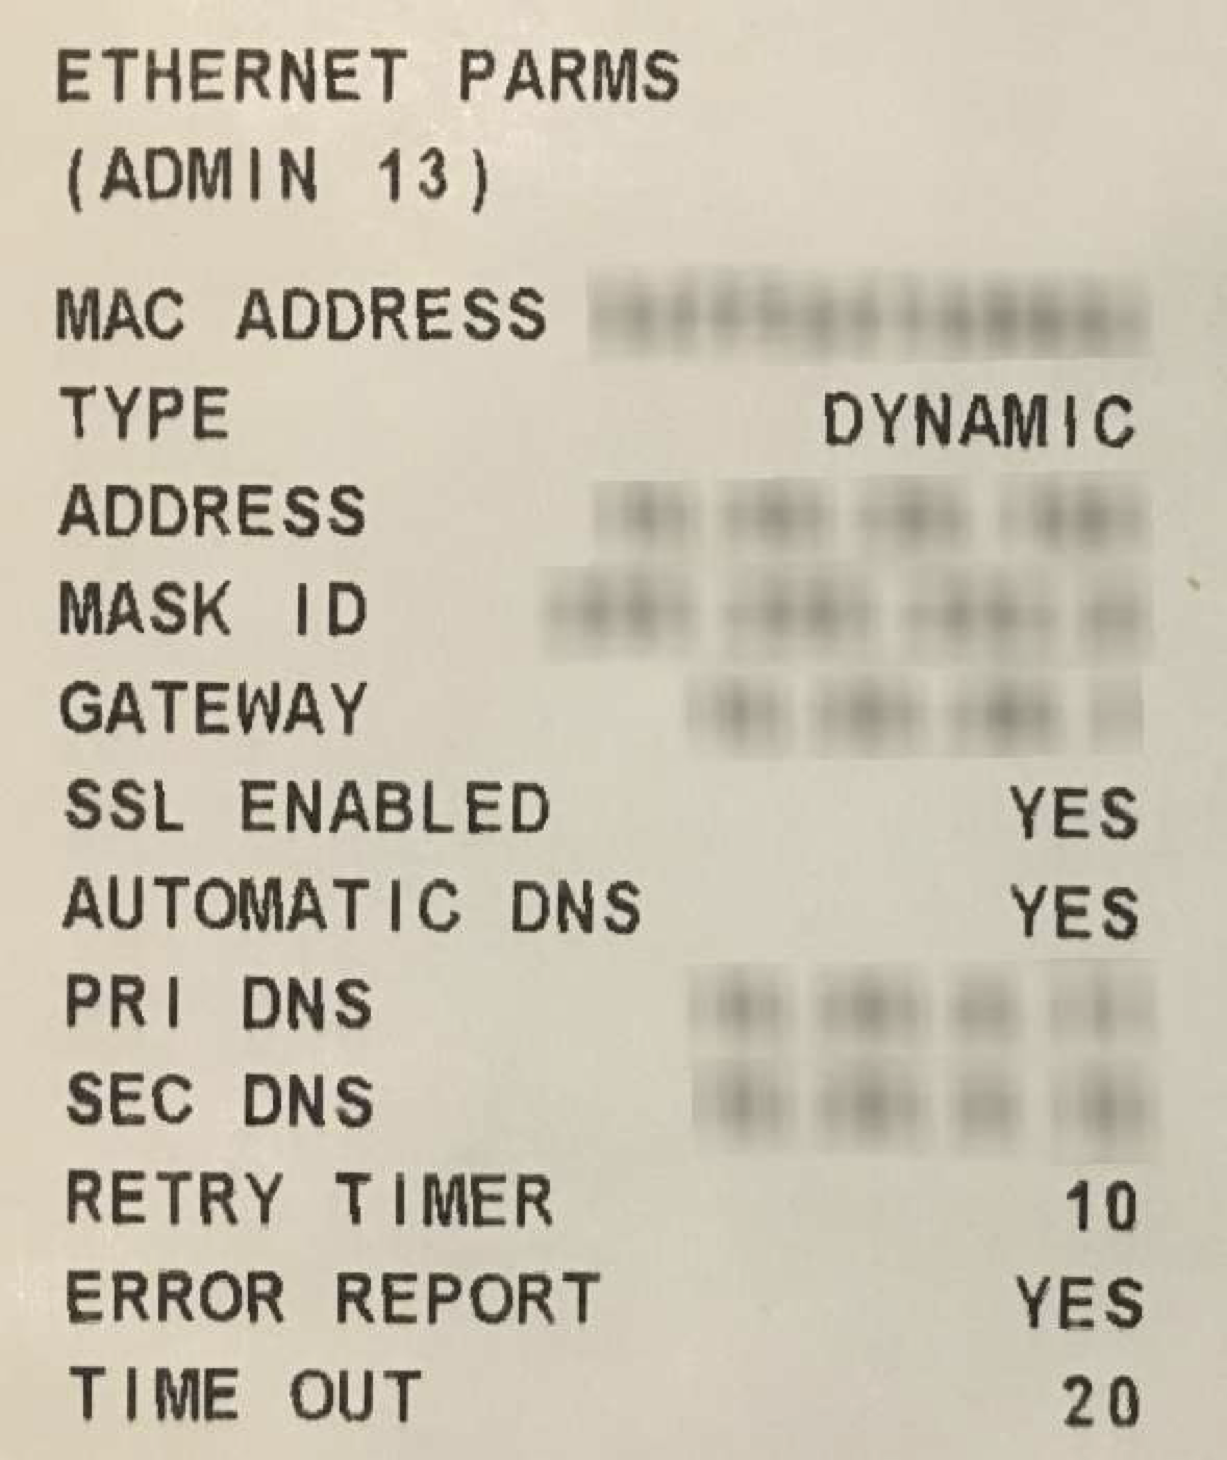
- The terminal will print a list of network configuration information. Locate the section titled ETHERNET PARMS. You will need this information for the next step.


Configuring the terminal with a static IP address
- Press the # button to go the main menu.
- Use the arrows to navigate to CONFIGURATION and press the green OK button.
- Select ETHERNET CFG > TERMINAL SETUP > TERMINAL TYPE > STATIC, then press OK.
- Select TERMINAL ADDR and press OK.
- On the network configuration printout, locate the number to the right of ADDRESS. Enter this number on the terminal. To type a period, press 0 and then the # button. Press OK when complete.
- Select MASK ID and press OK.
- Enter the MASK ID number shown on the network configuration printout. Press OK when complete.
- Select GATEWAY and press OK.
- Enter the GATEWAY number shown on the network configuration printout. Press OK when complete.
- Select PORT NUMBER and press OK.
- Enter 8013. Press OK when complete.
- Press the red Cancel button to return to the ETHERNET SETUP screen.
- Select DNS SETUP > PRIM ADDRESS.
- Enter the PRI DNS number shown on the network configuration printout.
- Select SEC ADDRESS and press OK.
- Enter the SEC DNS number shown on the network configuration printout and press OK.
- Press Cancel twice to return to the main menu. The screen will display REBOOT TERMINAL and then the terminal will reboot.
Connecting the terminal to Lightspeed Restaurant
- Press # twice.
- Enter 53 and press Ok.
- Use the arrows to navigate to RCPTS AT TERM and press Ok.
- Wait for the screen to display REINITIALIZATION REQUIRED.
- Press # twice.
- The screen will display ENTER ADMIN CODE. Enter 1.
- Press Ok and swipe your admin card when prompted.
- Enter your Moneris Merchant ID and press Ok. When it prompts you to enter a phone number, leave this field blank and press Ok.
- The screen will display SENDING, RECEIVING and PROCESSING.
- When prompted, swipe your admin card. The screen will display WELCOME/BONJOUR.
- Press #.
- Select CONFIGURATION > SEMI COMM CFG > ETHERNET > PORT NUMBER and press Ok.
- Enter 8013 and press Ok.
- Press the red Cancel button three times to return to the login screen.
Adding the terminal to Restaurant Manager
- In Restaurant Manager, click Payments > Payment Processors.
- Select Moneris.
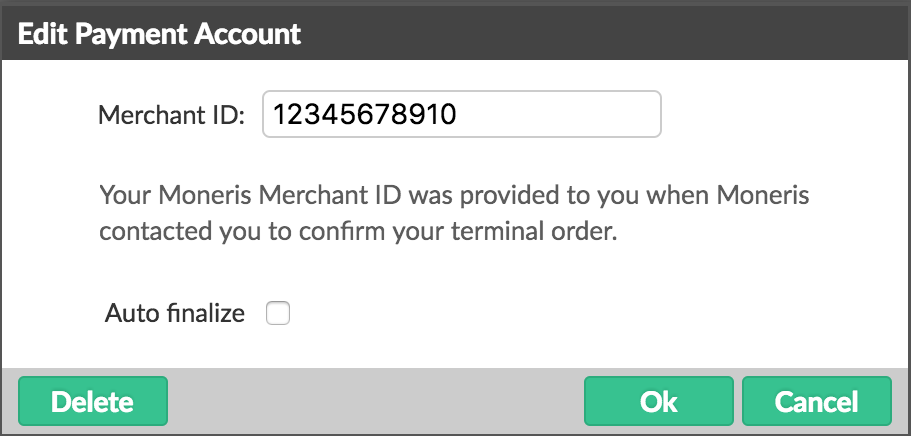
- Enter the Merchant ID provided to you by Moneris and click Ok.
- Click Payment Terminals.
- Select Add Terminal.
- Enter a name for the terminal and enter its IP address. The terminal IP address can be found on the network configuration printout, to the right of ADDRESS. To type a period, press 0 and then the # button. Press OK when complete.

- In the left-hand menu, click Payment Types.
- Click Add Payment.
- Enter a name and set the type to Payment Terminal. Press Ok.


What's next