The Elevated Permissions feature is a great way to temporarily grant a user access to an order action that they would otherwise not be able to do. You can use this feature on the POS by enabling a combination of user roles and a POS device setting from Restaurant Manager.
For more information on setting up this feature for certain users, see Setting up elevated permissions.
Using elevated permissions
- Log in to Restaurant POS as a user without Allow elevated permissions enabled.
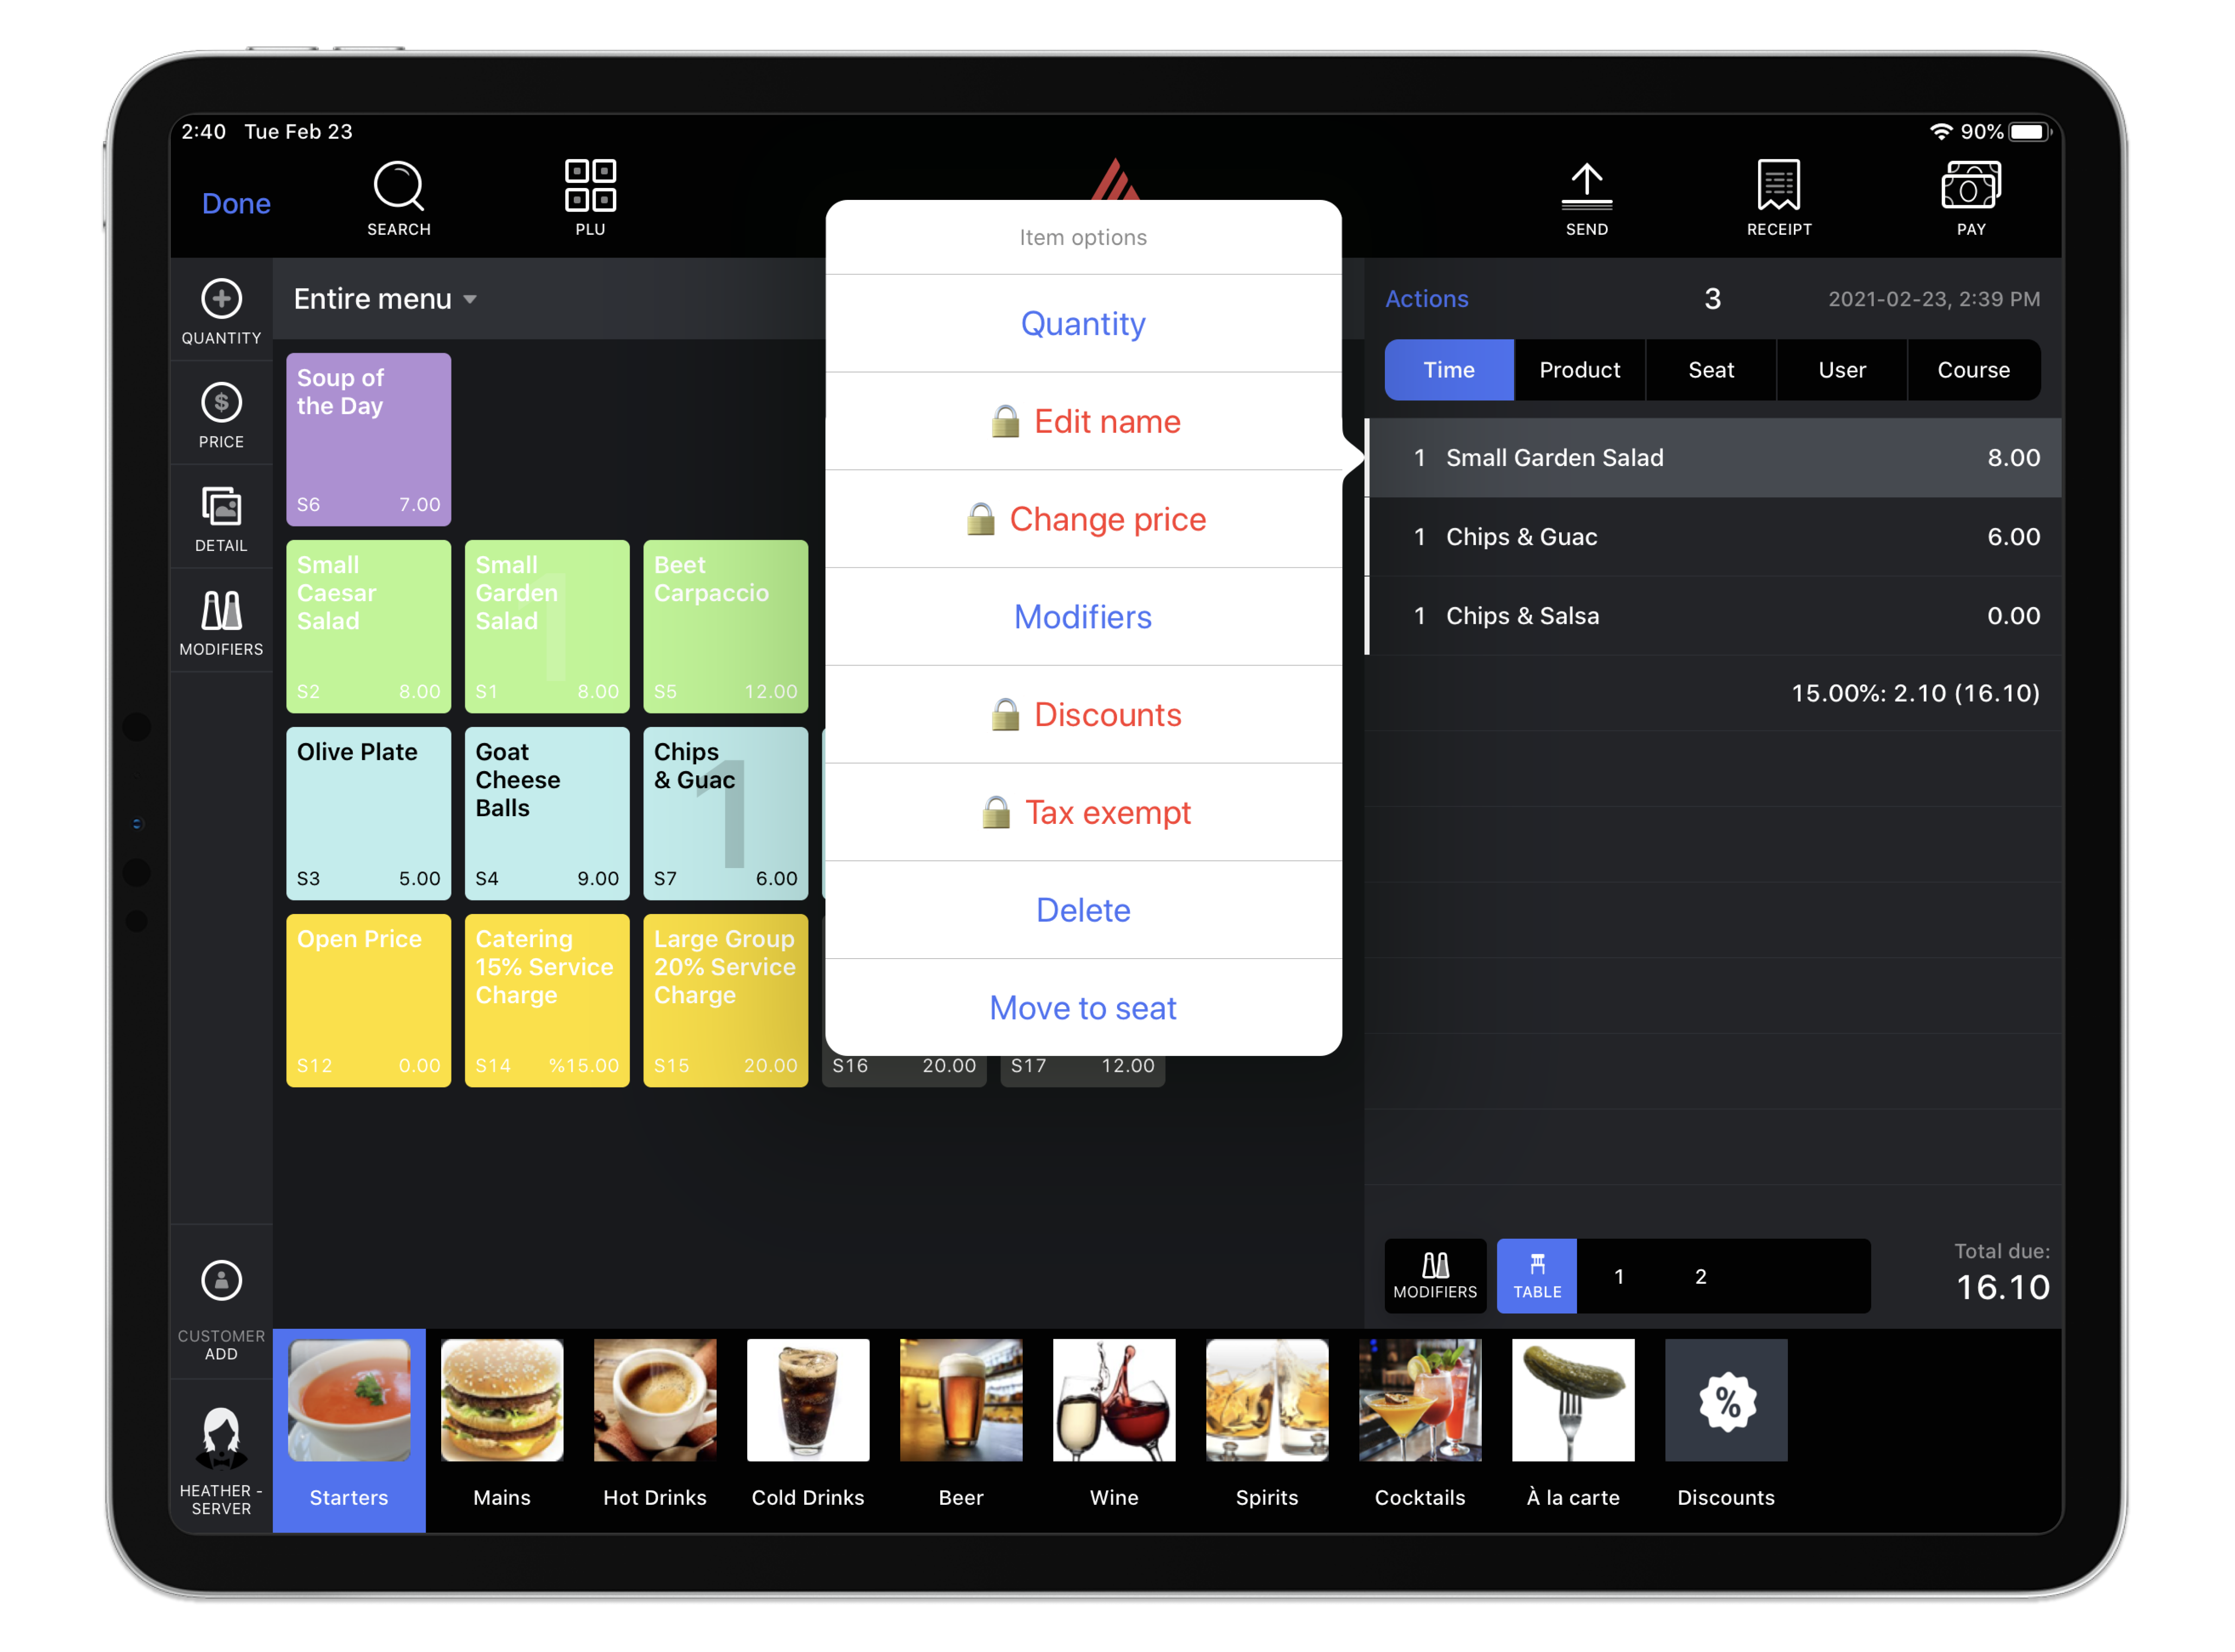
- On the Order screen, open the Item Options menu for an order item (see Editing order items for more information).
-
Select an action that you don't have permission to perform, indicated by a lock icon.
-
An Authorization Needed popup appears. To proceed, a user with the Allow elevated permissions user role enabled must enter their PIN code.
- Continue performing the action as usual.