Lightspeed Restaurant includes a series of detailed settings, divided by category, so that your account can be individually tailored to fit the needs of your restaurant.
When setting up your Lightspeed Restaurant account for the first time, you should adjust your account settings to match the needs of your restaurant.
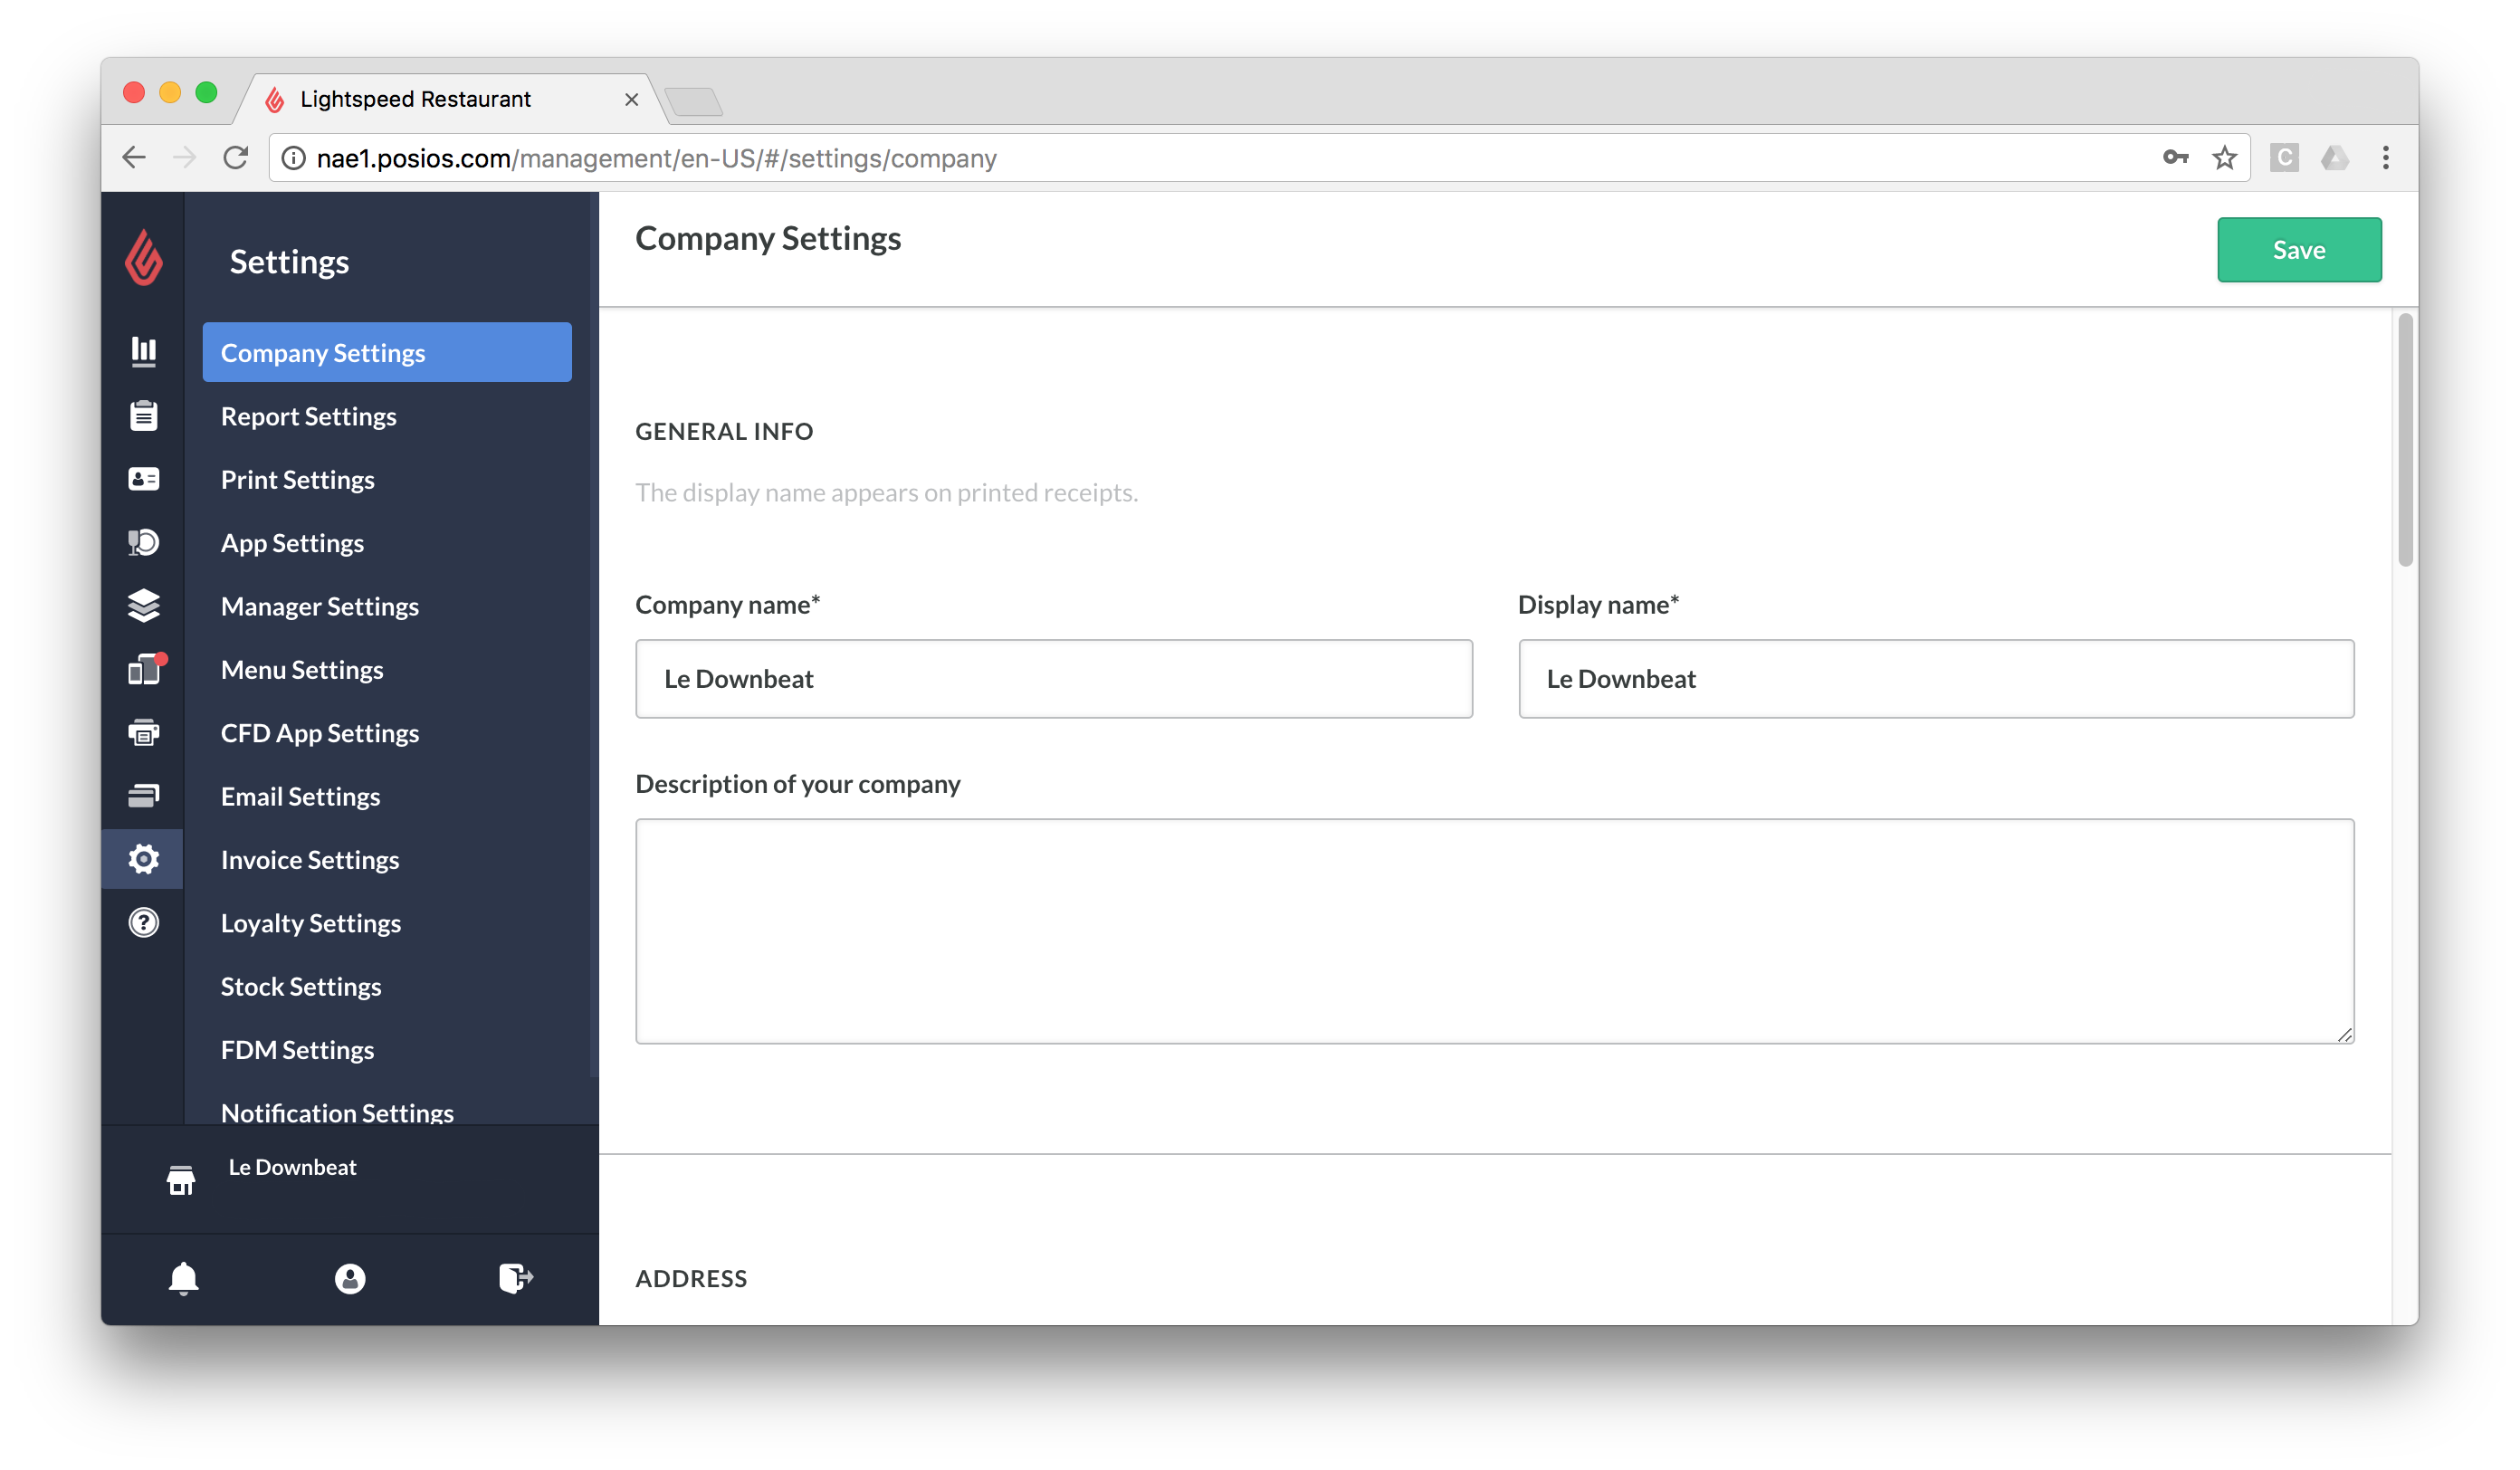
To access your settings, click Settings on the navigation menu in Restaurant Manager.
NOTE: All settings can be edited at anytime.
Getting Started
Company Settings
How you configure the Company Settings in Restaurant Manager will impact your future receipts and reports. We recommend you perform the following steps.
- Enter your company name as well as a display name that will show on receipts.
- Enter your company's address. The country you set here will apply pre-determined default settings for that region.
- Enter your Tax Registration Number and specify whether you are VAT inclusive or exclusive.
- Enter your locale and time zone. This ensures all dates and times display in accordance with your region.
- Set your Opening Time. This doesn't have to correspond with your restaurant's actual opening time, it is simply the time at which your daily reports will reset.
For a full breakdown of all available settings, see the Company Settings article in the Help Center.
Report Settings
We recommend the following Report Settings be enabled during the initial setup process.
- In the DAY REPORTS section, enable the Book receipts on the day the receipt was finalized setting.
- In the GENERAL REPORT SETTINGS section, enable the Add creation date and time in reports setting.
- In the GENERAL REPORT SETTINGS section, enable the Show voided ticket details in day and user reports setting.
- In the GENERAL REPORT SETTINGS section, enable the Show payment information in detailed receipt sections setting.
The following Report Settings are enabled by default for new accounts and can be disabled manually at will.
- Show receipts overview
- Show category revenues
- Show cash drawer balance
- Show tips in day reports
- Show sales and tax info (vat excl. companies only)
For a full breakdown of the available options, see the Report Settings article in the Help Center.
Print Settings
The following Print Settings are recommended and enabled by default.
- Notify kitchen when switching a table
- Number of decimals set to 2
- Number of decimals for tax rates set to 2 (varies per region)
Full a full breakdown on the available settings, see the Print Settings article in the Help Center.
App Settings
The App Settings customize the Restaurant POS app that you will use to process orders and payments. We recommend that you confirm that the Subtotal price precision and the Receipt total price precision are set to the right rounding amount in accordance with your local standard.
The following App Settings are also enabled by default for new accounts and can be disabled manually at will.
- Assign all tips received to the table owner (creator)
- Enable takeaway popup
For a full breakdown on the available App Settings, see the App Settings article in the Help Center.