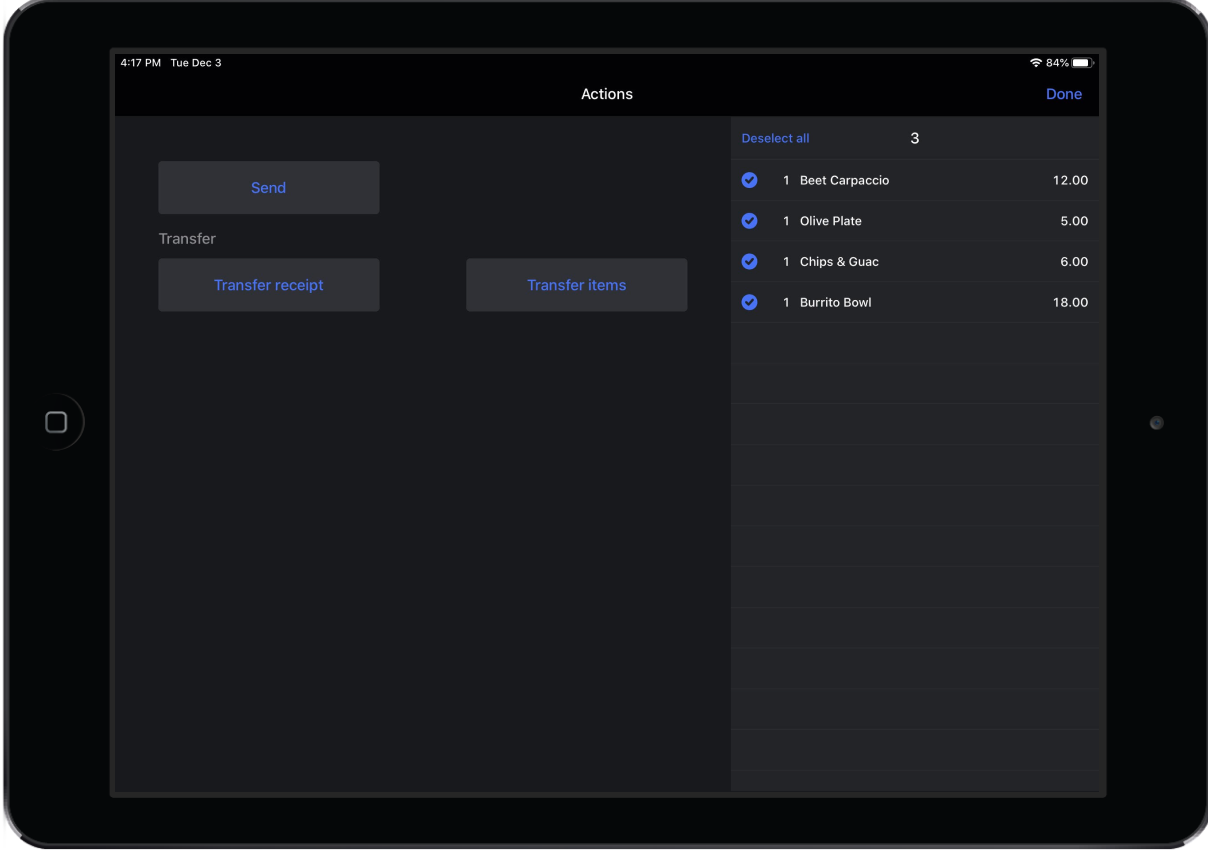
The Actions Panel on the Order screen is a quick and easy way to transfer or move items and receipts. From the Actions Panel it is also possible to send order items to a bar or kitchen printer without finalizing the order, which may be useful when using the Overview Panel to run customer tabs.
Actions Panel tasks
- Transfer an entire receipt to another table or customer tab
- Transfer individual order items to another table or customer tab
- Send an order to the kitchen or bar without finalizing the receipt
Transfer a receipt
Easily transfer a receipt from one table to another or merge orders from two occupied tables.
- From the Order screen, tap Actions.
- In the Actions Panel screen, tap Transfer Receipt.
- The Tables screen will appear. Select the new table for the receipt or open the Overview Panel to transfer the receipt to a customer's tab.
- The Order screen will re-open on the selected new table or customer tab with the transferred order items.
NOTE: If the new table is already in use, you will be asked to confirm the merge. To cancel the transfer at this point, tap Cancel on the warning popup and tap Cancel again on the top-right of your screen.
Transfer order item(s)
Transfer one or multiple items between tables. For more information on transferring items, see Transferring an item.
- From the Order screen, tap Actions.
- On the Actions Panel screen, select the items that will be transferred.
- Tap Transfer item(s).
- The Tables screen will appear. Select the new table for the transfer item(s) or open the Overview Panel to transfer the item(s) to a customer's tab.
- Tap Transfer Item(s) on the Transfer item to selected receipt popup window. The Order screen for the transferred item(s) opens automatically.
NOTE: You must have the Allow transferring items between tables/tabs user role enabled in order to be able to transfer items to another table. See User Roles.
Send an order
Even if you are a quick-serve restaurant, there may be instances where a user wishes to take an order, send order items to the kitchen or bar, and keep the receipt open for a later payment. It is possible to send an order to a bar or kitchen printer without finalizing the receipt from the Actions Panel. This is a useful setting when using the Overview Panel to run one-off customer tabs.
- From the Order screen, tap Actions.
- In the Actions Panel screen, tap Send. The order item(s) will appear in a light grey font to signal they have been sent to a bar or kitchen printer.
- Tap Done on the Actions Panel screen, and then tap Close on the Order screen if you wish to begin another order.
What's next?
- To assign a customer to an order, see Assigning a customer to an order
- To navigate and understand payments in Quick Service mode, see Understanding payments
- To enter payment details on a receipt, see Processing payments
- To apply additional payment options on a receipt, see Using the detailed Payments screen
- To split a bill, see Splitting a bill
- To void a payment or finalized receipt, see Voiding a payment or finalized receipt.
