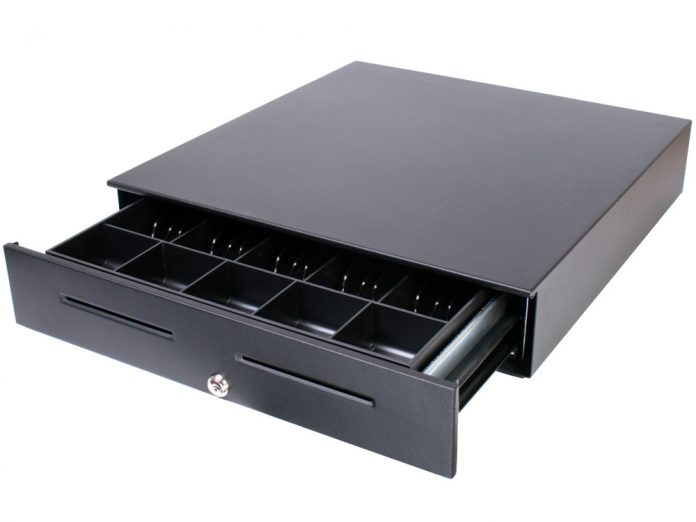
Create cash drawers in Restaurant Manager to track and report on your cash flow. Then, assign a cash drawer to a device using Restaurant POS. The connection between a cash drawer and Restaurant POS is based on the device's assigned receipt printer. Configure cash drawers by:
- Create a cash drawer on Restaurant Manager
- Assign the cash drawer to a POS device
- Connect the physical cash drawer to your receipt printer

Create a cash drawer on Restaurant Manager
Create a name for the cash drawer from Restaurant Manager and then assign this cash drawer to a device.
- In Restaurant Manager, click Printing > Printers. Click the Cash Drawers tab.
- Click Add cash drawer.
- Enter the cash drawer Name and click OK.
- Return to Printers. In the Cash Drawer column, click the "x" that corresponds with the desired printer.
- On the Edit Printers page, select Cash drawer attached.
Assign the cash drawer to a Restaurant POS device
After adding a cash drawer, assign it to a device from Restaurant Manager. View Editing a device's settings for more information on general device settings.
- Navigate to Restaurant Manager > Devices.
- Select the device you wish to pair the cash drawer to by tapping the device name. This will open an editable settings page for that specific device.
- Scroll down to the settings category Cash Drawer and select the drawer name you wish to assign to this device from the drop down list.
- Select Save.
Connect the physical cash drawer to your receipt printer
Now that your cash drawer exists in Lightspeed, you'll need to set up your physical hardware. Cash drawers connect to your receipt printer with an RJ11 to RJ45 cable. Connecting your cash drawer to your receipt printer enables the cash drawer to kick open each time a receipt is printed.
- Insert the larger cable end into the RJ45 port located on the bottom of the cash drawer.
- Insert the smaller cable end into the drawer kick port located on the bottom of your receipt printer.
- Ensure your receipt printer is properly connected to your network and added to Restaurant Manager. From the assigned printer's settings on Restaurant Manager, make sure the setting Cash drawer attached is enabled. See About printing for more information setting up your receipt printer.
What's next?
All set! You've created and set up a cash drawer.
Want more information on how to interact with cash drawers on Restaurant POS? See About cash drawers for detailed POS workflows, such as how to add or remove cash to your cash drawer float.