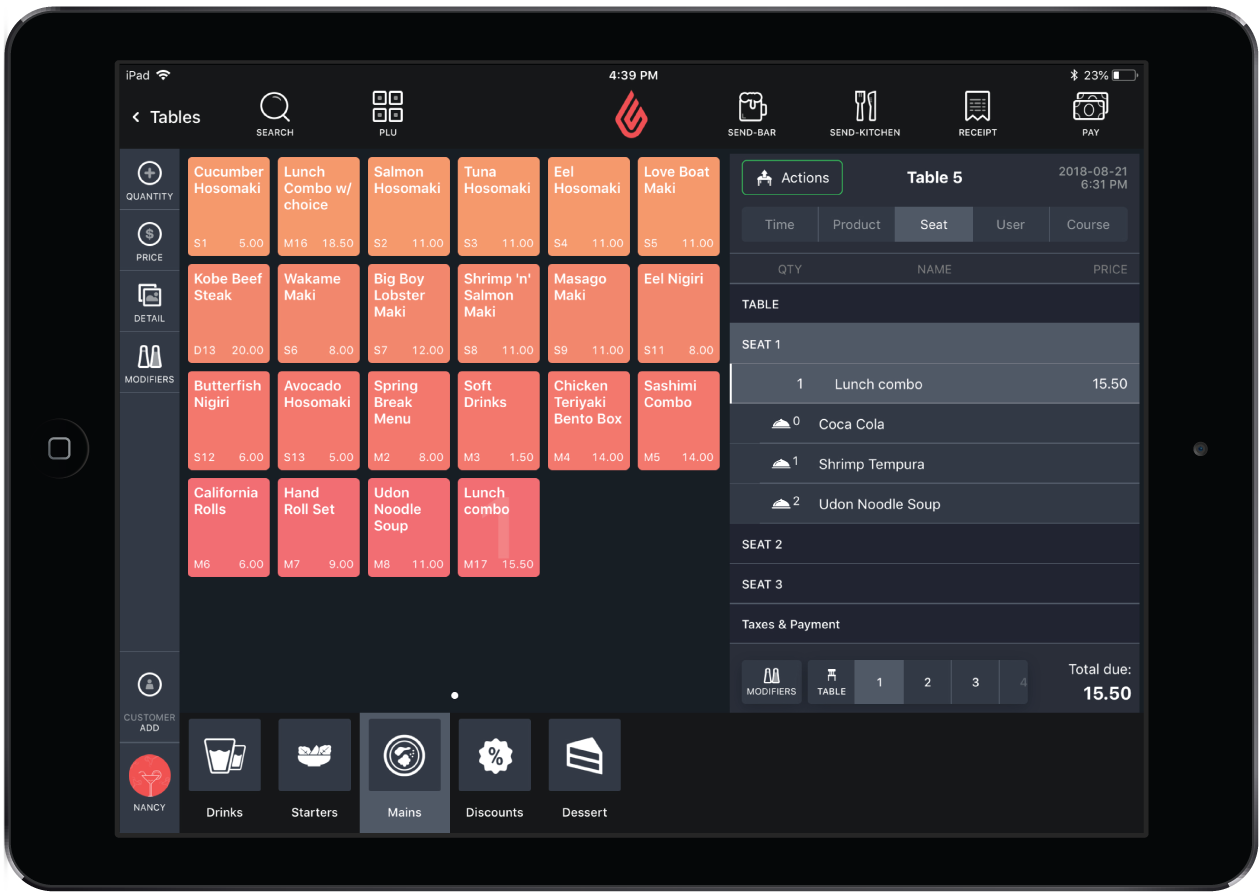
A fixed combo offers customers a predefined group of items. An example of a fixed combo is a lunch combo of a cola, burger and fries.
Creating or editing a fixed combo
The products in a fixed combo must be individually created in Restaurant Manager on the Products page before a combo is created. Once the products exist in Manager, a user can then create a combo by assembling the products together on the Combos page. For more information on creating products before adding them to a combo, see Creating products.
Create a fixed combo
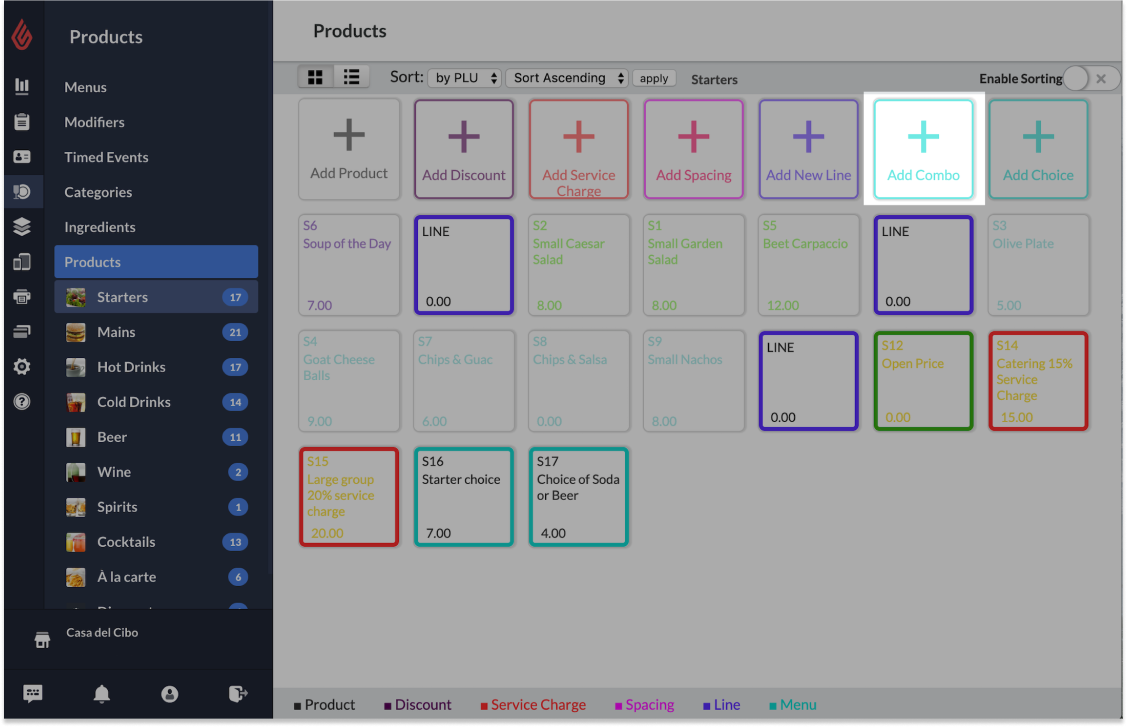
- In Restaurant Manager, navigate to Products > Products.
- From the left hand menu, navigate to the product category you want to add the combo within.
- Choose Add Combo. This action will open the Combos page.
- On the Combos page, specify the components of the combo and then save your changes.
Edit a fixed combo
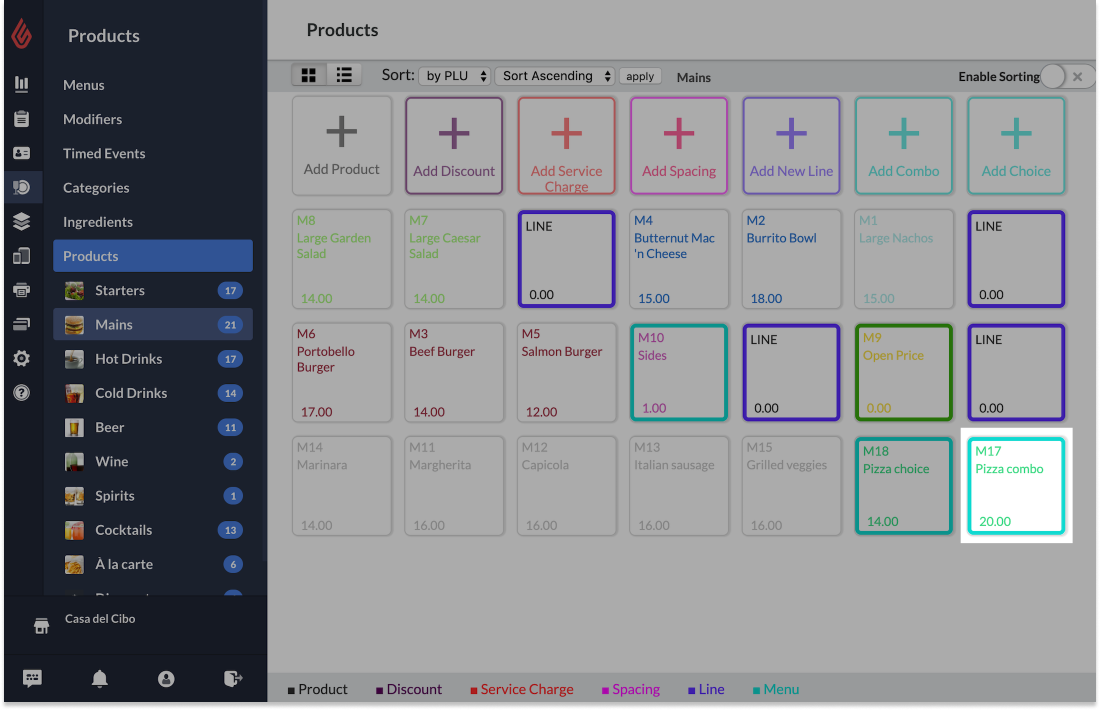
- In Restaurant Manager, navigate to Products > Product.
- From the left hand menu, navigate to the product category that contains the combo you wish to edit.
- Open the combo you wish to edit by selecting the combo button. This will open the Combos page.
- From the Combos page, edit the components of the selected combo.
- To remove a product or choice, select the x beside the item and confirm Remove on the pop-up window.
- Save your changes.
Combo page settings
On the Combos page, specify the components of the combo by editing combo details, adding or removing products, adding an image or description, or matching the combo with a timed event.
Combo details
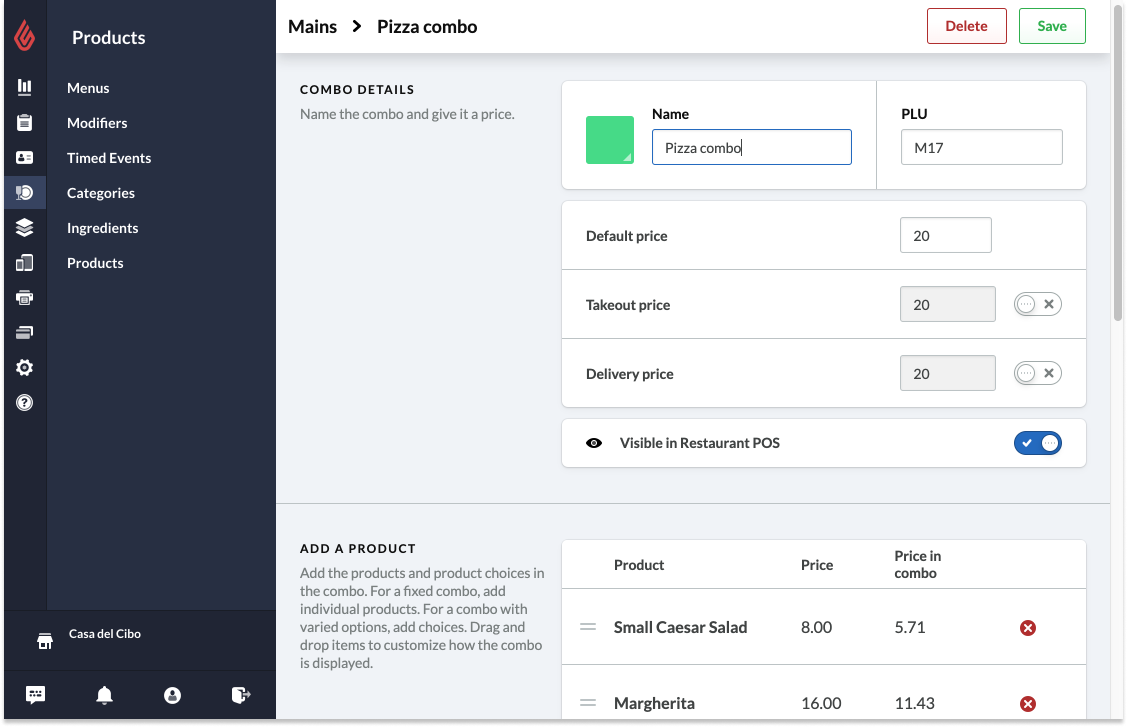
| NAME |
Name the combo according to how you want it to appear on the Restaurant POS, customer receipts and reports. |
| PLU | The ID of the combo is generated automatically by Lightspeed, but you may also edit and create your own unique PLU. |
| DEFAULT PRICE | The default price for a combo must be entered in this field. You can always edit the default price after you add and save combo products. See Editing combo prices. |
| TAKEAWAY PRICE | Set a Takeaway price for the combo. The Takeaway price is automatically set as the Default price. To edit the Takeaway price, slide the toggle beside the price box. |
| DELIVERY PRICE | Set a Delivery price for the combo. The Delivery price is automatically set as the Default price. To edit the Delivery price, slide the toggle right beside the price box. |
| VISIBLE IN RESTAURANT POS | Set the visibility of the combo as hidden or visible within Restaurant POS. |
Add a product
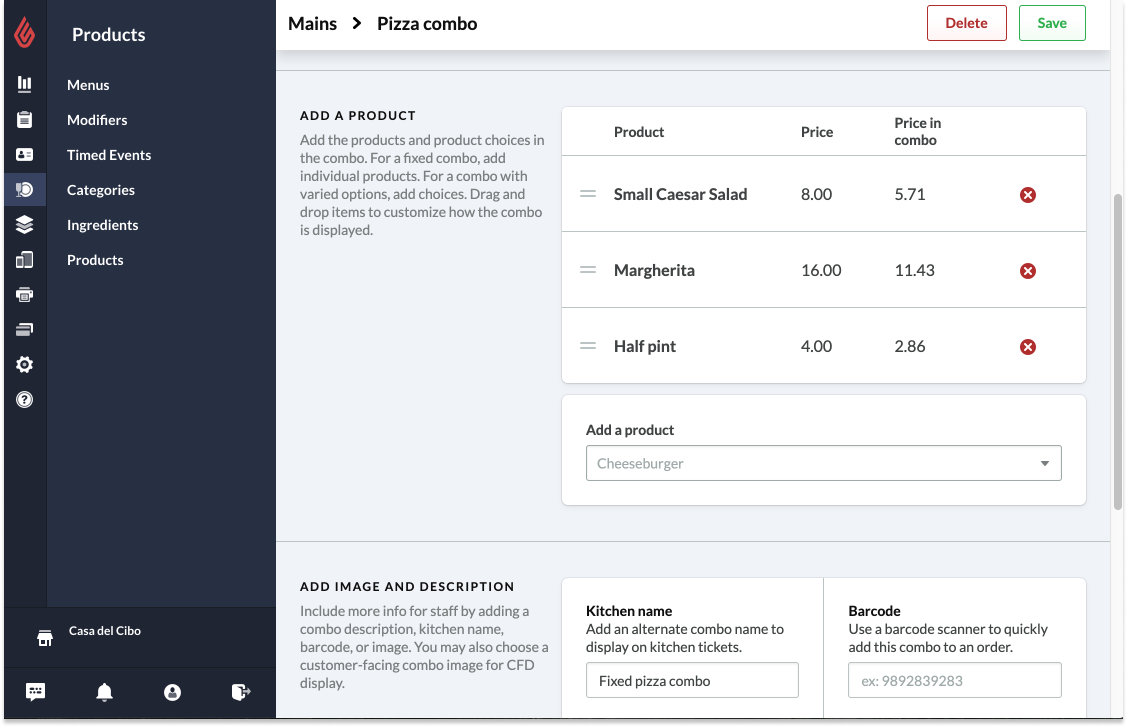
| ADD A PRODUCT |
Add, edit or remove the individual products in the fixed combo. Note that products must first be created on the Products page before being added to a combo. See Creating products for more information. Once products are added to a combo, drag and drop the products to customize how items in the combo are displayed on the POS. If the combo's Default, Takeaway or Delivery price has been adjusted from the automatic combo price, the price of the products in the combo are displayed in a column beside the original product price. Please note that it is not possible to directly edit individual product prices in a combo but editing the Default, Takeaway or Delivery price automatically adjusts the price of the products within the combo. See Editing combo prices. |
Add image and description
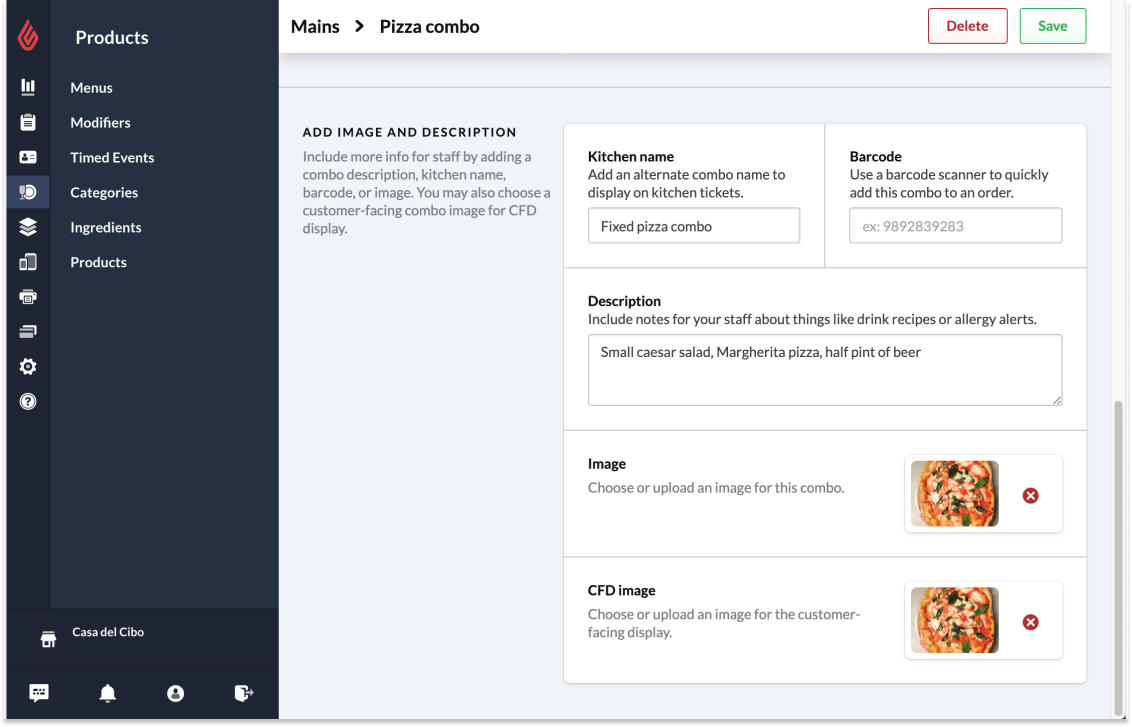
| KITCHEN NAME |
Give the combo an alternate name to display on bar or kitchen tickets. |
| BARCODE | Manually enter the combo barcode. For more information, see Setting up barcodes. |
| DESCRIPTION |
Add optional menu information for staff such as cooking instructions. |
| IMAGE | Add a combo image for the POS. This image will display in the Product Detail view on the POS or Show and Tell view on Lightspeed Kitchen. |
| CFD IMAGE | Add an Upselling Customer Facing Display image for the combo, if applicable. |
Match with Timed Event
Timed events are used to set predefined time-based, fixed or percentage discounts to products. For example, Happy Hour or a weekend brunch menu can be scheduled into Lightspeed Restaurant as a Timed Event. Based on a Timed Event's set date and time, it will activate and deactivate automatically.
Combos may be matched to a timed events for a scheduled price reduction or increase. When a combo is matched to a timed event, the entire combo's price will reflect the timed event's discount. For example: if a 20.00 Pizza combo is matched with a 5.00 reduction timed event called a Lunch Special, that pizza combo will be 15.00 when ordered during lunch hours.
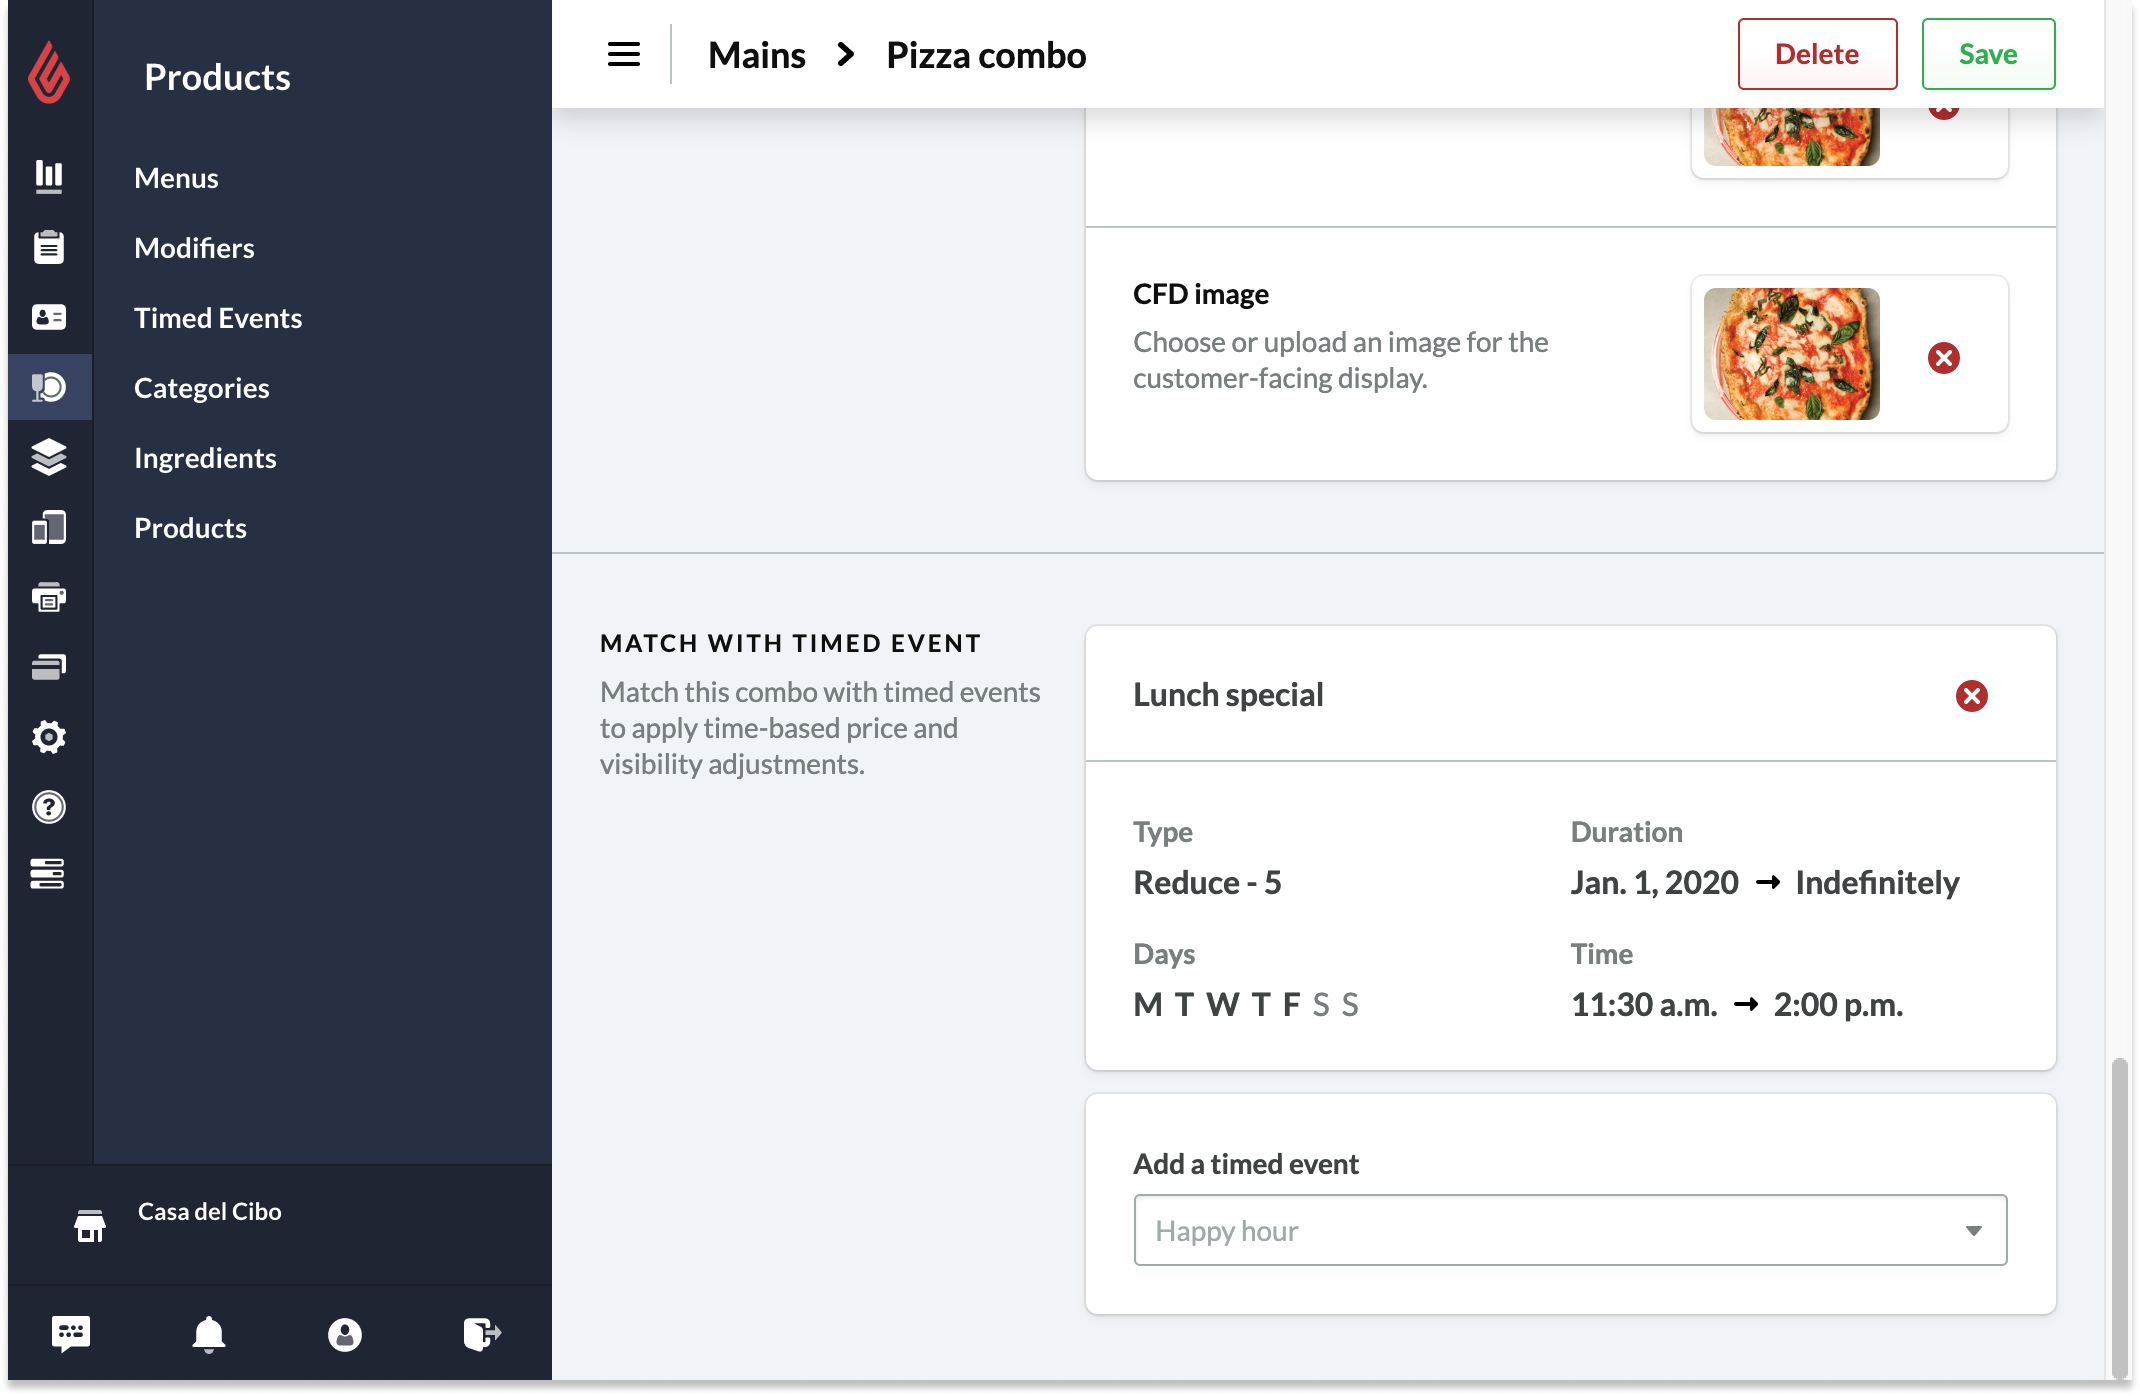
To match a combo with a timed event:
- Create a timed event by navigating to Products > Timed events. See Creating timed events for more information.
- Navigate to Products > Products and select to the product category of the combo you wish to edit.
- Open the combo by selecting the combo button. This will open the Combos page.
- Scroll down to the section called Match with Timed Event.
- Select a timed event to match with the combo from the drop-down list.
What's next?
Create or edit a choice with subproducts. See Creating or editing a choice.
Create a combo with product choices. See Creating or editing a combo with choices.
Manually edit your combo's default, takeaway or delivery price. See Editing combo prices.