In addition to iPad devices, Lightspeed POS is also supported on iPhone and iPod devices.
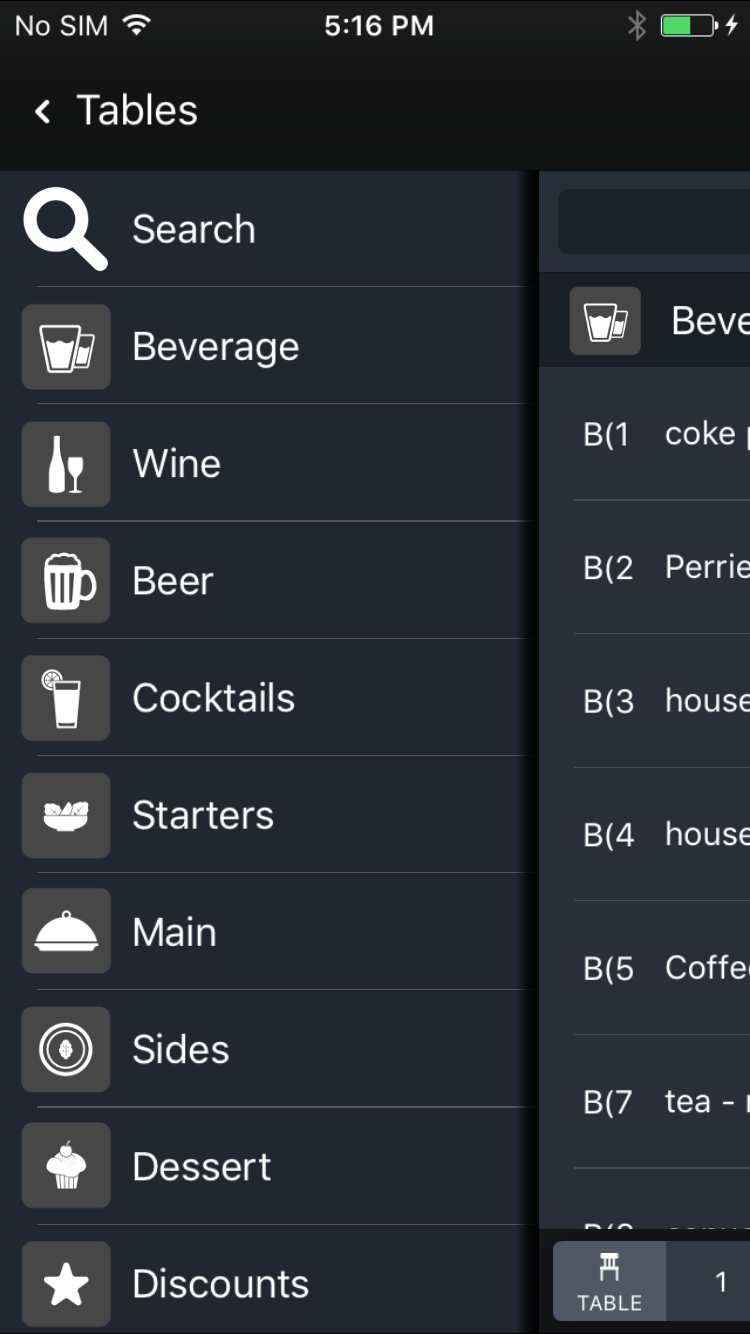
- On the Tables screen in Restaurant POS, tap a table to start a new order. The Order screen appears.
-
How you add items depends on the Show only products in selected category setting. See Device Settings.
-
If enabled: The products in the first category are displayed. To view the category list, swipe right and then swipe up and down to browse through the categories. Select a category to view its products.
-
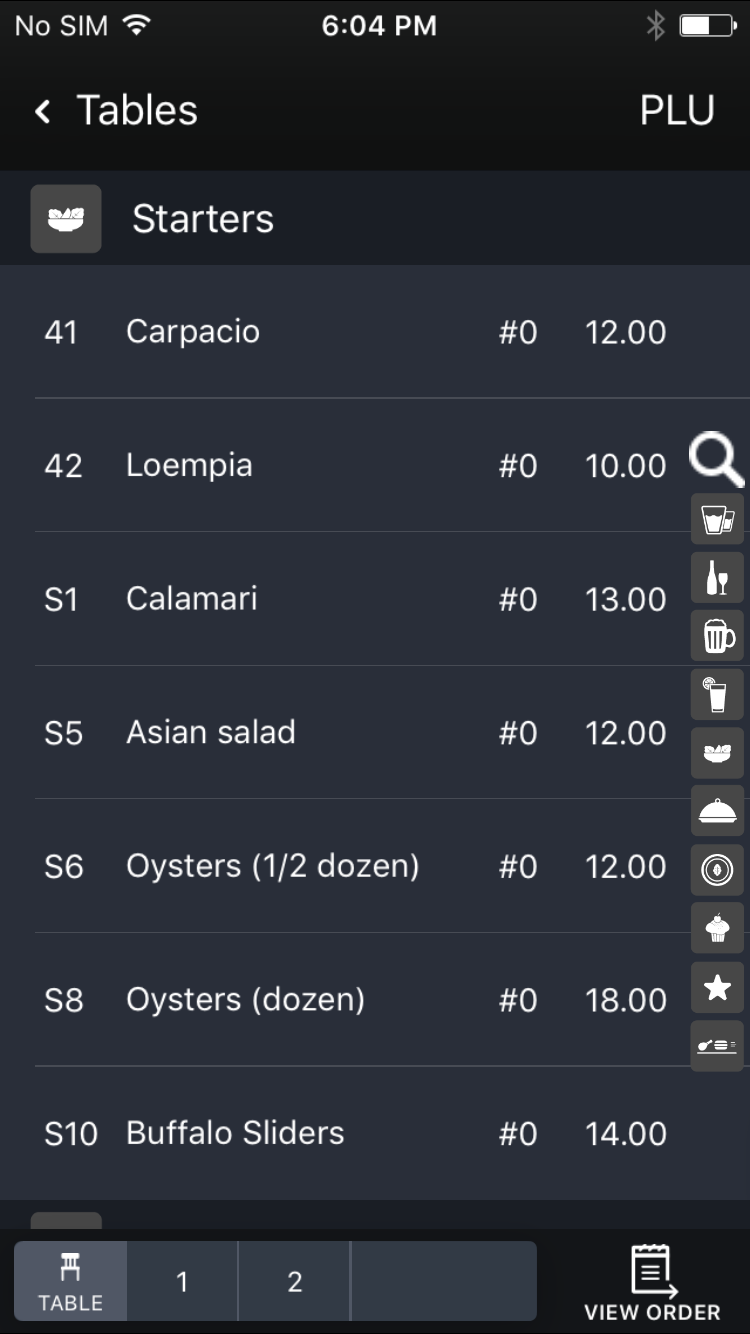
If disabled: All categories and their associated products are displayed. Swipe up and down to cycle through products.
-
-
Tap a product and the + button to add it to the order. You can change the quantity of the item with the + and - buttons.
You can also add products to an order by using the product ID or PLU. See Adding items to an order using Product IDs.
-
To review the order, swipe left or tap View Order.
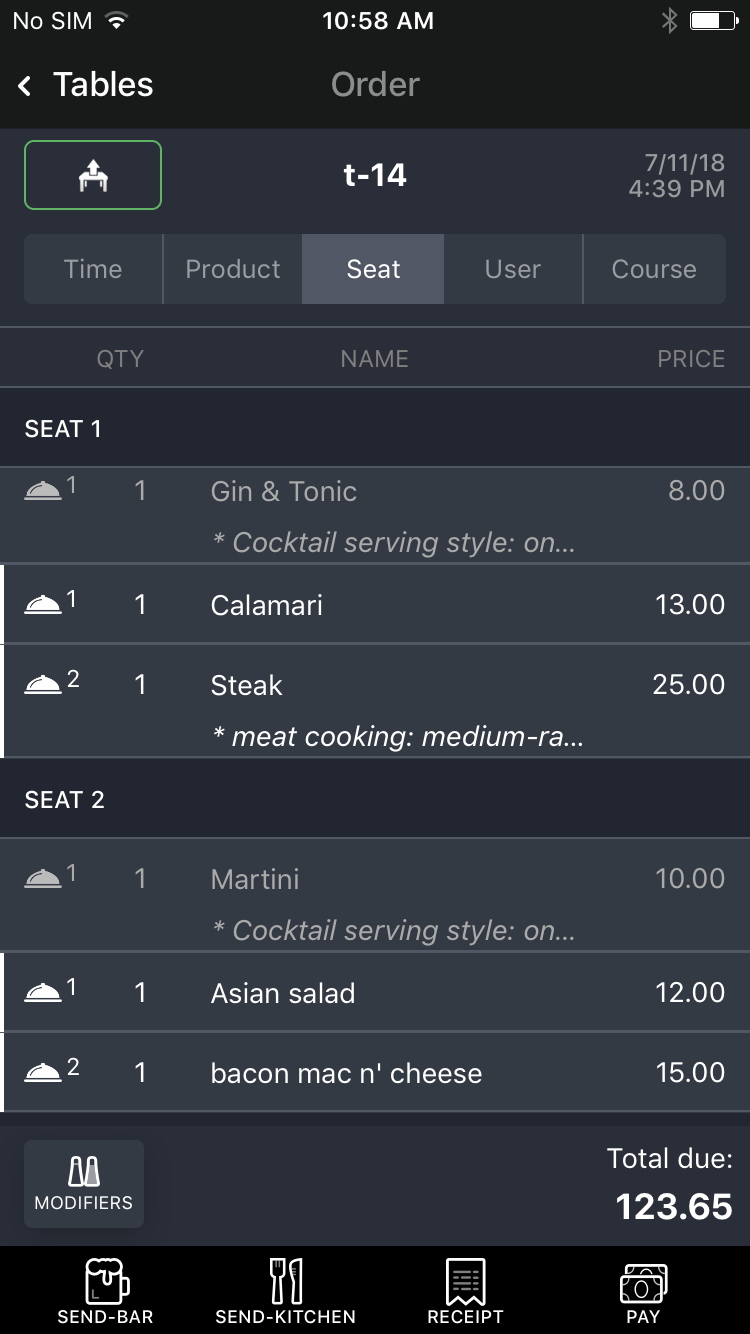
- Tap Send-Bar or Send-Kitchen to send the order to the bar/kitchen. After an order has been sent to the bar/kitchen, it will show as greyed-out in the order view.
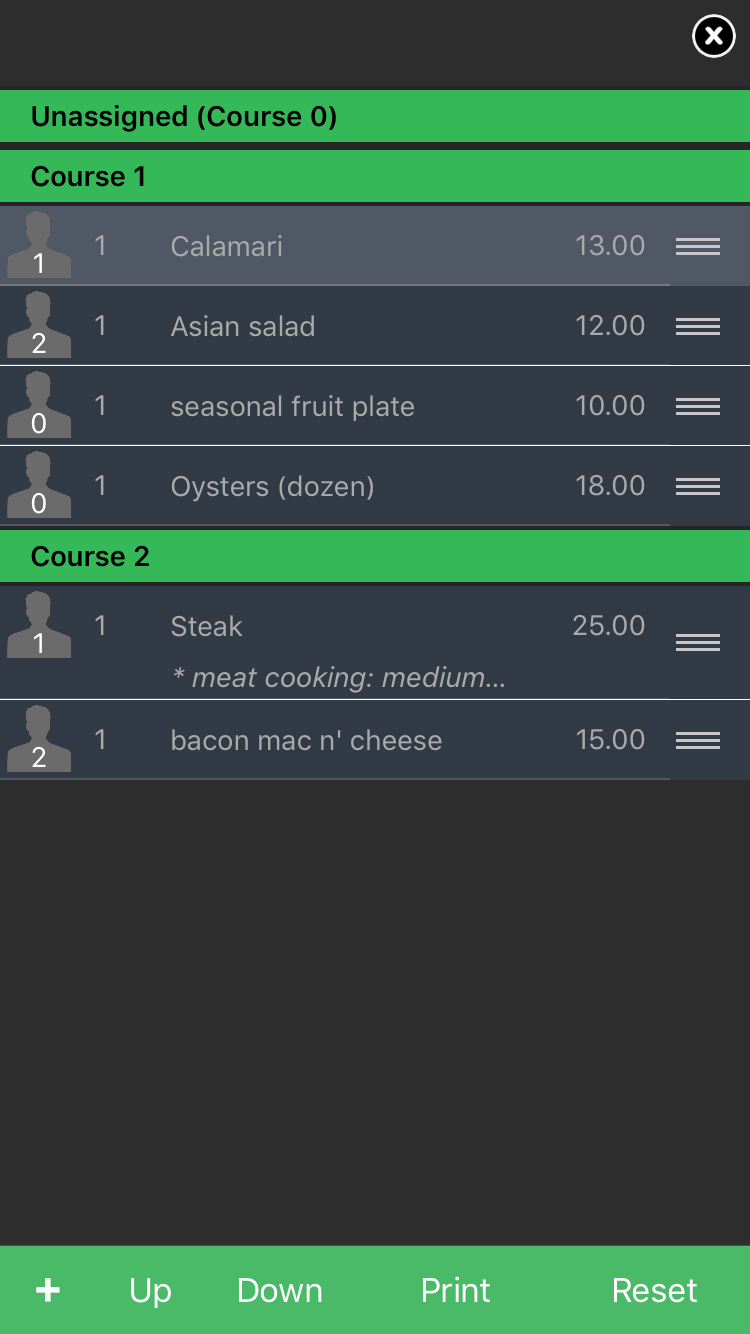
NOTE: If you have specified course numbers for your categories/products, a Courses popup appears when you print an order to the kitchen. For more information on the Courses popup, see Editing courses. After confirming or editing the course order, tap Print to send the order to the kitchen.
-
Process payment for the order. See Taking Payments and Tips.
- To see a summary of all your orders, tap the Order button in the navigation bar at the bottom of the screen to access the Orders List. See About the Orders List for more information.