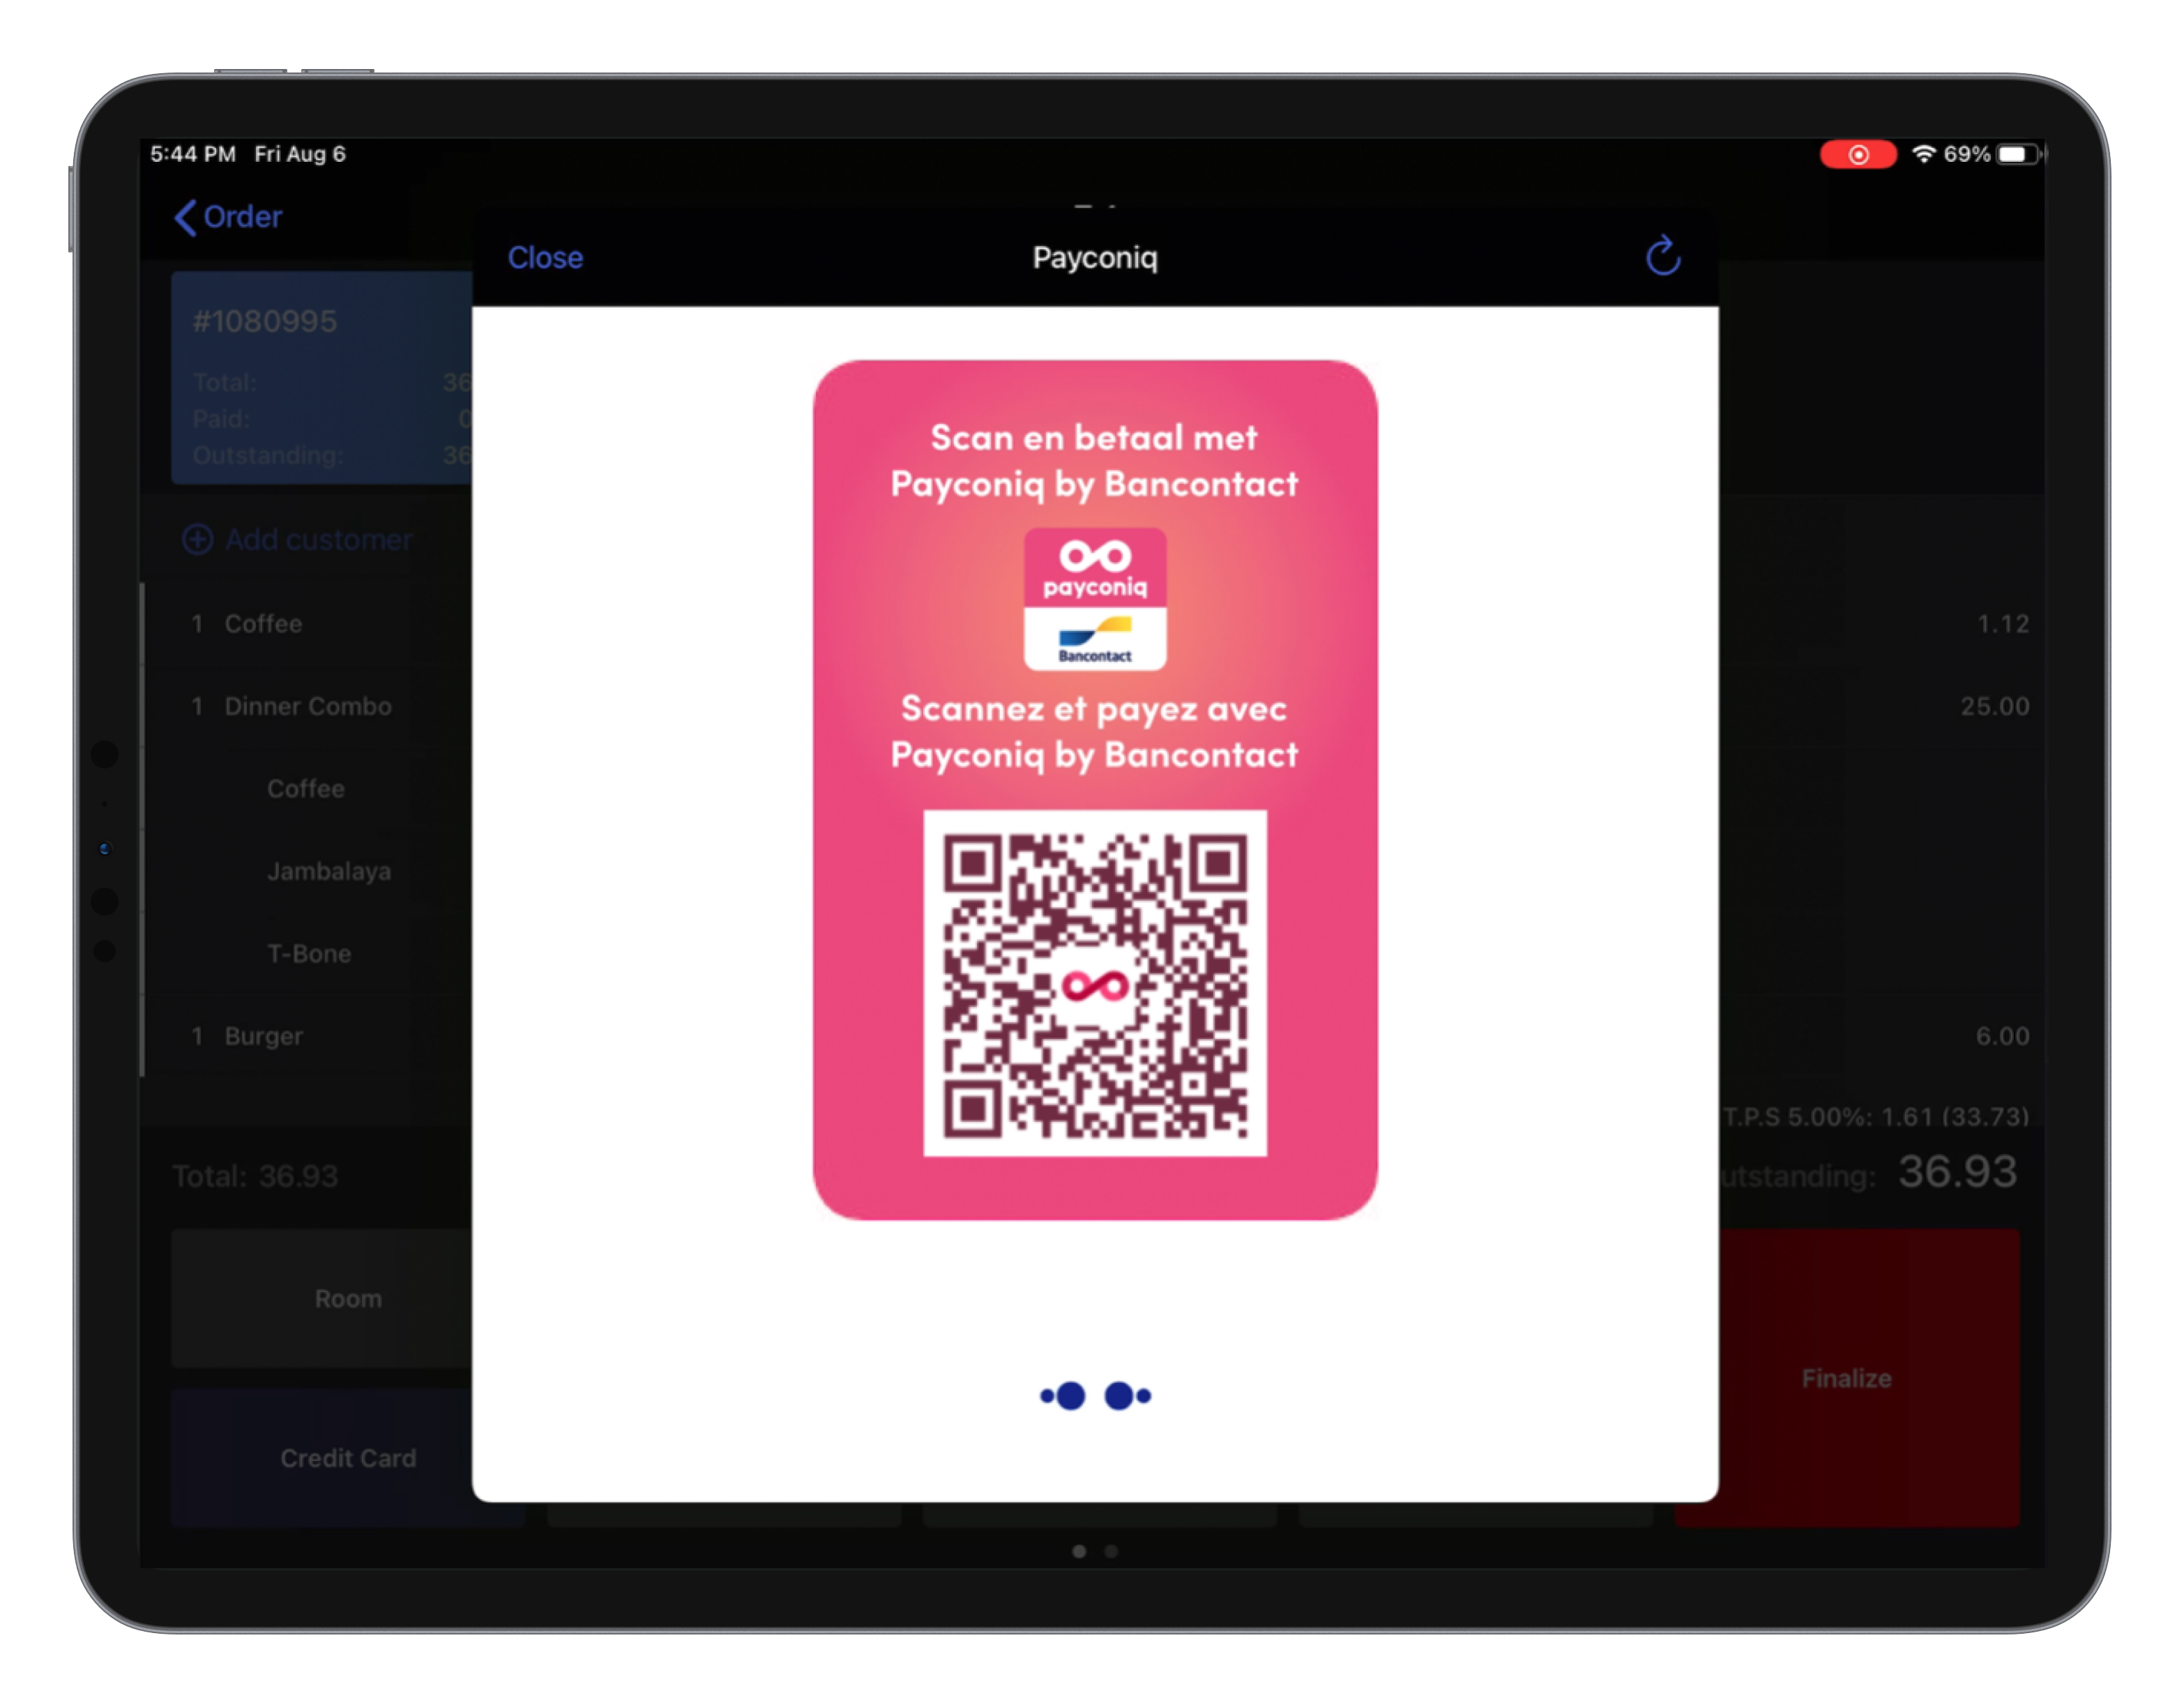
The Payconiq integration for Lightspeed Restaurant supports a dynamic QR code payment system that you can open on the POS. Once the QR code is on the screen, customers can scan it with their “Payconiq by Bancontact” app or with any bank app that supports Payconiq, and confirm the payment with a PIN, fingerprint of face scan. Once the payment is approved, the QR code screen will close, and the order will be marked as paid.
This integration is only available to users in Belgium.
Visit the following sections to enable, configure, and use the Payconiq integration:
Enabling the Payconiq integration
Enter your Lightspeed credentials to confirm the identity of your restaurant and link Lightspeed with Payconiq.
- Lightspeed Restaurant admin credentials: If you have multiple locations, make sure to use credentials with admin permissions for the establishment you want to link to Payconiq. Don’t use your master account credentials.
- Payconiq Profile ID: The ID will be provided by Bancontact Payconiq Company after having accepted your registration (see note above).
- Payconiq API key: The API key will be provided to you by Bancontact Payconiq Company after having accepted your registration (see note above).
To enable the integration:
- Navigate to the Introduction page.
- Read the instructions and click Start pairing.

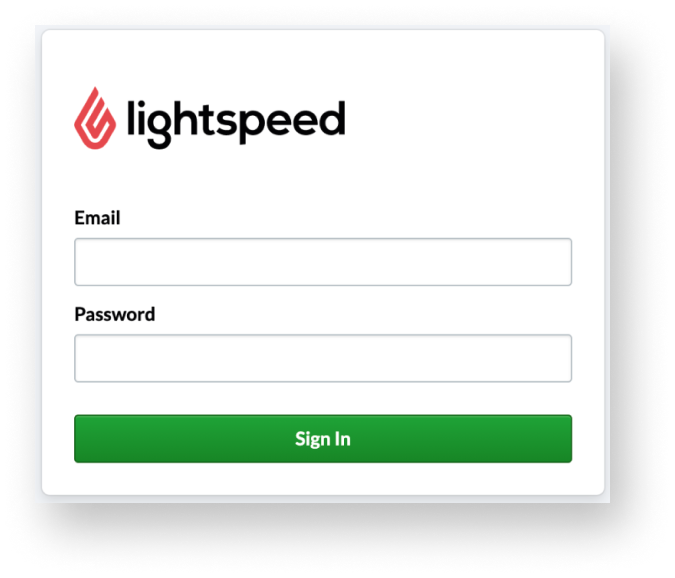
- Enter your Lightspeed admin credentials (email and password).
- If you have multiple locations, make sure to use credentials with admin permissions for the establishment you want to link to Payconiq. Don’t use your master account credentials.
- Click Sign In.
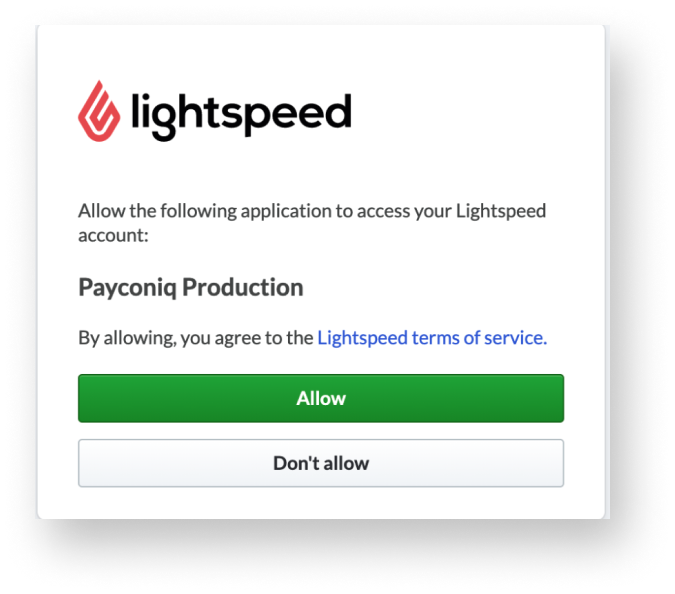
- Click Allow on the consent form requesting that Payconiq be granted permission to access your account.
- On the page that follows, input your Payconiq Profile ID and API key in the available fields.
- Click Confirm Payconiq details. When the connection has been successfully established, you'll get a notification saying Good news!
- Continue by Adding Payconiq payment type.
Adding Payconiq payment type
Once the integration is enabled, add Payconiq as a payment type to the Restaurant Manager to use the integration on the POS.
- Log in to the Restaurant Manager with your Lightspeed credentials.
- Navigate to Payments > Payment Types.
- Click Add Payment.
- Enter the payment type settings. See the table below for details.
- Click Ok to save the payment type.
The Payconiq payment type will now be available for use on the POS.
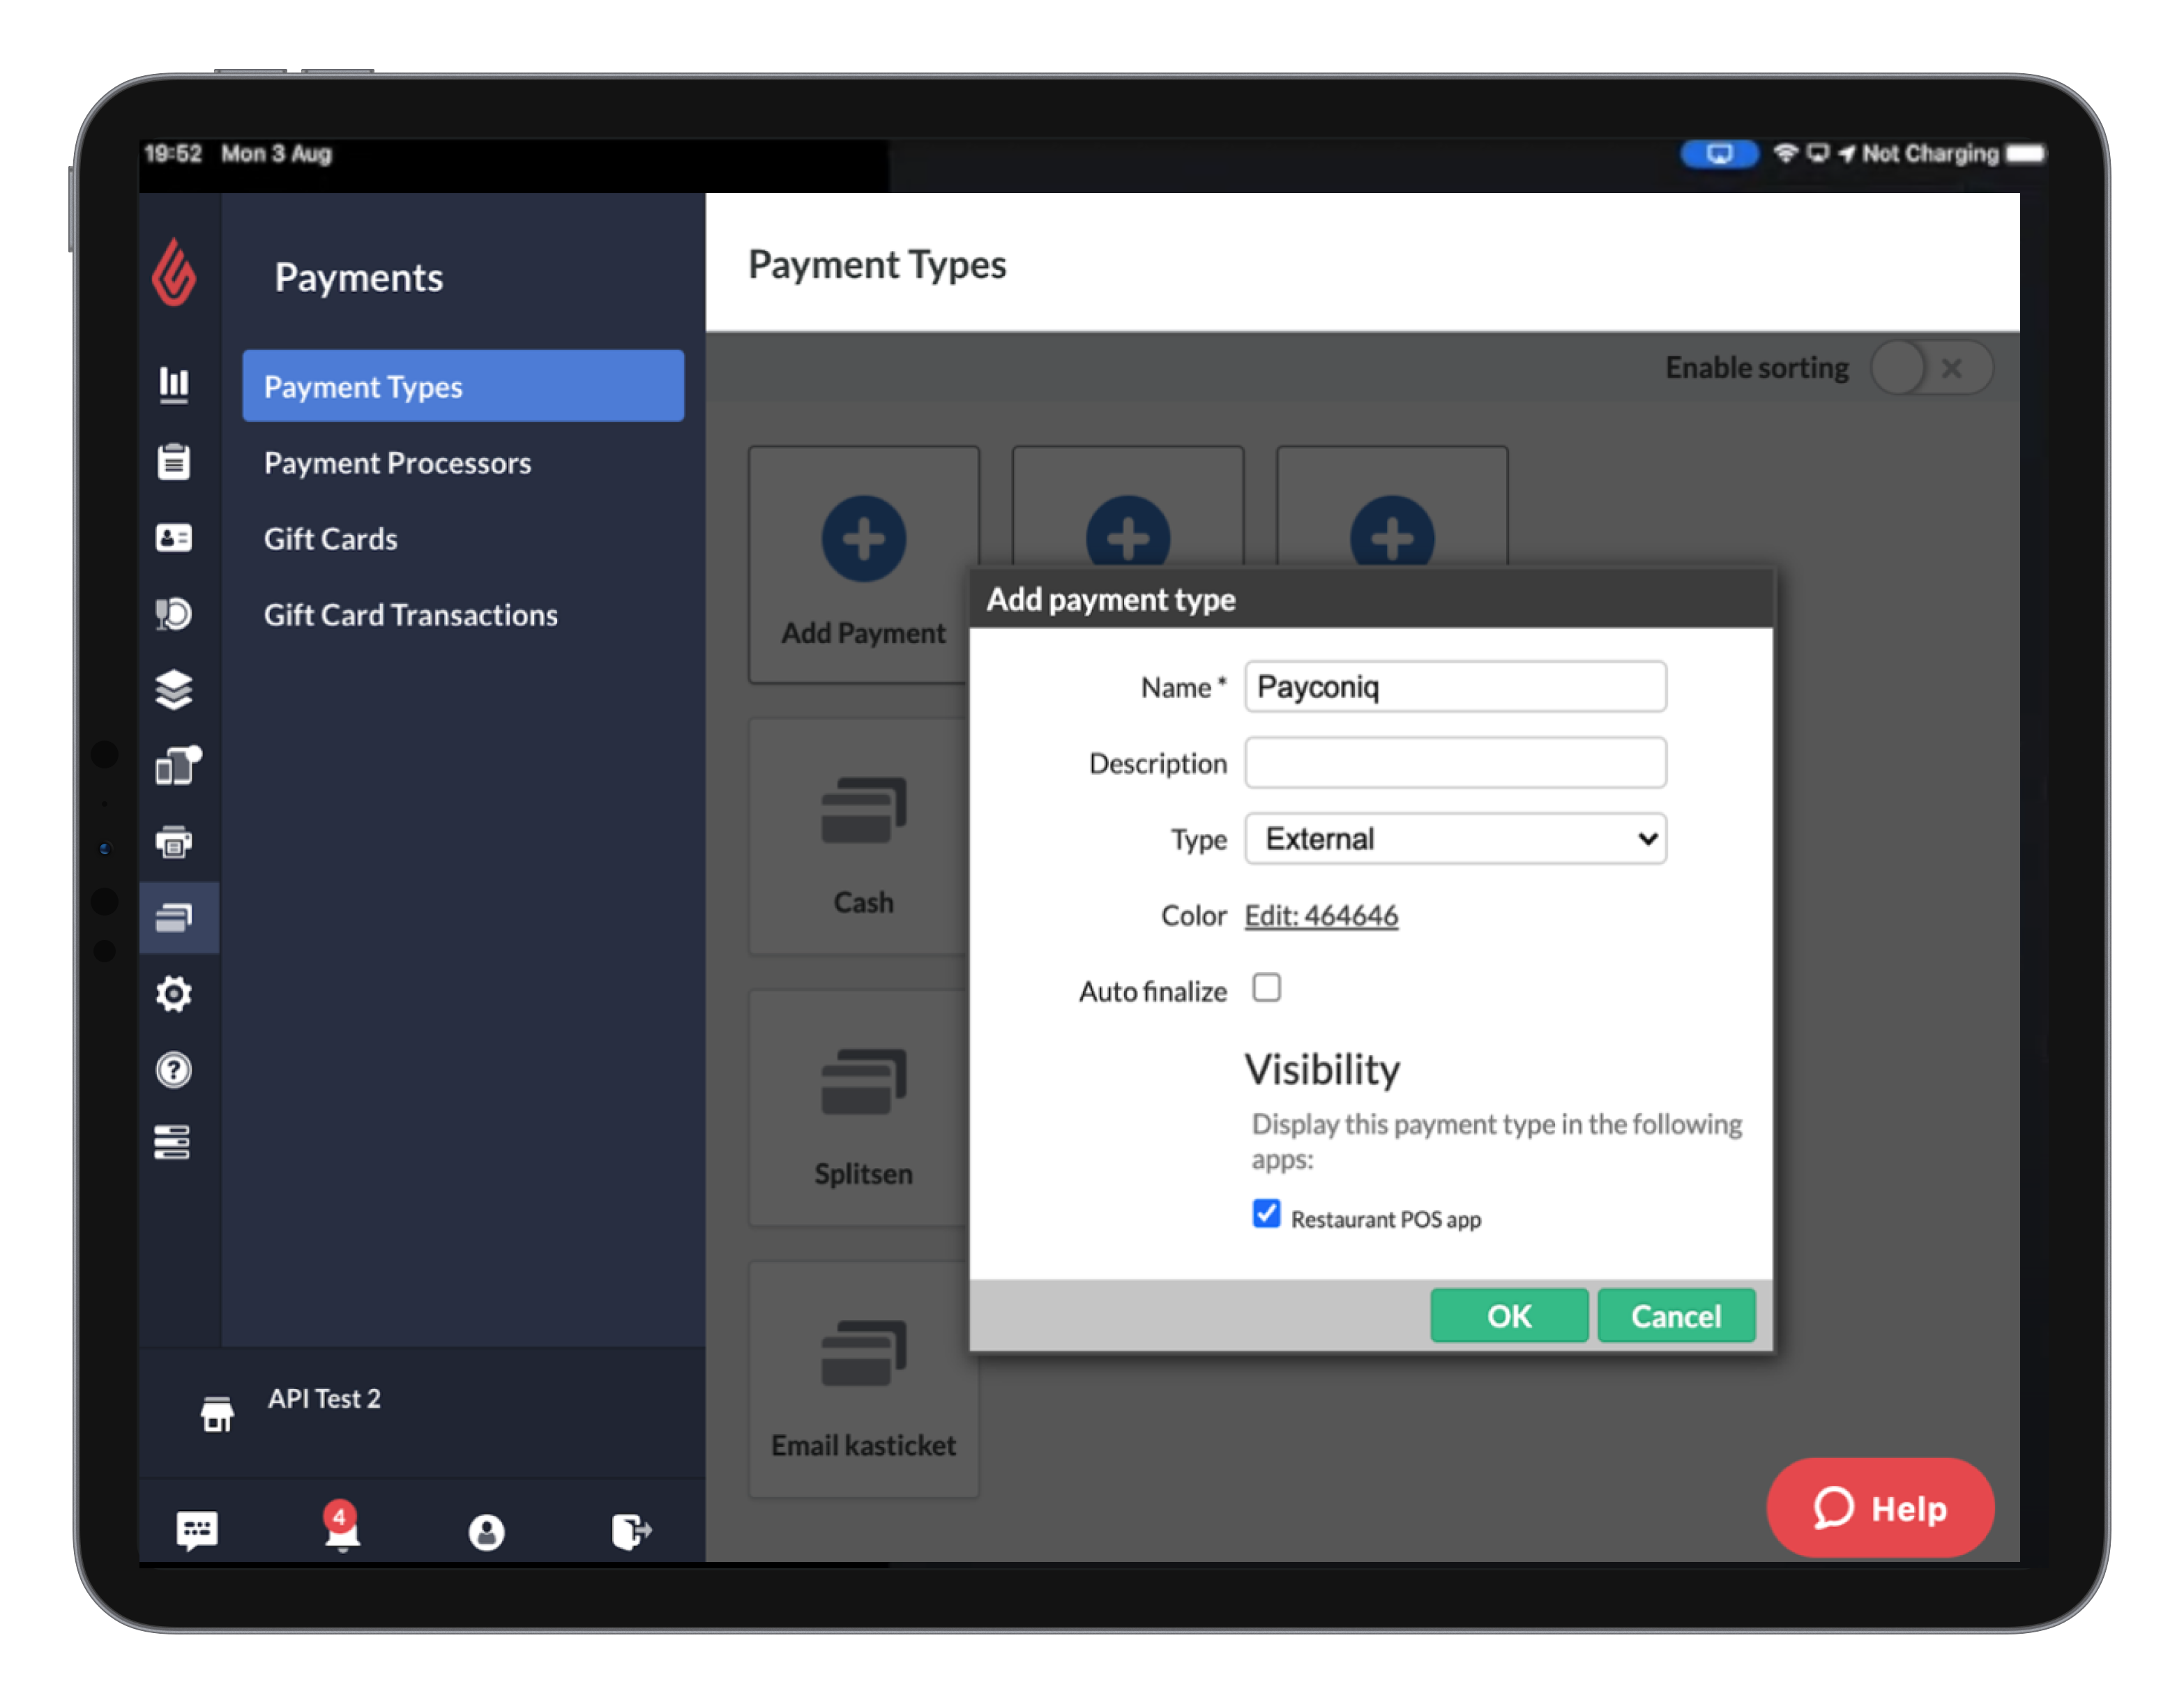
Payment type settings
| Setting name | Description |
| Name | Payment name (e.g., Payconiq) that will display on Restaurant POS and reports. |
| Description (optional) | An internal note of the payment type. |
| Type | For the Payconiq integration, select External from the drop-down menu. This determines the payment type’s function on the POS. Available payment types vary depending on your region. |
| Color | The color for the payment button in the Restaurant POS entered as a Hex color code. |
| Auto finalize | If enabled, the receipt will finalize and print once the payment is successfully processed. |
| Visibility | If enabled, the payment type is visible on the POS. Make sure that Visibility is enabled for the Payconiq integration. |
Using Payconiq on the POS
After enabling the Payconiq integration and adding Payconiq payment type, you will be able to use Payconiq payment in the POS app. Ensure that you have the required user rules enabled for logging in and using the POS.
- Log in to the Restaurant POS.
- Start a new order and add items.
- Click the Pay button.
- Click on the Payconiq payment type to launch the QR code generator.
- Show the QR code to the customer to scan on their mobile device.
- The customer confirms the payment with their fingerprint or pin.
- Once the payment is confirmed, the QR code screen will close, and the order will be marked as paid.
