Combos enable you to sell one or more products as a single item with a fixed price in the Restaurant POS app. They can contain a predefined set of products and can also include choices, which allow customers to select one product from several options. This article covers how to create, edit, and delete combos in Restaurant Manager.
To view specific examples of combos, visit our About combos and choices article.
Table of contents:
Creating combos
Create combos in Restaurant Manager so customers can order them at the POS. Combos include things like value meals and specials, where a customer orders a single item on your menu that is composed of multiple products.
Note: Before creating a new combo, you must create all products and choices you want to include in the combo. For help, visit our Creating products and Creating and editing choices articles.
- Log in to Restaurant Manager. For help, see our Logging in to Restaurant Manager article.
- From the navigation menu, select Products > Products.
- Select the category where you want to add the combo.
- Click Add Combo to create a new combo.
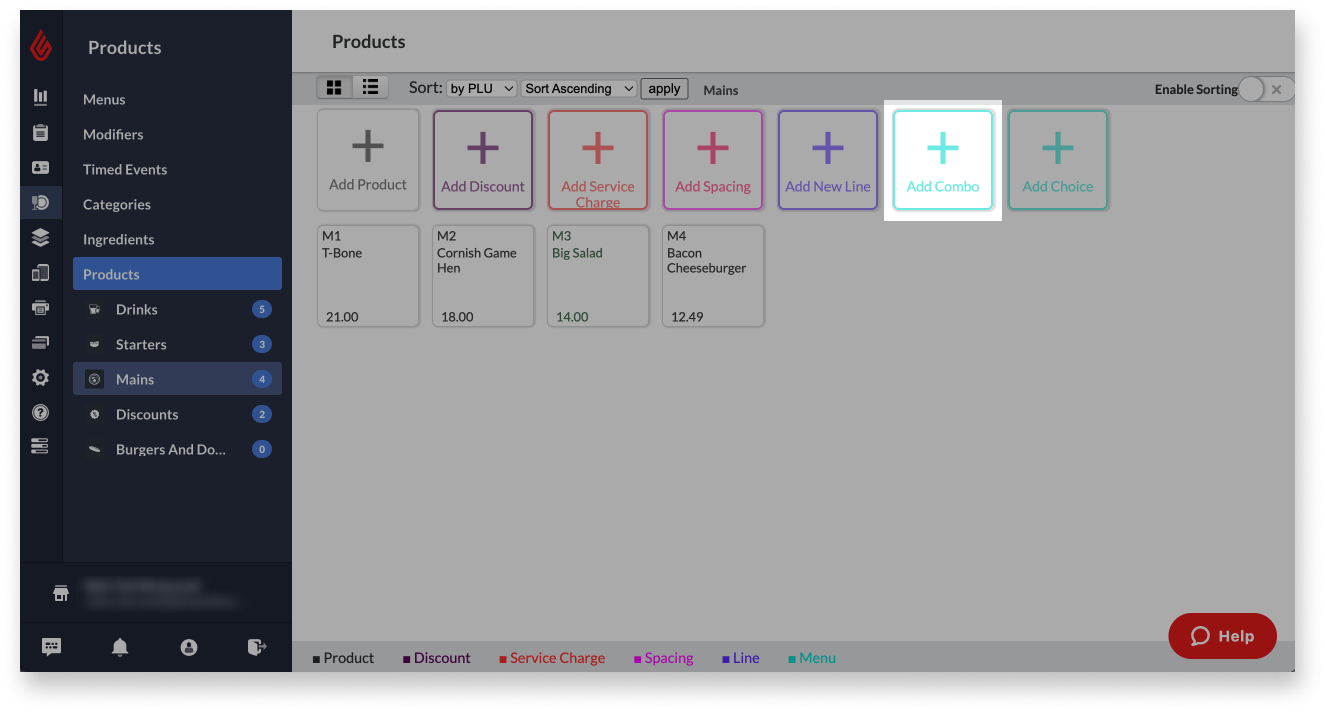
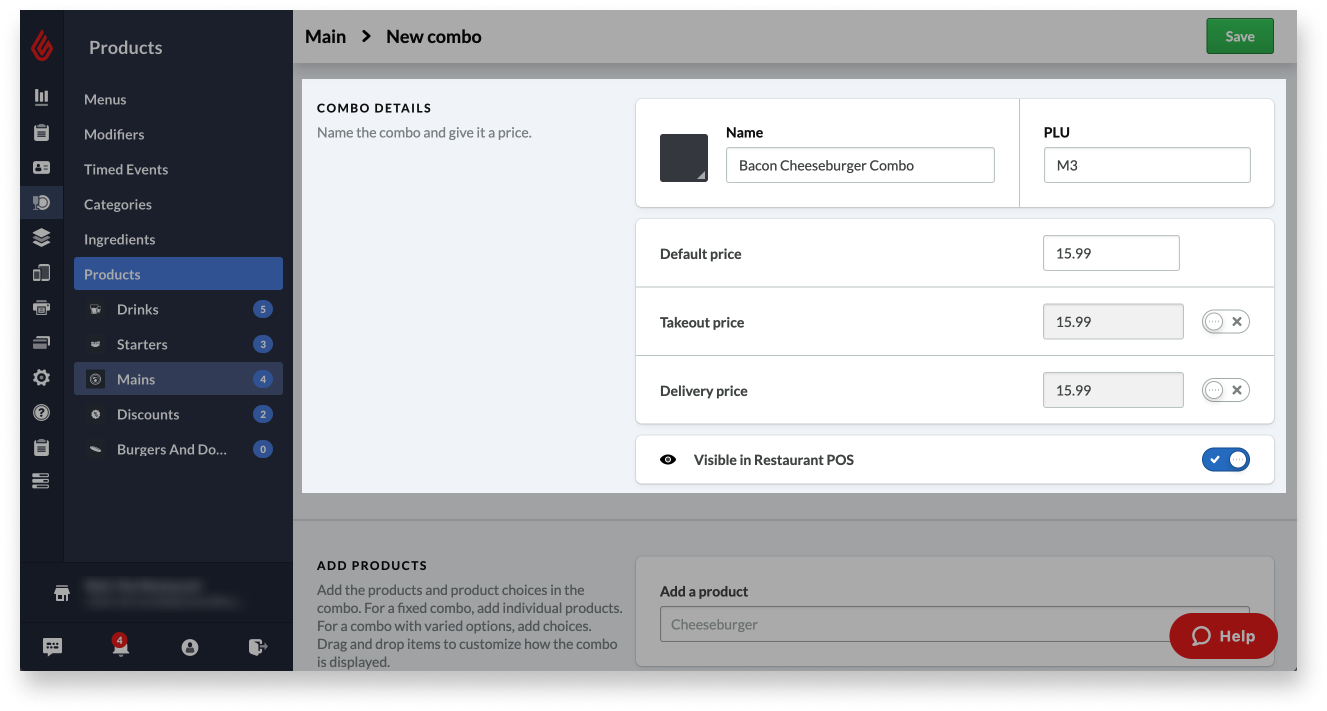
- Fill in the Combo details section with information such as a Name and Default price.
To learn more about each setting here, visit the Understanding combo settings section below.
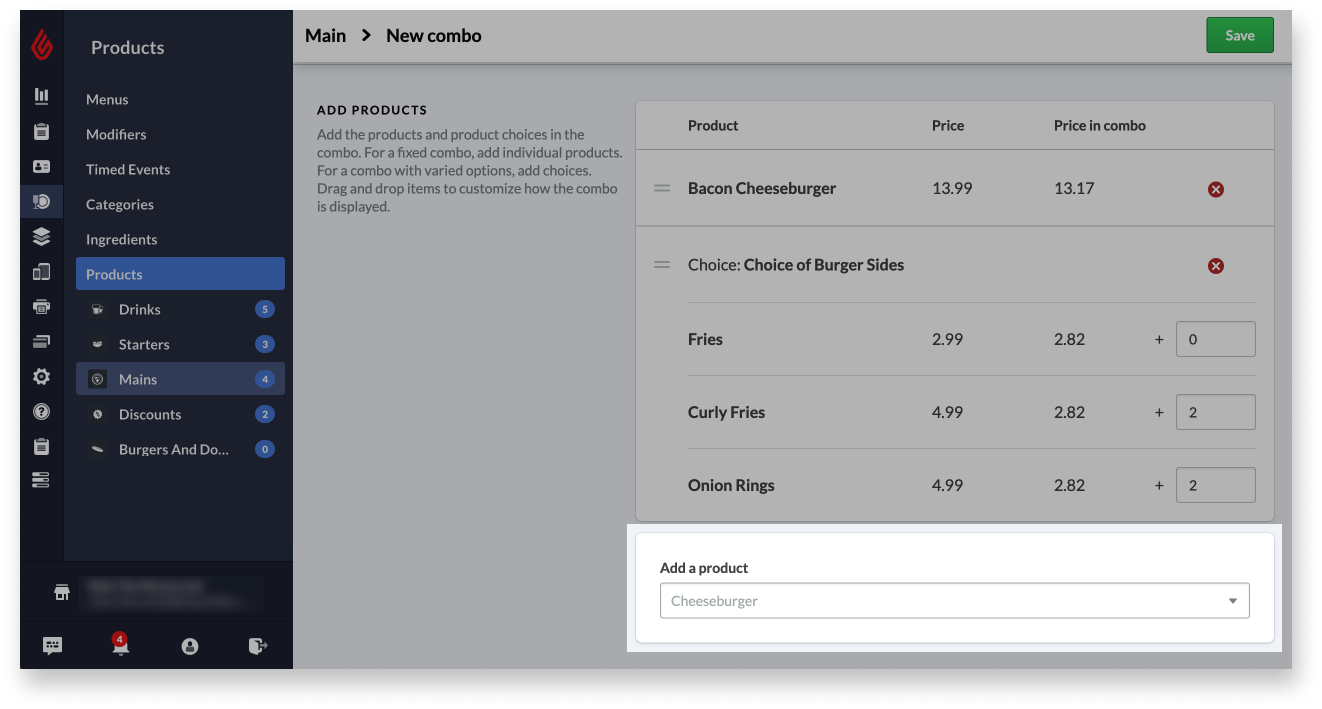
- Add existing products and choices to the combo by searching for and selecting them from the Add a product drop-down menu.
Any products or choices added will be automatically included in the combo. To learn more about this section, see Understanding combo settings below.
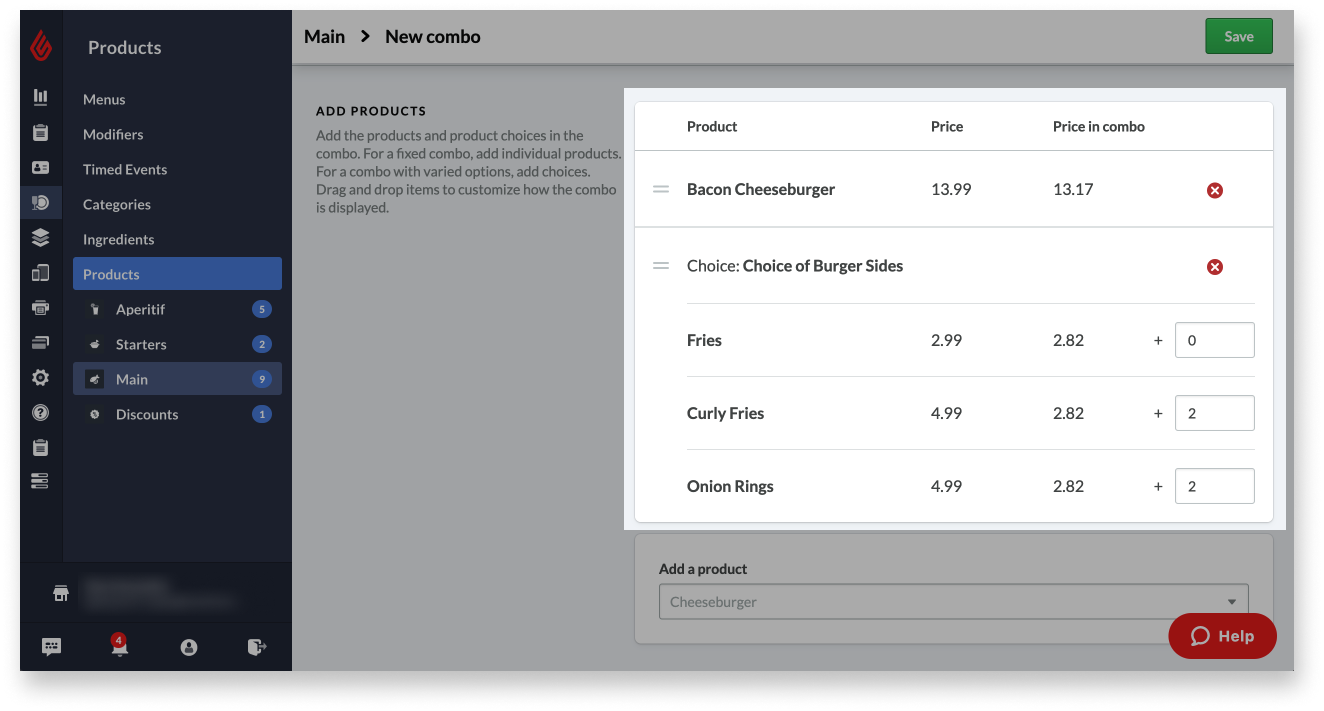
- To change the order items appear in, click and drag the two-lined icon next to an item.
- To charge more for a specific product within a choice, enter a value in the entry field next to that product.
- (Optional) Add a kitchen name, barcode, description, and image for the combo.
To learn more about each setting here, visit the Understanding combo settings section below.
- (Optional) Add existing timed events to the combo by searching for and selecting them from the Add a timed event drop-down menu.
Timed events are used to apply time-based fixed or percentage discounts to products, such as for happy hour. To learn more about this section, see Understanding combo settings below.
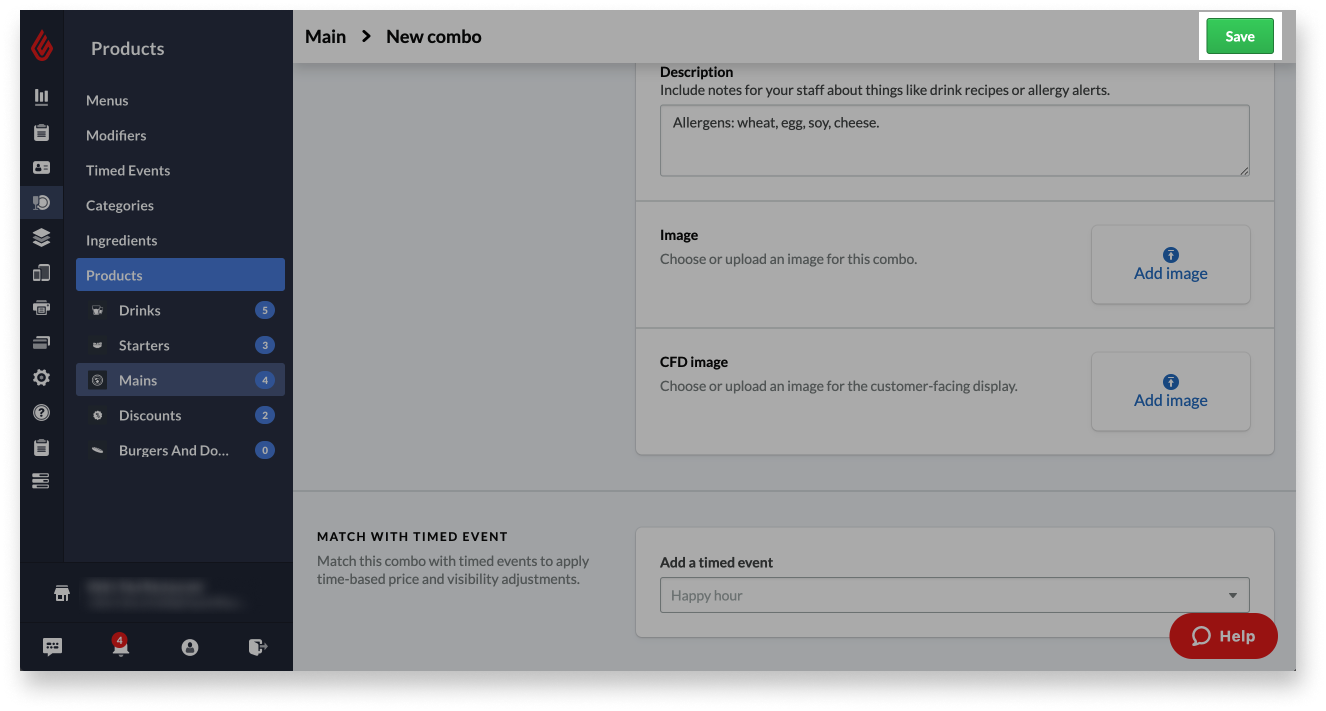
- Click Save to save the new combo.
Editing and deleting combos
Edit an existing combo in Restaurant Manager to make changes to its products, choices, or settings. Delete a combo to remove it from your menu so customers can no longer order it.
- Log in to Restaurant Manager. For help, see our Logging in to Restaurant Manager article.
- From the navigation menu, select Products > Products.
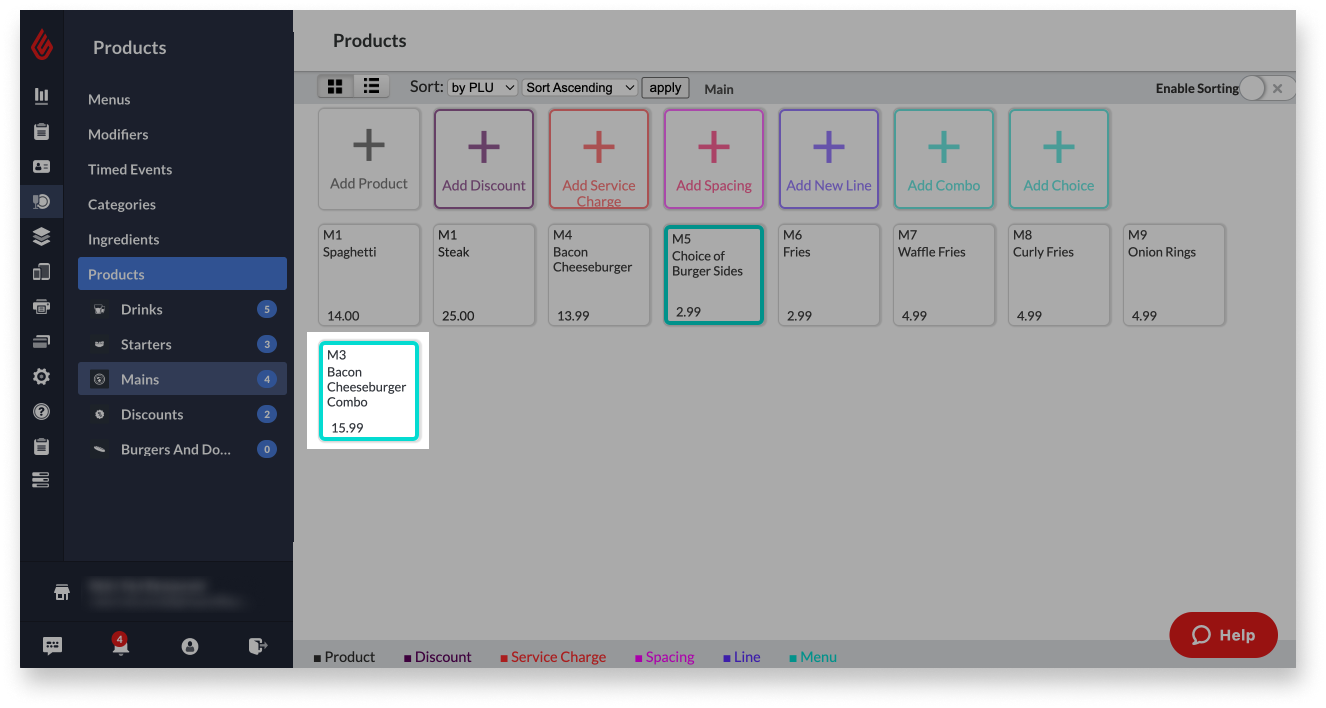
- Select the category containing a combo you want to edit or delete.
- Click a combo to edit or delete.
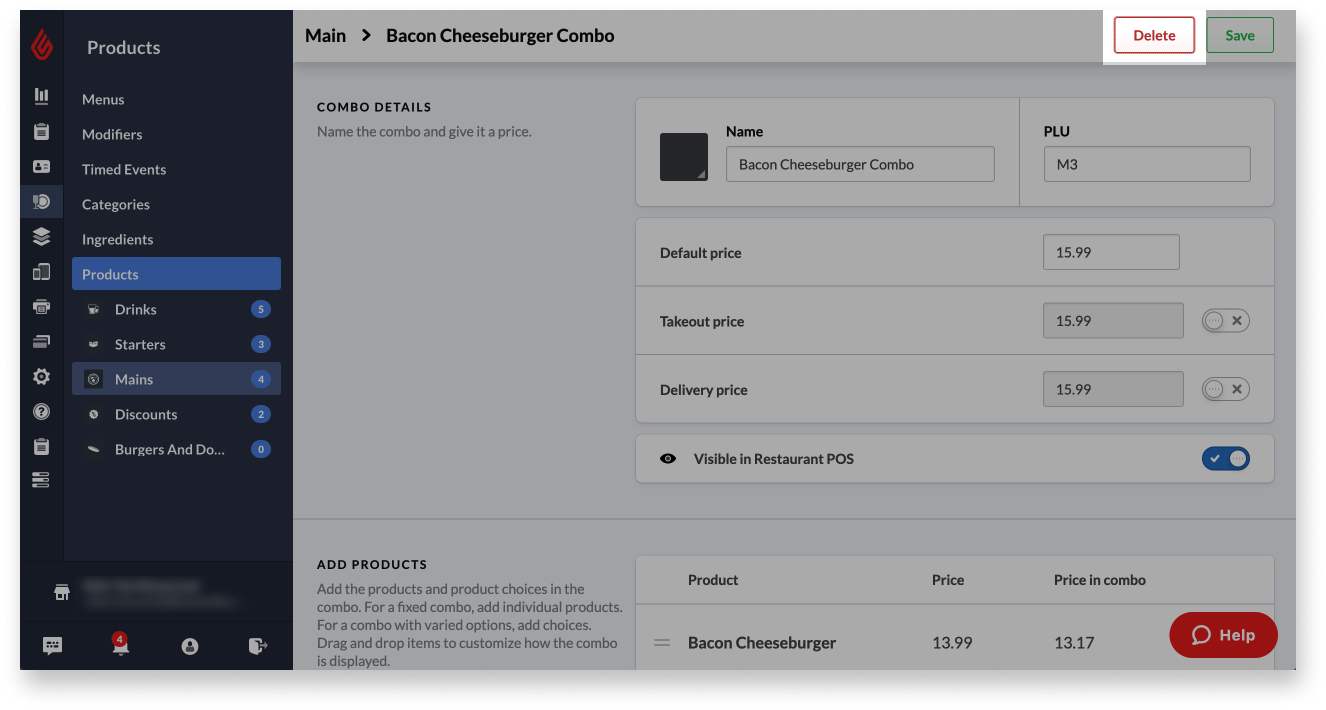
- To delete the combo, click Delete, then select Delete on the pop-up message to confirm.
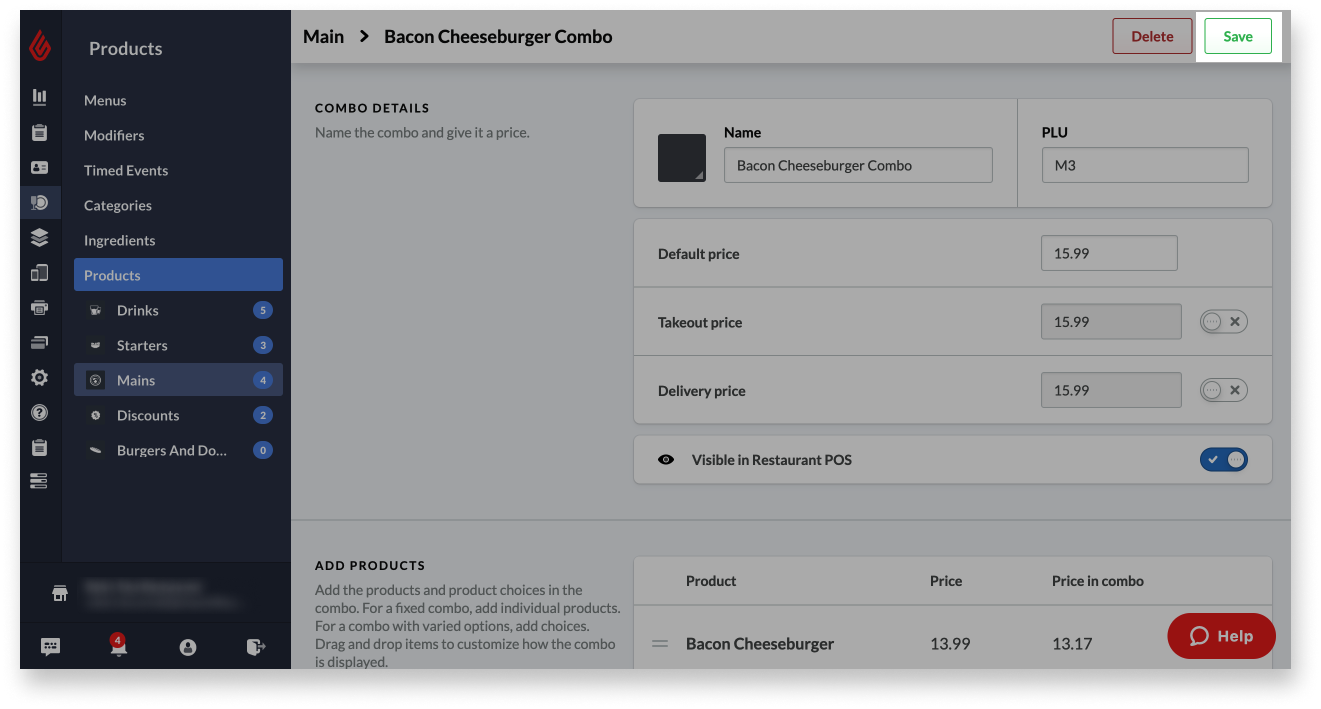
- If editing the combo, make changes to its settings, then click Save to save changes.
Understanding combo settings
This section explains the settings associated with combos. Combo settings are organized into four groups: Combo details, Add products, Add image and description, and Match with timed event.
Combo details
| Setting | Description |
| Name |
Name of the combo as it will appear in Restaurant Manager, the Restaurant POS app, and on receipts. Click the square next to the Name field to change the color of the combo's button on the ordering screen. |
| PLU | ID code automatically generated by Lightspeed. If desired, edit this field to create your own unique PLU. |
| Default price | Price charged for the combo at the POS when added to an order. |
| Takeout price |
Price charged for the combo when it is added to a takeout order. By default, this will be set to the Default price. To change the Takeout price, enable the switch next to the entry field, then enter a new price. |
| Delivery price |
Price charged for the combo when it is added to a delivery order. By default, this will be set to the Default price. To change the Delivery price, enable the switch next to the entry field, then enter a new price. |
| Visible in Restaurant POS | Set the visibility of the combo as hidden or visible within Restaurant POS. |
Add products
Add, edit, or remove products and choices in the combo. Note that products and choices must first be created on the Products page before you can add them to a combo. See Creating products or Creating and editing choices for more information.
- To add a product or choice, search for and select it from the Add a product drop-down menu.
- To remove a product or choice, click the X icon next to it and select Remove to confirm.
- To change the order items appear in, click and drag the two-lined icon next to an item.
- To charge more for a specific product within a choice, enter a value in the entry field next to that product.
Add image and description
| Setting | Description |
| Kitchen name |
Alternate name for the combo that prints on bar or kitchen tickets. If left blank, the combo name will be used. |
| Barcode | If the combo has a UPC code, enter it here to be able to scan the barcode at the POS. To learn more, visit our Setting up barcodes article. |
| Description |
Add menu information for staff, such as allergens, that will display on the Product Detail screen at the POS. |
| Image | Add an image that will display on Product Detail screen at the POS and in Show and Tell view on Lightspeed Kitchen. |
| CFD image | Add an Upselling Customer Facing Display image for the combo, if applicable. |
Match with timed event
Timed events are used to automatically apply predefined discounts or price increases based on the date and time a product is ordered. For example, a happy hour timed event could be created to automatically discount drinks by a fixed amount or percentage every weekday at a specific time.
- To add a timed event, search for and select it from the Add a timed event drop-down menu.
- To remove a timed event, click the X icon next to it and select Delete to confirm.