
Here are the basic steps to process a Quick Service order on an iPad:
1. Start a new order in Restaurant POS depending on your account configuration:
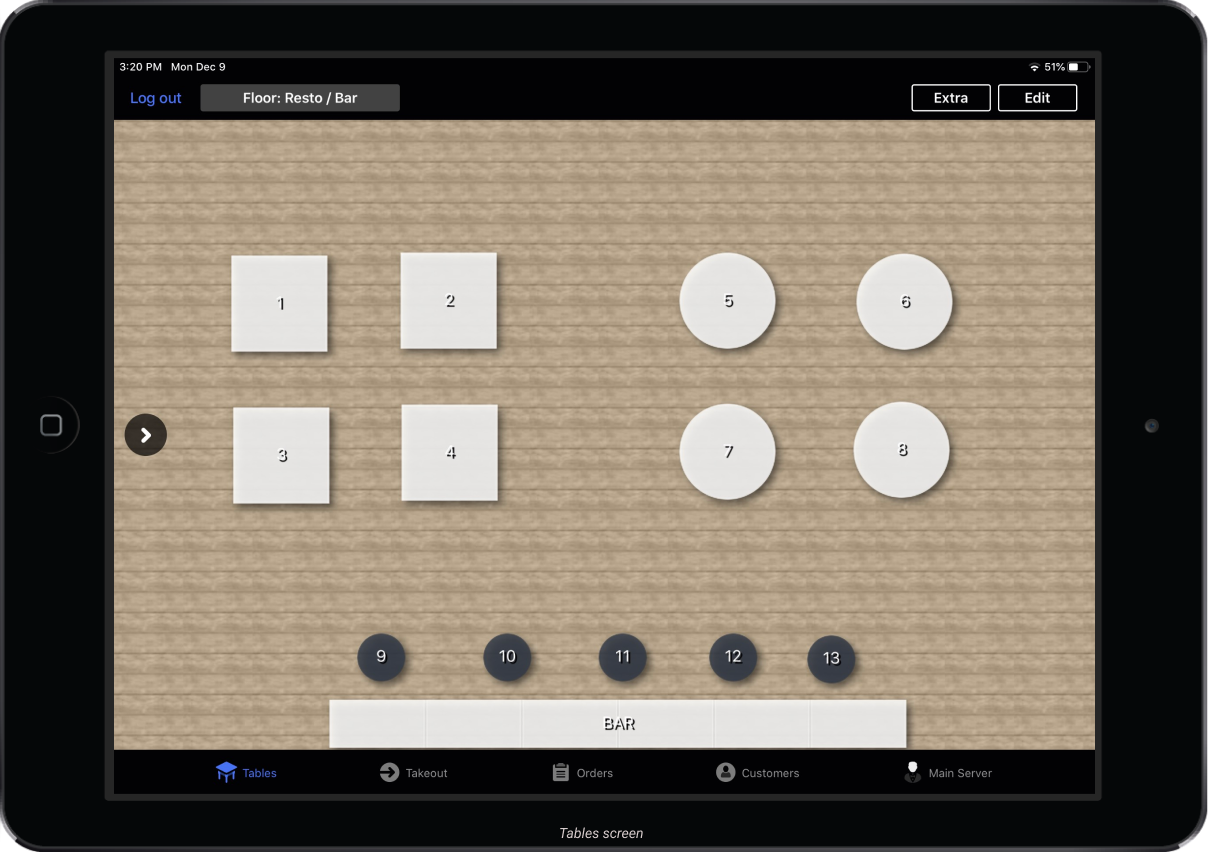
Tap an open table to start a new order on the Tables screen. If your restaurant does not have designated tables for seating, Tables can be used as order-type buttons. For example, a table may be named "Dine In" or "Takeaway" with a corresponding table (order) type. Table types have unique settings and include Restaurant (default), Takeaway Simple, Takeaway, Bar, and Delivery. For more information on creating table types, see Creating Tables. For more information on creating order buttons specifically for Takeout and Delivery-type orders, see Using tables for takeout and delivery orders.
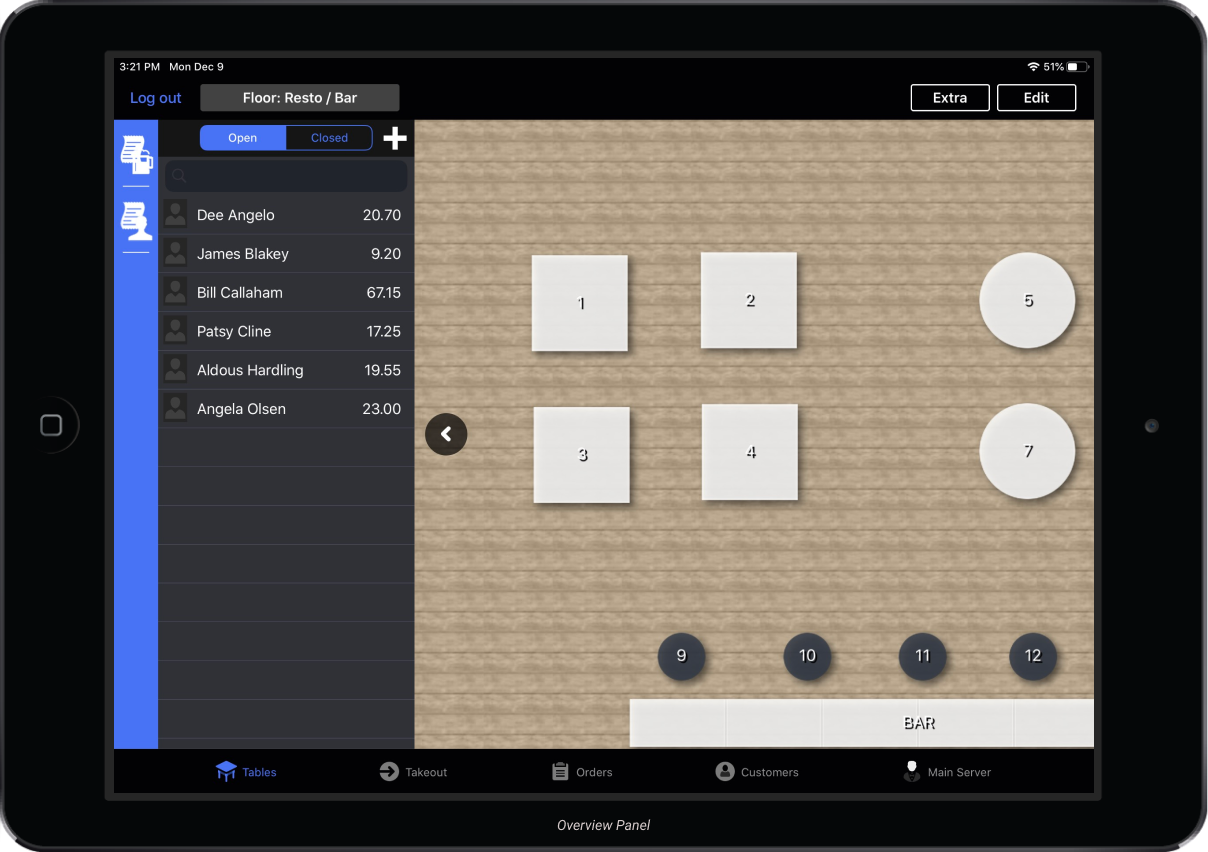
Tap the arrow on the left-hand side of the floor plan to open the Overview Panel. The Overview Panel is most often used when running tabs for customers, such as at a bar. Since Quick Service mode supports a pay-at-order workflow, it is recommended to use the Actions Panel to enable a customer tab workflow. For more information on the Overview Panel, see charging a payment to a customer tab. For more information on starting a tab in Quick Service mode, see Using the Actions Panel.
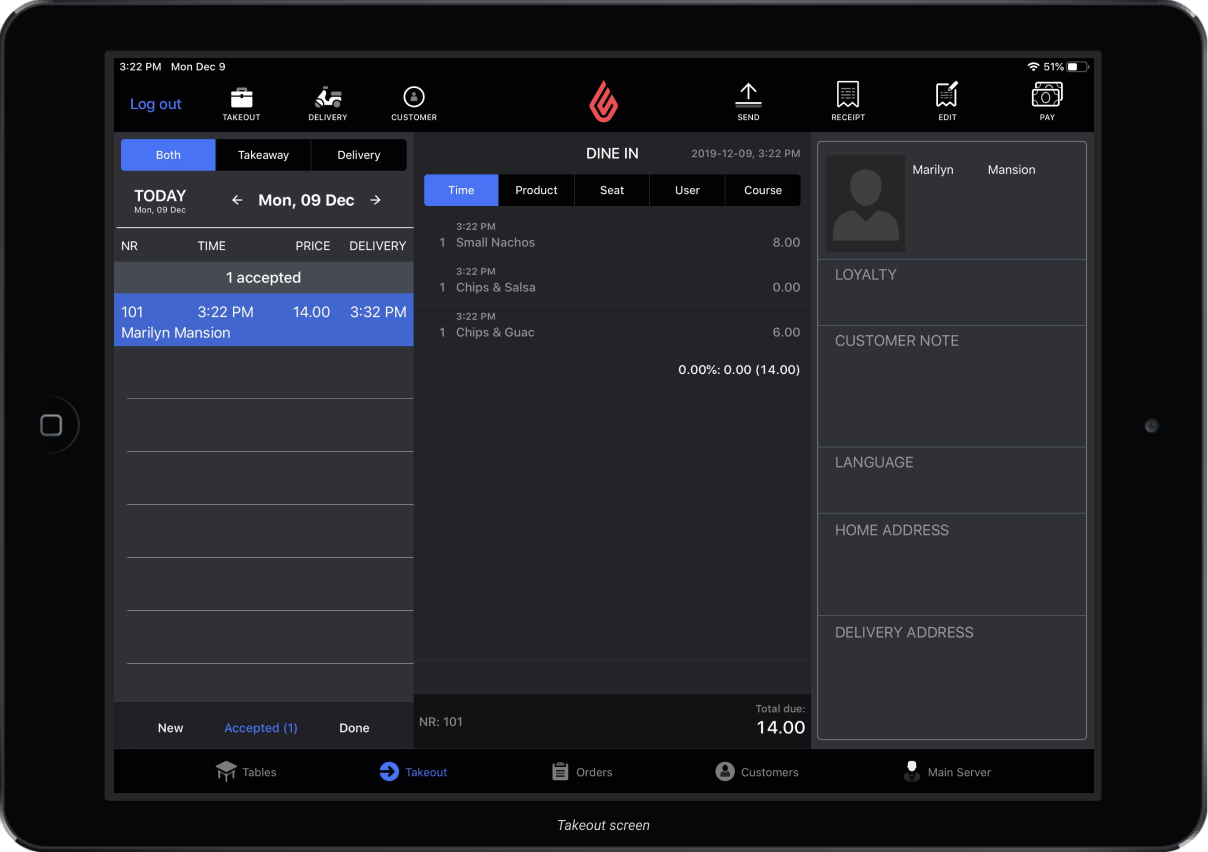
Open the Takeout screen to start a new takeout order. In order to use the Takeout screen, designated tables must first be created with either a Takeout or Delivery table type. For more information on using the Takeout screen, see Using the Takeout Screen.
2. Tap a category on the left-hand sidebar to display the products within that category. If your establishment has multiple menus, the menu selector appears directly above the category list. Note that menus must first be enabled on the device profile's app settings in order to display in the Restaurant POS. For more information on creating menus for your business, see Creating Menus. For more information about enabling menus to display on a certain device profile, see Restaurant app settings.
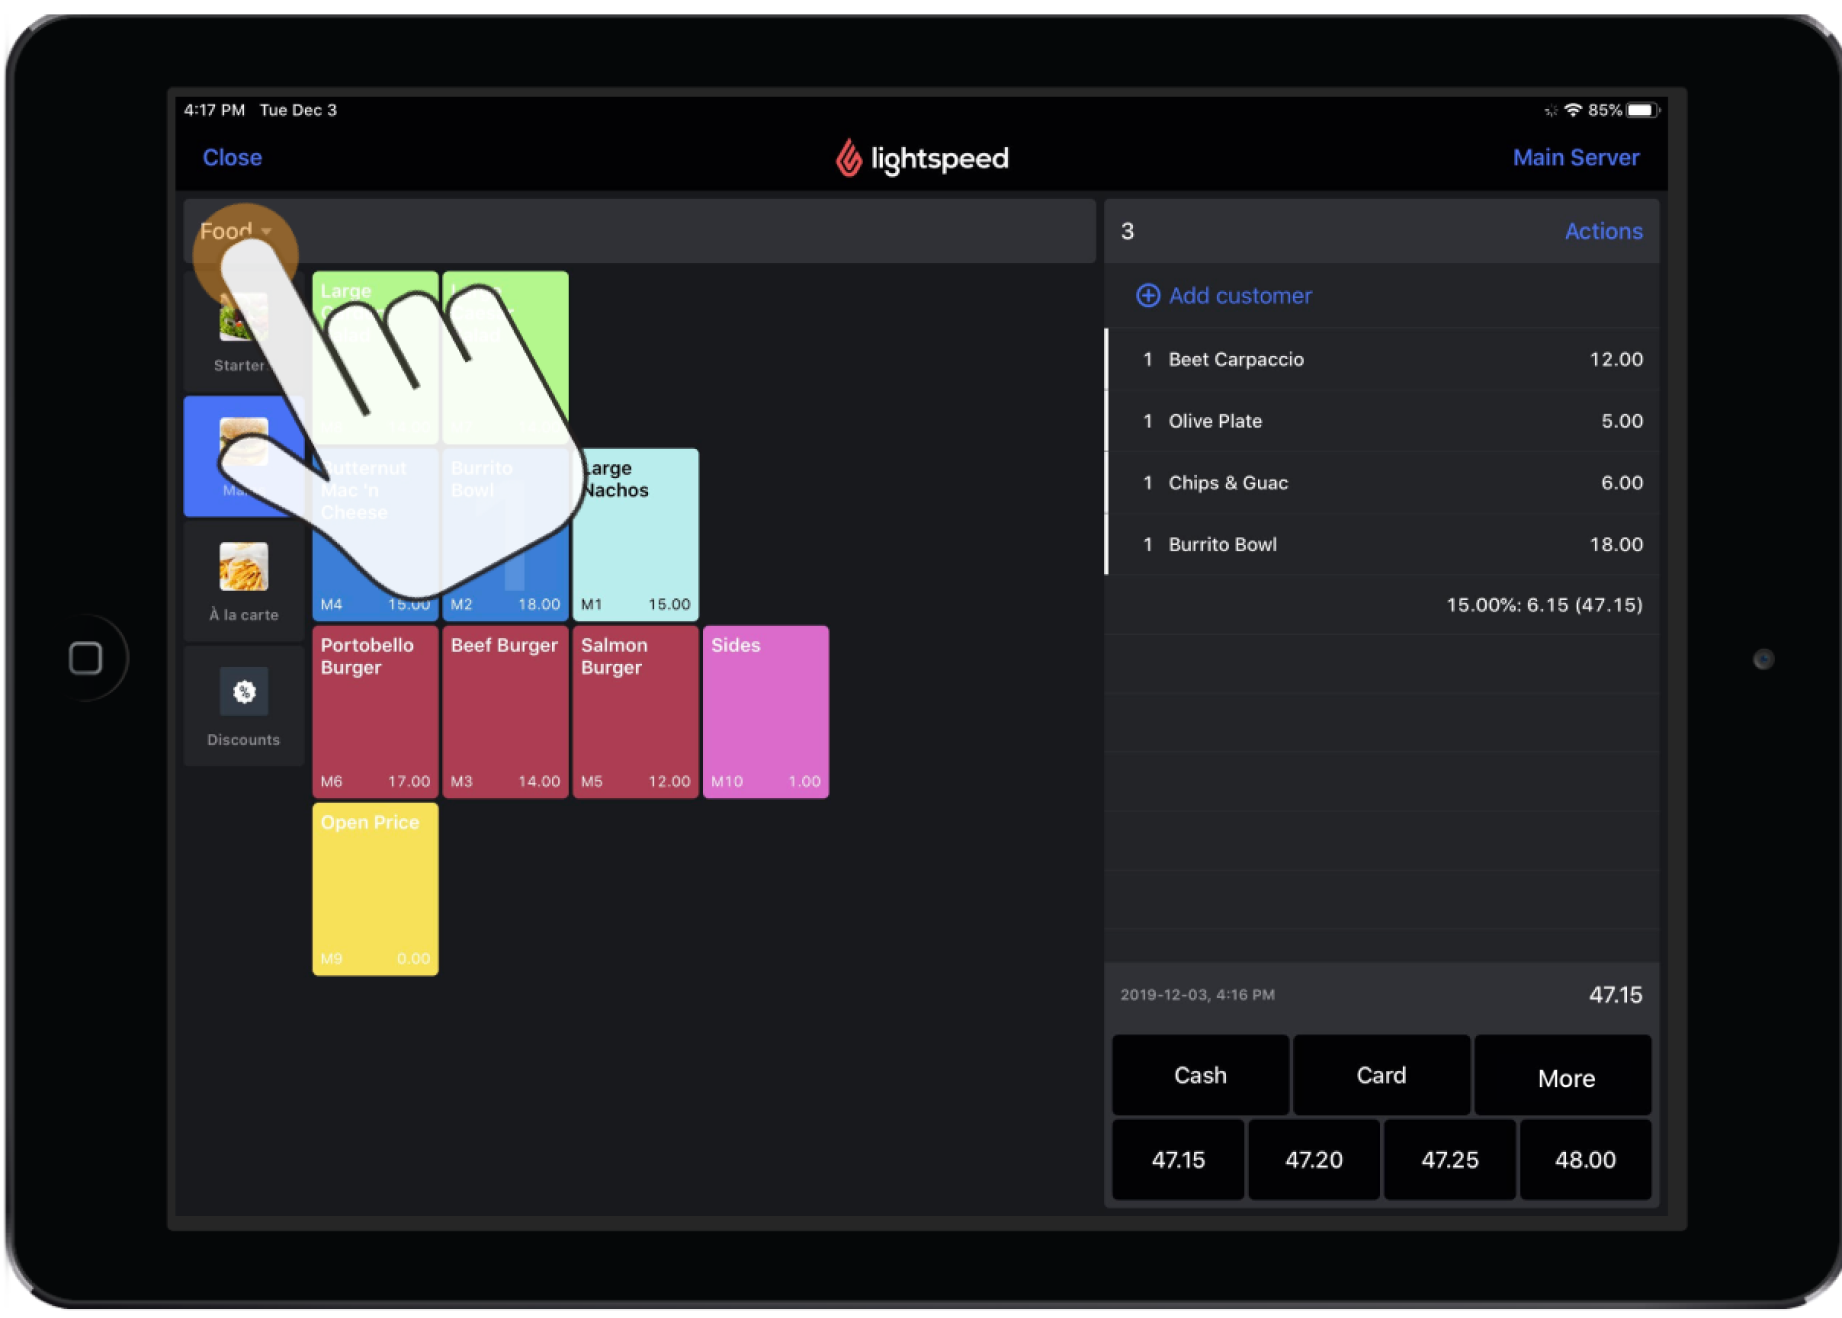
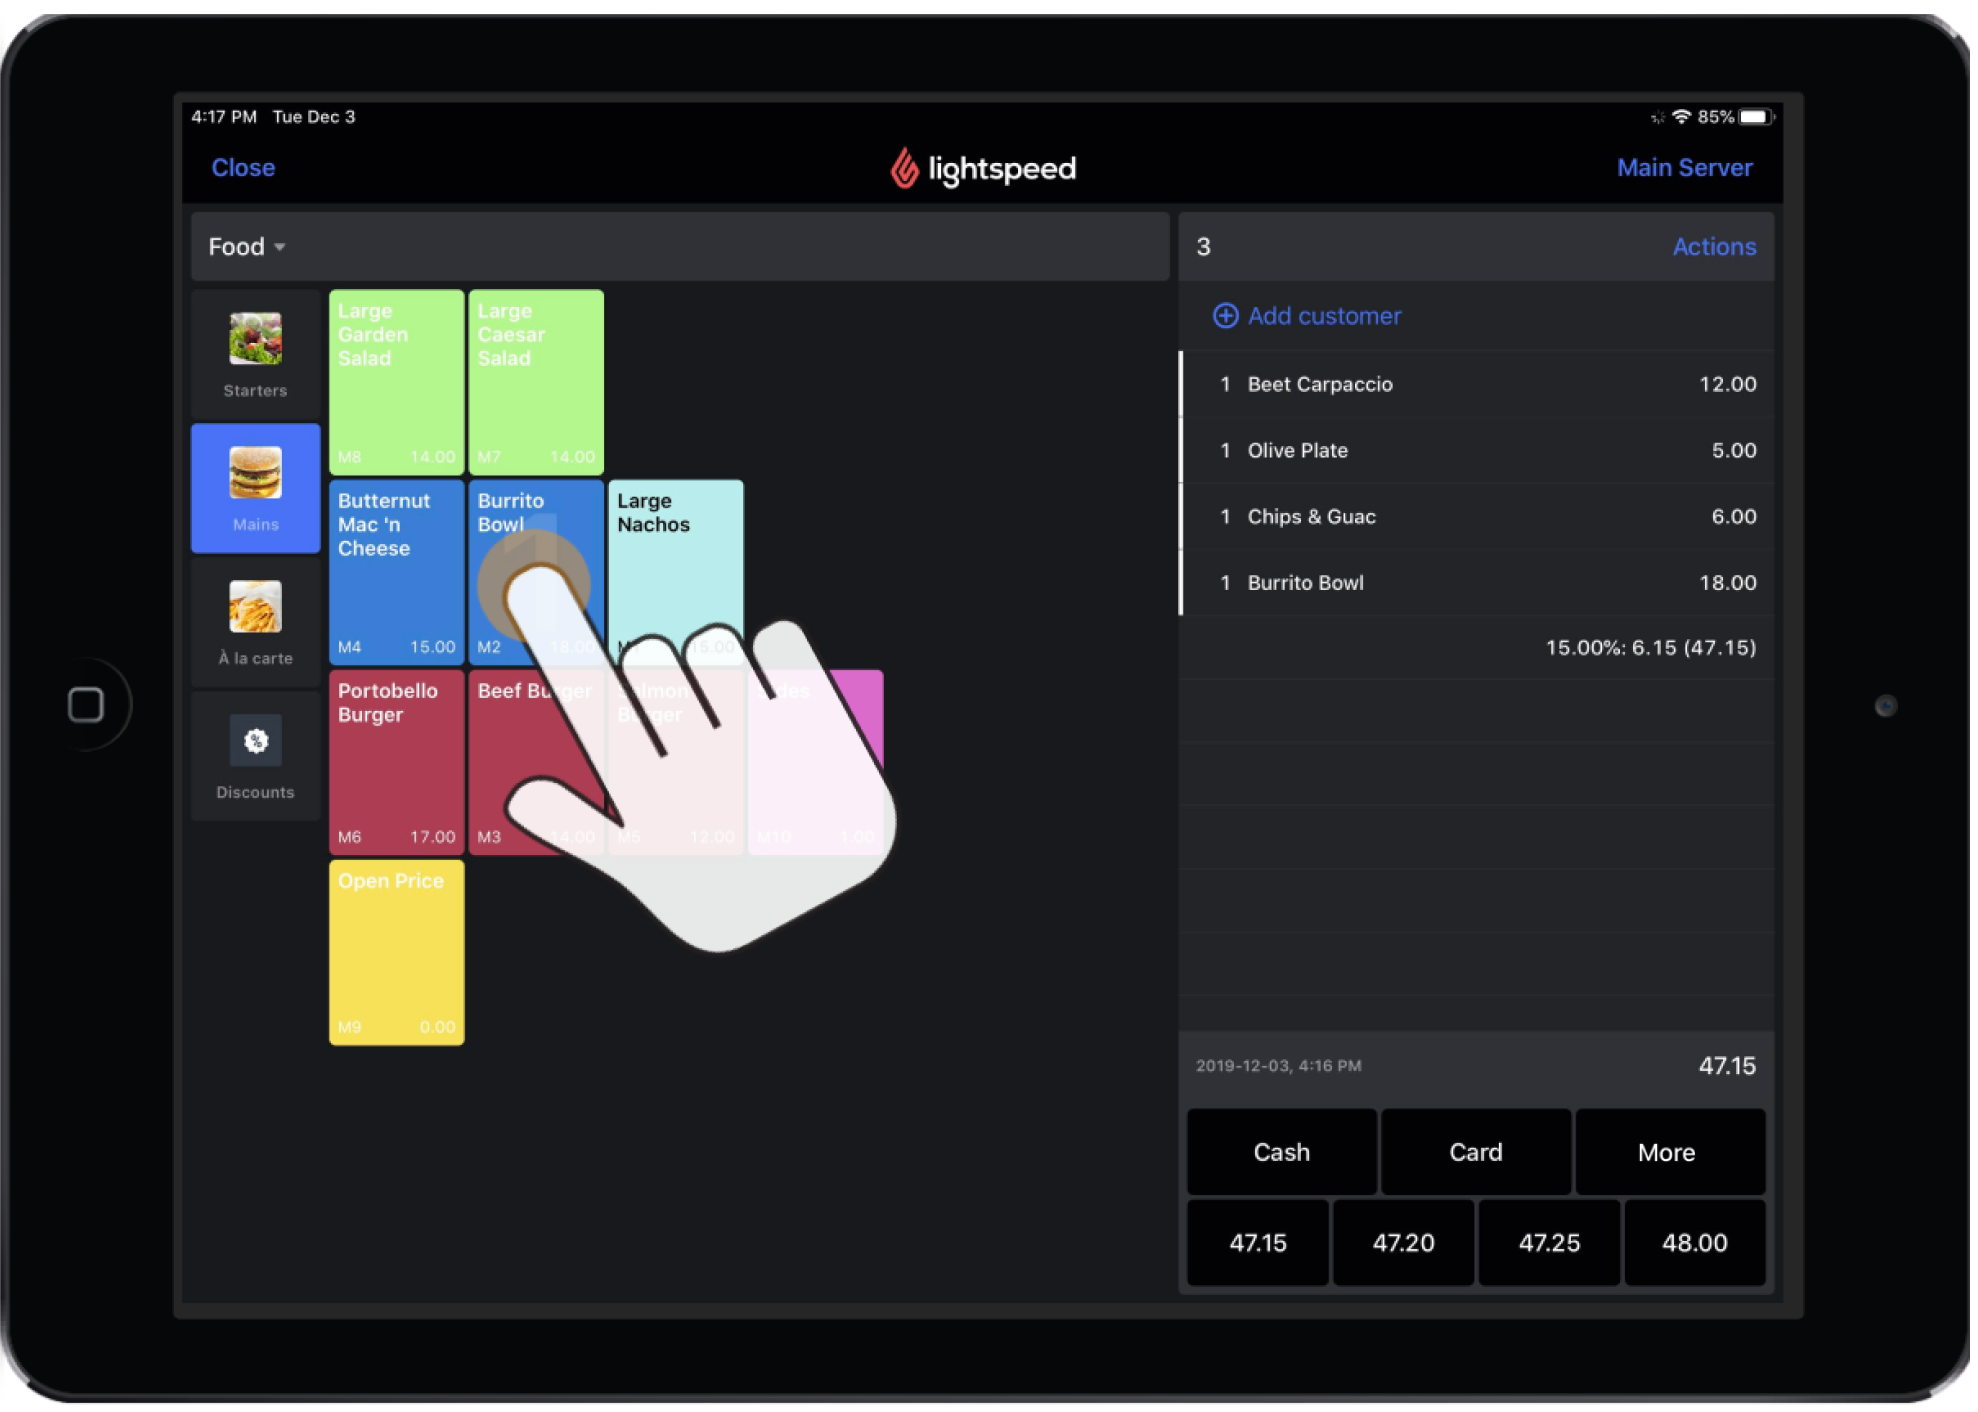
3. Tap an item to add it to the order. Once an item has been selected, it will appear on the the right-hand receipt view with the item name, ordered amount, and price.
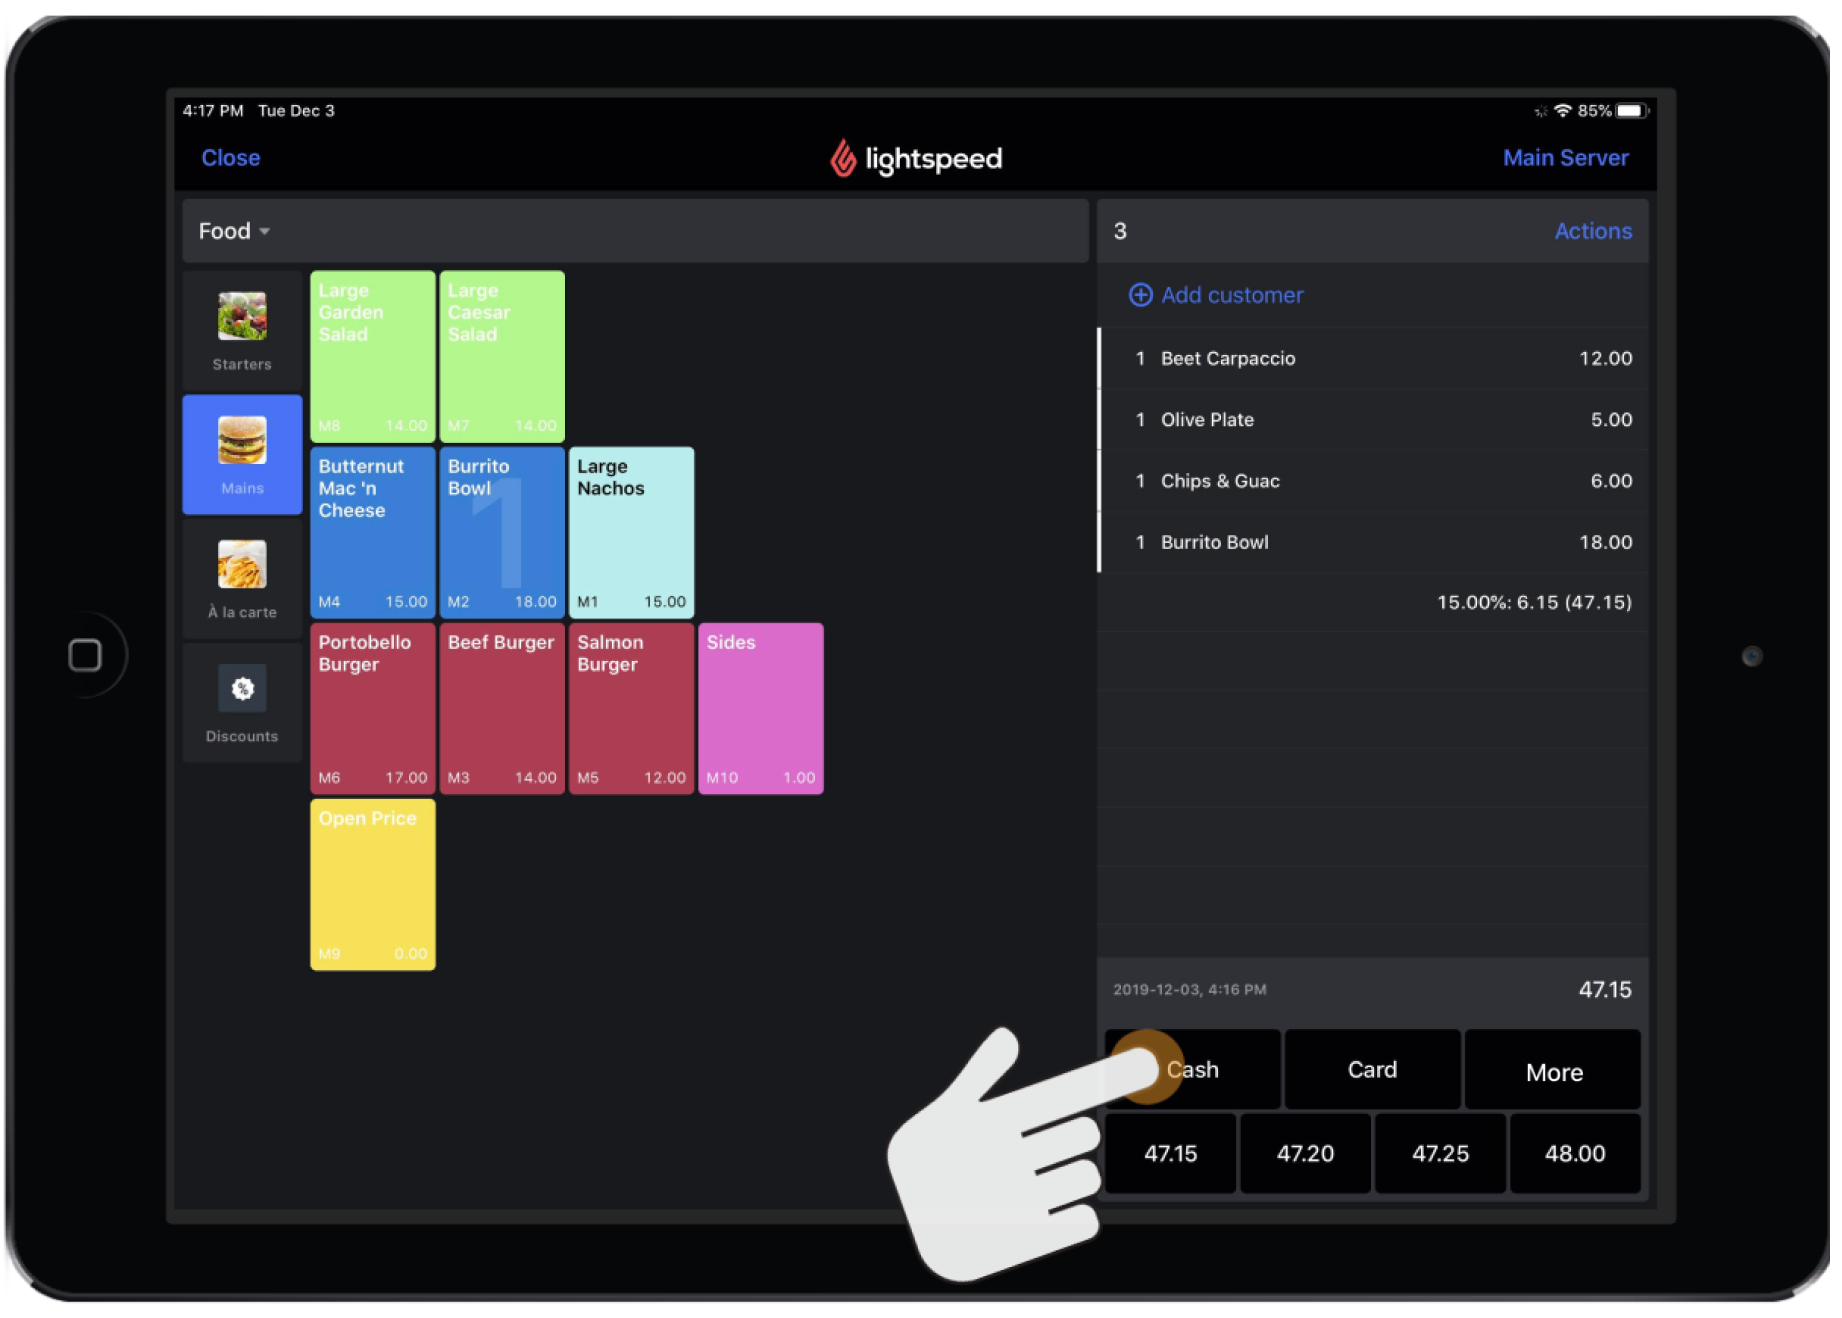
4. Once all items have been added, tap the payment method button directly on the order screen below receipt view. If the order is being paid with cash, you may select one of the cash suggestion buttons depending on the amount of cash received from the customer. For more information on accepting payments in QSR mode, see the articles Understanding payments and Processing payments.
Order items are sent to the kitchen or bar when a payment method has been selected and confirmed. Note that product categories must first be linked to a bar or kitchen receipt template in order to be sent to a bar or kitchen printer. For more information on creating printer templates, see Creating Printer Templates. To pair a template with a product category, see Creating Categories.
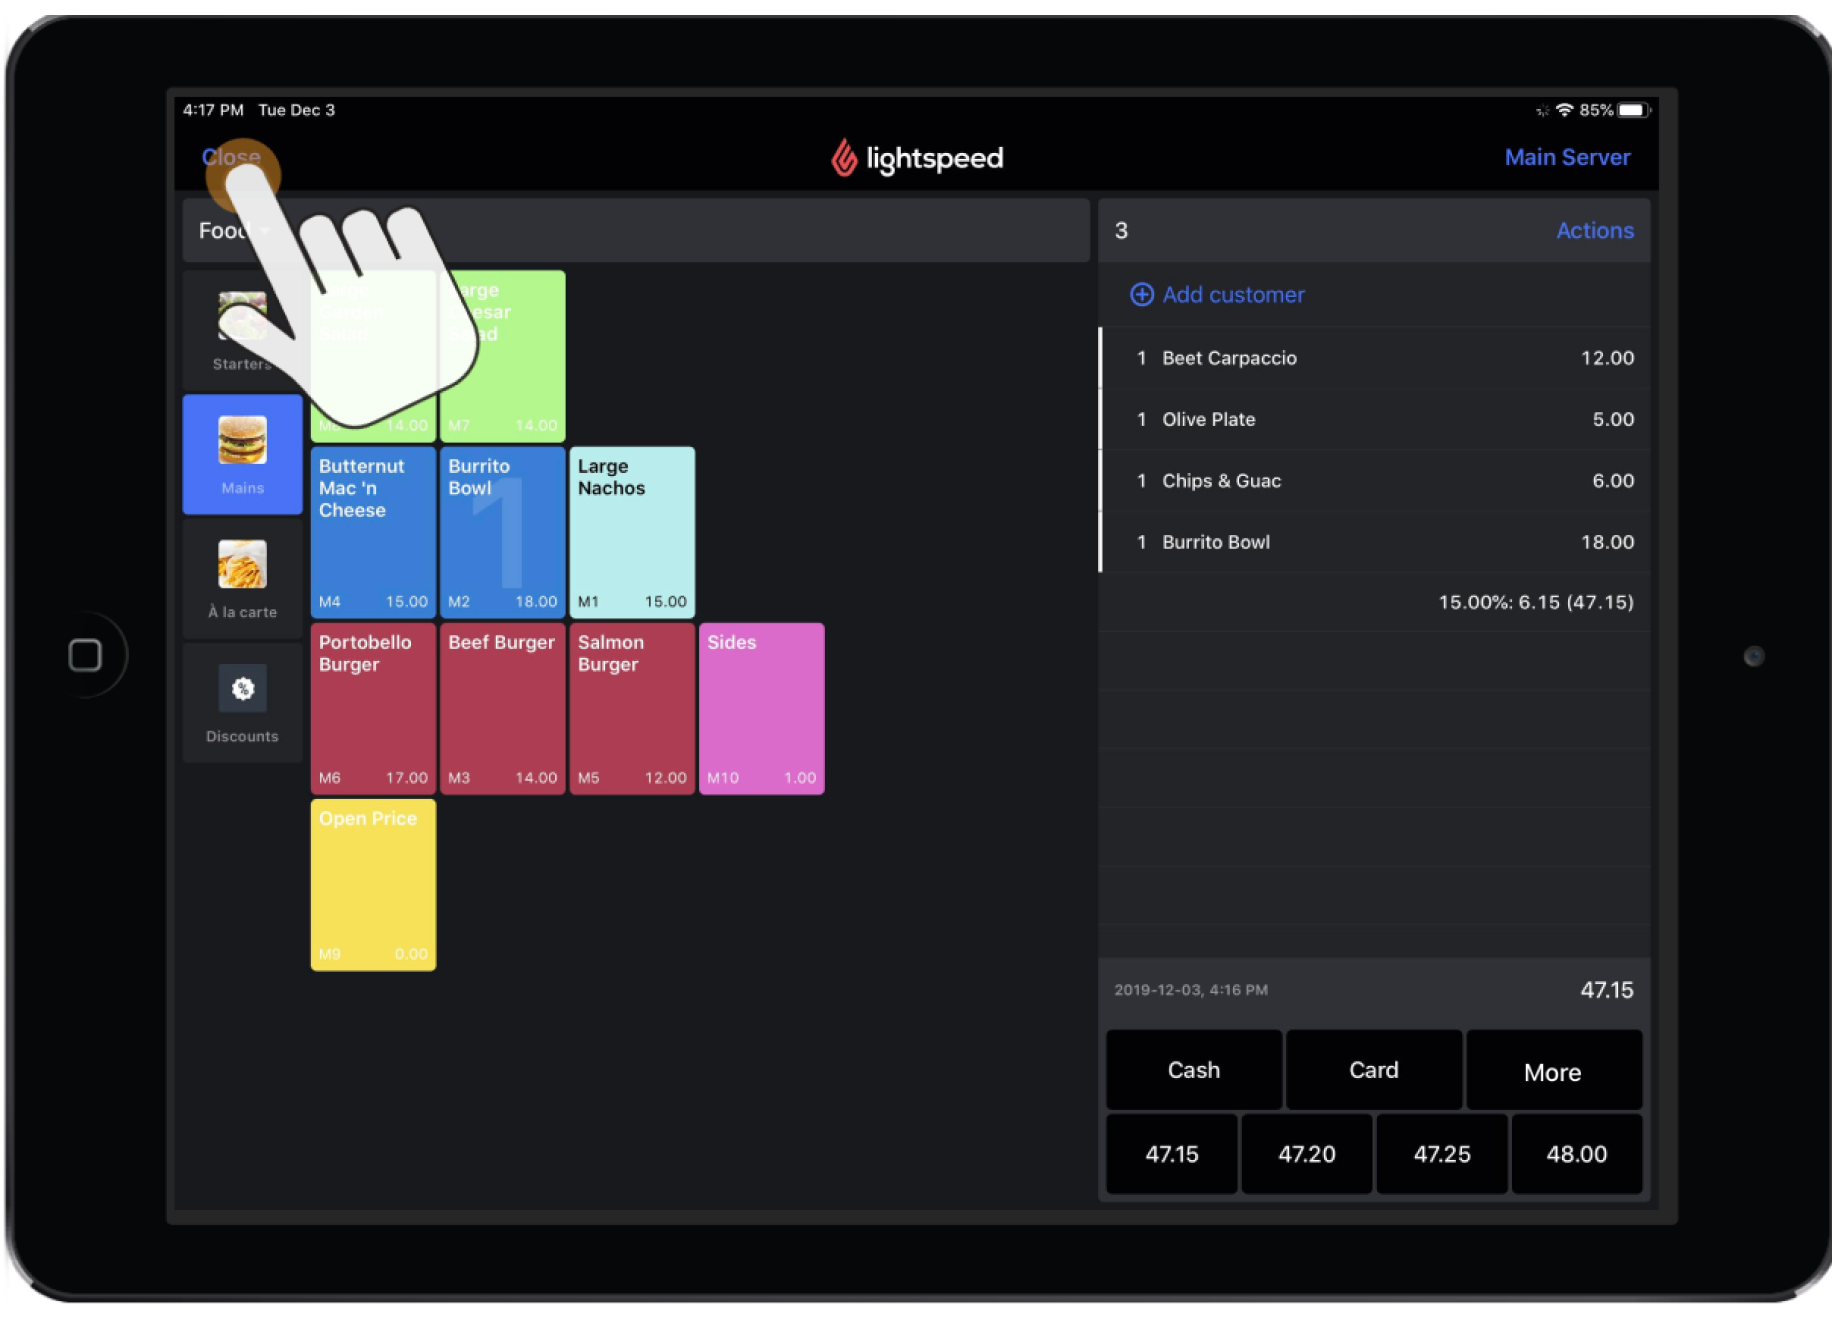
5. If at any point you wish to leave the order, tap Close at the top of the order screen. The order will not finalize until a payment method has been selected and confirmed.
What's next?
- To remove or edit items at any time, see Editing Orders
- To transfer receipts or items to another table, see Using the Actions Panel
- To assign a customer to an order, see Assigning a customer to an order
- To navigate and understand payments in Quick Service mode, see Understanding payments
- To enter payment details on a receipt, see Processing payments
- To apply additional payment options on a receipt, see Using the detailed Payments screen
- To split a bill, see Splitting a bill
- To void a payment or finalized receipt, see Voiding a payment or finalized receipt.