Enter the name, contact details, address, and social media links for your business to add this information to the customer-facing Order Anywhere page. Set business hours to determine when customers will and will not be able to place orders via Order Anywhere.
Table of contents:
Entering business information
Enter your business information, including its name, phone number, address, and social media links, in the Order Anywhere Back Office to add these details to customer-facing Order Anywhere pages. By doing so, customers will be able to get directions to the restaurant, call if they need help, and leave a review after enjoying their meal.
Note: Some details are automatically pre-filled based on the company settings entered in Restaurant Manager.
- Log in to the Order Anywhere Back Office. For help, see Logging in to Order Anywhere.
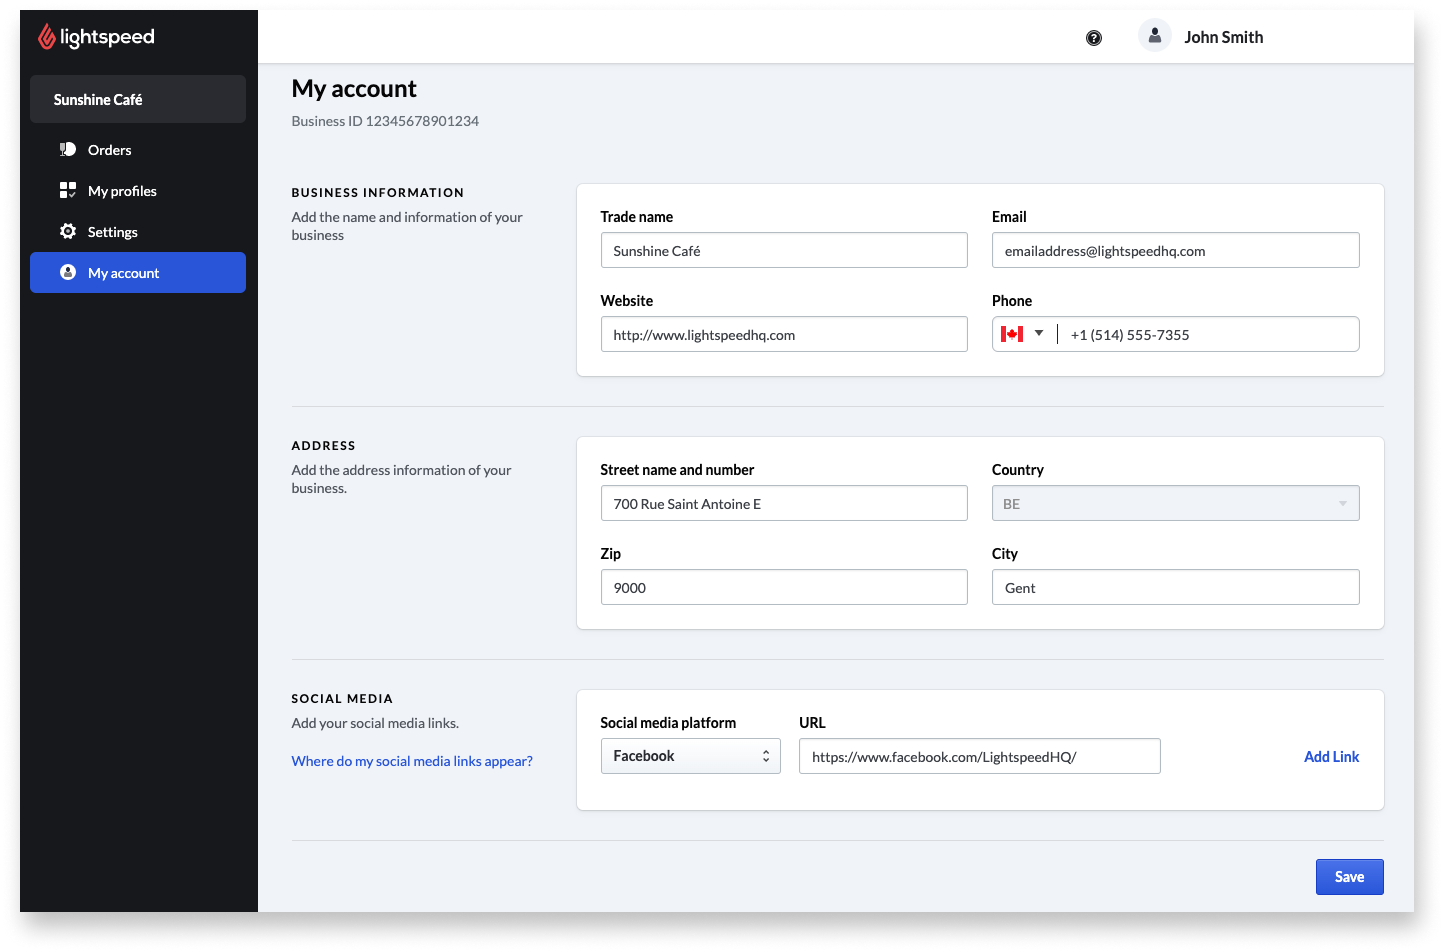
- Click My account on the navigation bar.
- Enter a Trade name.
This is your company name and it appears in the header of customer-facing Order Anywhere pages. - (Optional) Fill in the other details in the Business Information section, including the Email, Website, and Phone for your business.
Website and Phone are used to generate Website and Call us buttons that appear on customer-facing Order Anywhere pages. - (Optional) Enter business address information in the Address section, including the Street name and number, Zip, and City of your business.
This information is used to generate a Directions button that appears on customer-facing Order Anywhere pages. - (Optional) Add social media links to the footer of customer-facing Order Anywhere pages:
- Select a social media platform from the Social media platform drop-down.
Available platforms include Facebook, Instagram, Twitter, TripAdvisor, Google My Business, TikTok, and Generic URL (any website). - Enter the URL for the selected social media platform in the URL field.
- (Optional) To add additional social media links, click Add Link and repeat steps 6a–6b.
- Select a social media platform from the Social media platform drop-down.
- Click Save to save changes.
Setting business hours
Set business hours to determine what times customers will be able to place orders via Order Anywhere. Customers can place orders up until the closing time entered on this page for each day. If customers visit your Order Anywhere page after the closing time, they will see a message that the restaurant is closed.
- Log in to the Order Anywhere Back Office. For help, see Logging in to Order Anywhere.
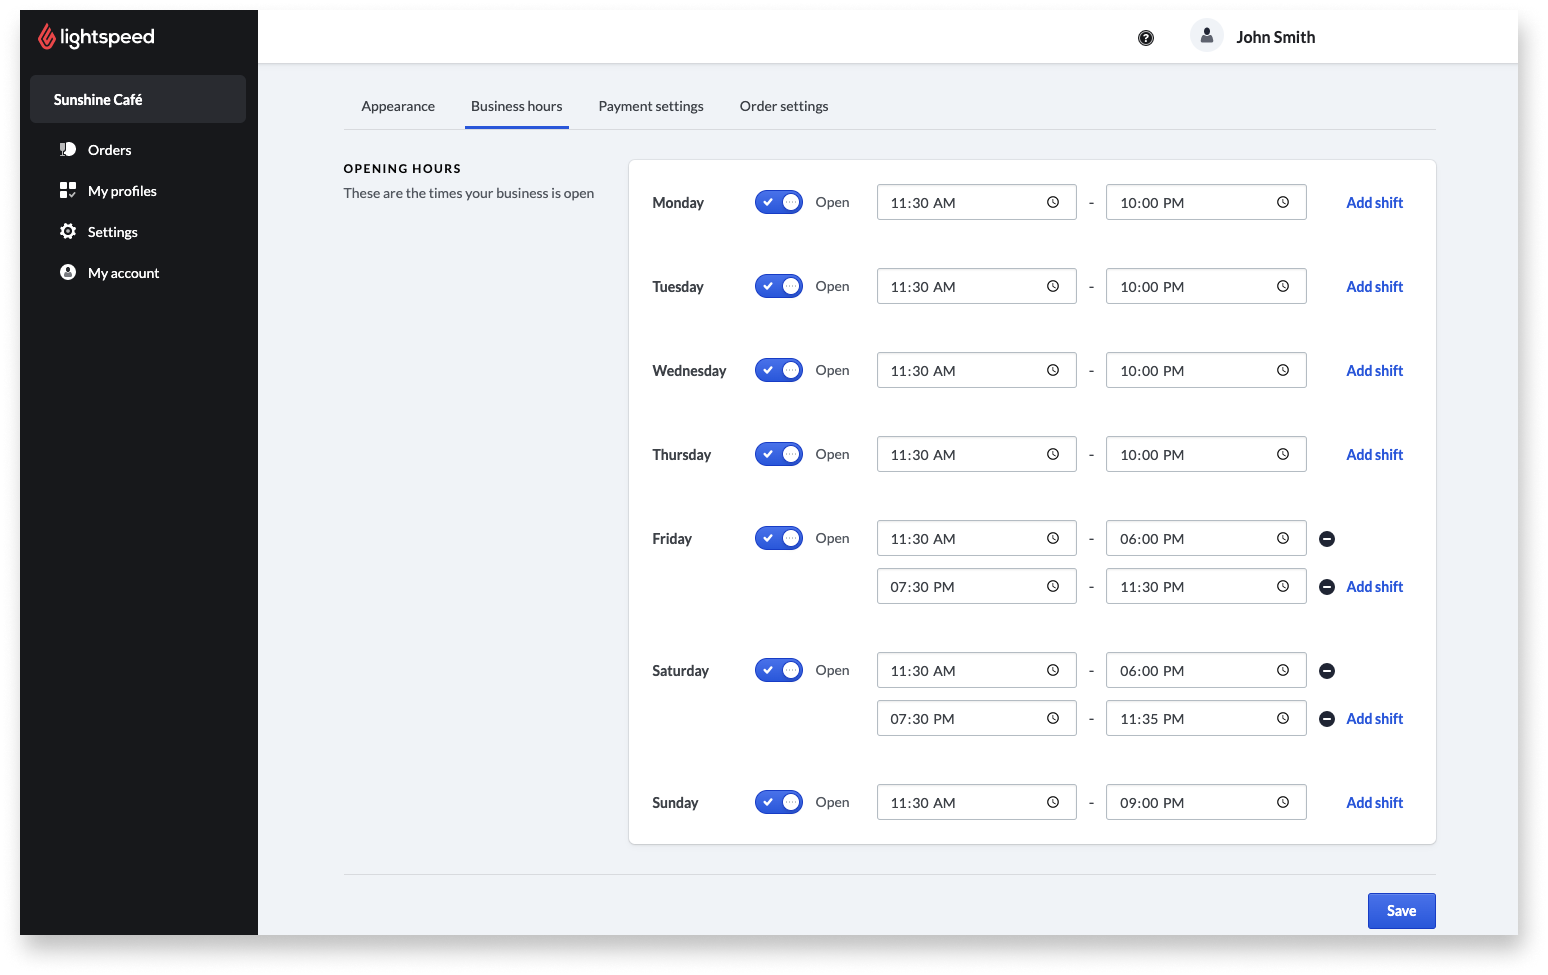
- Click Settings on the navigation bar.
- Select Business hours.
- Toggle on the switch next to each day of the week that you accept online orders.
- Enter the hours during which you accept online orders for each open day.
- (Optional) Click Add shift to enter additional times for a specific day.
For example: to prevent online orders from being placed for the peak 6–7 PM hour, set up two shifts that run from opening to 6 PM and from 7 PM to closing respectively. - Click Save to save changes.
What's next?
- Enable online and in-person payments to give customers a way to pay for orders placed via Order Anywhere.
- Create profiles to determine if customers will be able to use Order Anywhere to place dine-in table orders, takeaway or pickup orders, or browse the menu without ordering capabilities.
- Customize optional order and appearance settings to add an average order preparation time and banner image to ordering pages.
- After setting up, learn how to use and manage Order Anywhere.