The Locations page of the Back Office is where you can set important information and settings for your Order Ahead web app: enable curbside pick up and delivery, add a custom note for your customers or set certain hours for accepting orders.

This article explains how to configure the following settings from the Location page:
- Locations page
- Location status
- Location details
- Payments
- Payment types
- Menu configurations
- Order options
- Delivery options
- Note to customers
- Prep time
- Ordering hours
- Peak hours
- Peak hour prep time
- Location visibility
Locations page
The Locations page provides a snapshot of your Order Ahead businesses. If you just have one business location, you will see just one location on this page. If you have more than one location set on Lightspeed Restaurant, you will see these locations listed here. The Location page provides an overview for each Order Ahead location: view each location name, address, phone number, online status, and visibility.
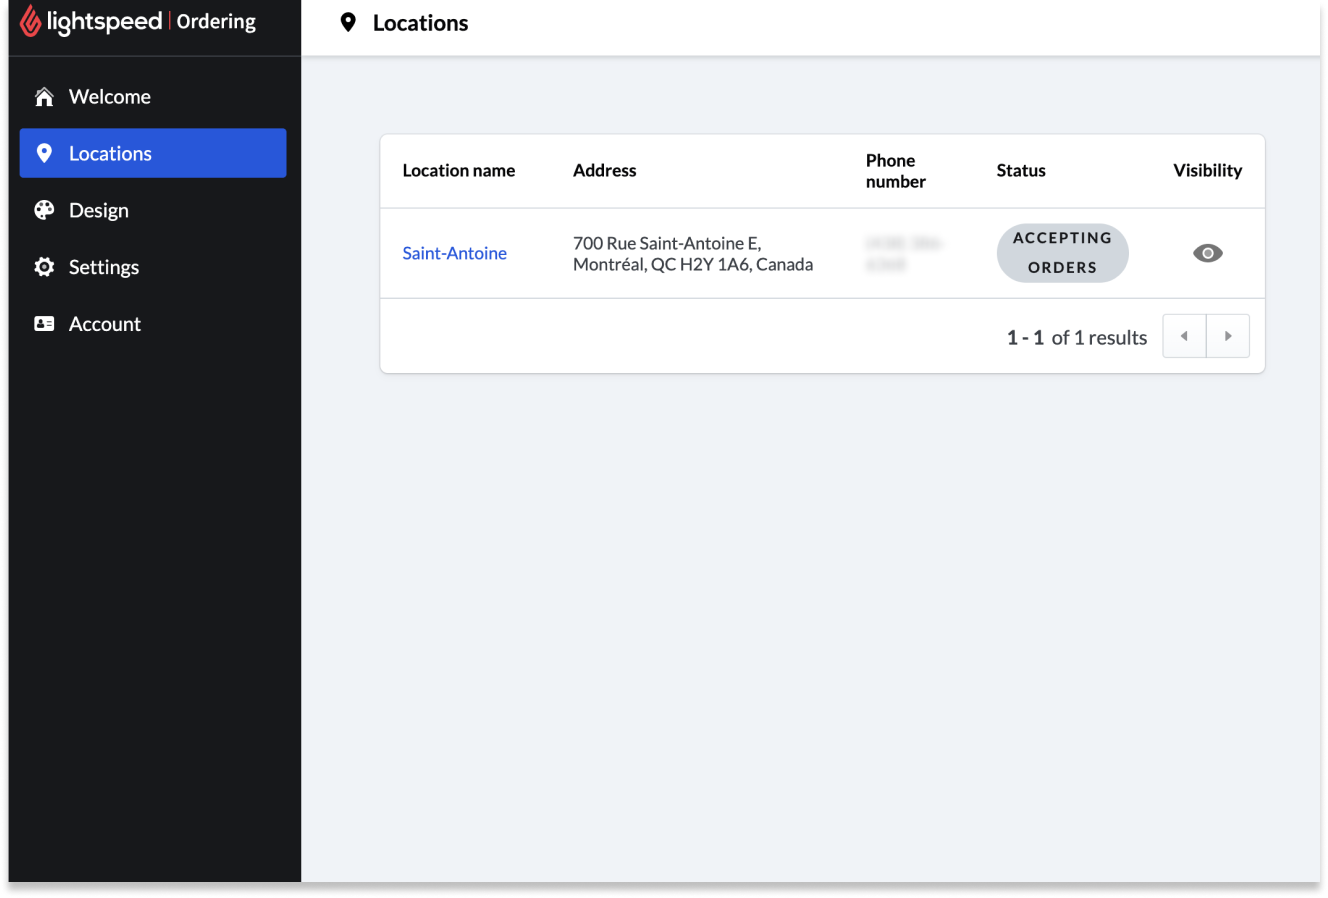
Edit each location individually by selecting the location name on this page. After selecting a location from the previous page, you will be brought to that location's detail page where you can edit the following info.
Location status
When the Online order status setting is enabled, this location is accepting orders within ordering hours. When this setting is disabled, ordering is paused. This is a useful setting if you're ever in a rush and need to pause online orders for a while.

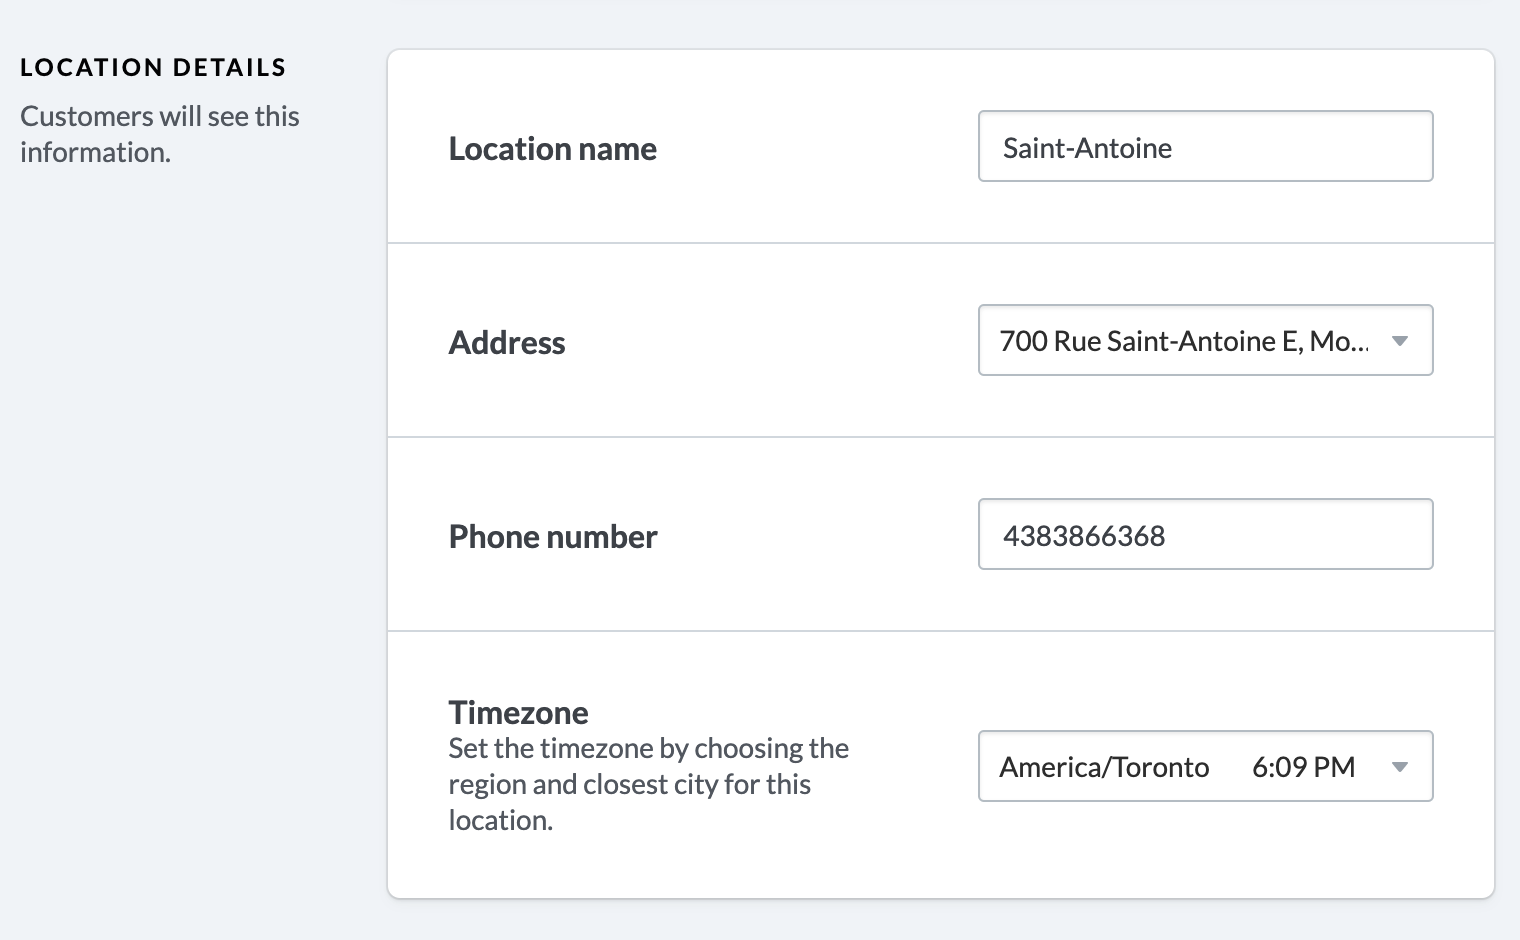
Location details
The Location details section includes the main contact information for this location. The location name, address and phone number details are pulled from Restaurant Manager.
Specify your location's timezone by choosing the region and closest city.
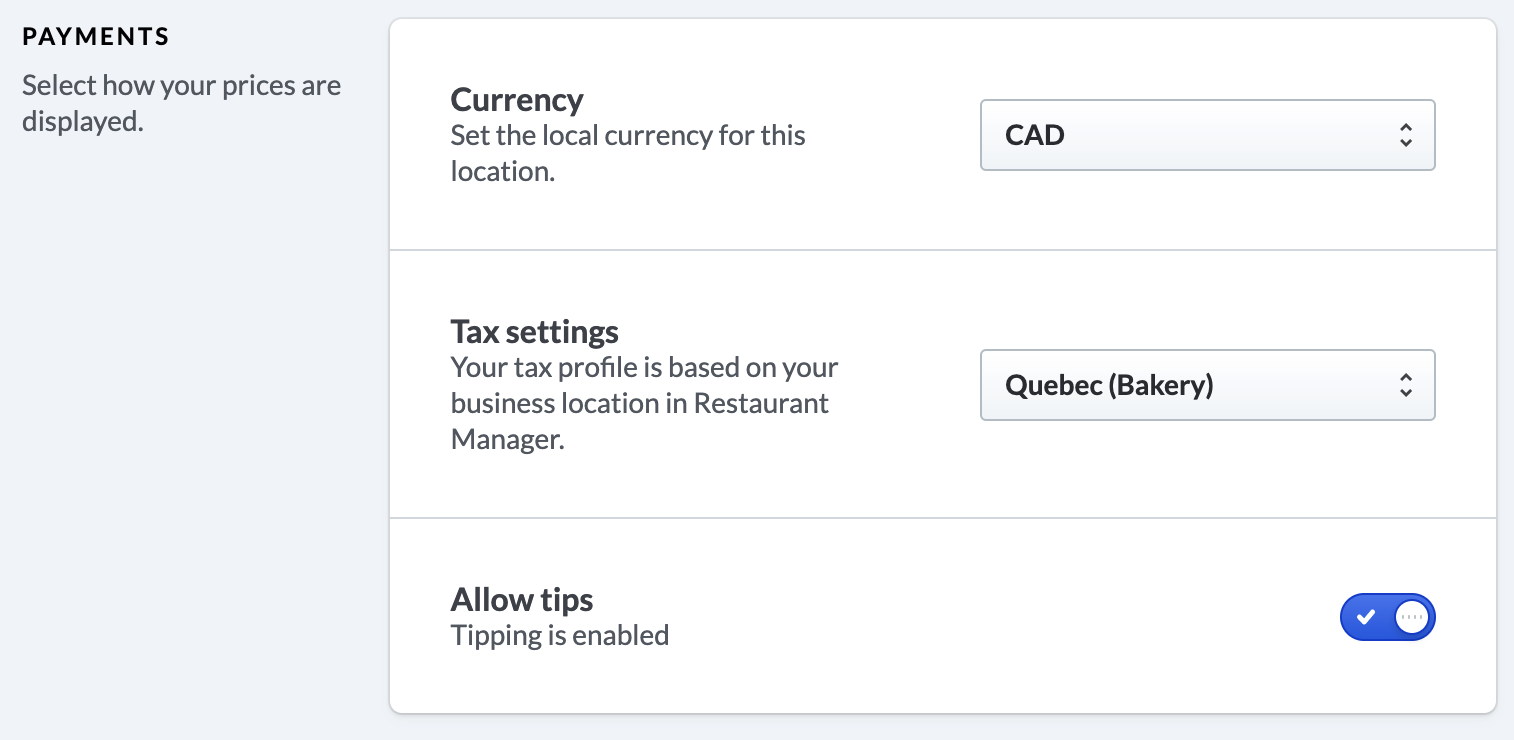
Payments
The payments section is where you can adjust settings related to payments.
Currency is determined from your Restaurant Manager settings - to change the currency, simply select the dropdown and specify the local currency for this location.
Your Tax Setting is automatically pulled from your Restaurant Manager settings and based on your region. To adjust your regional tax profile, use the dropdown and select a tax profile for the location. You can select a Canadian tax profile (for select provinces), tax inclusive (VAT) or tax exclusive (US). It's important that your tax setting on Order Ahead matches your tax profile on Restaurant Manager. If you're ever in doubt, please reach out to Support.
Enable the allow tips setting if you want customers to have the option to leave a tip on their order.
Payment types
Choose how your customer pay for their order under Payment types.
If you want to allow customers to pay for their orders in-store, enable Allow in-store payment. When this setting is on, customers can choose to pay for their orders online or at pickup from the Order Ahead web app. Please note the in-store payment option is available for pickup or dine-in orders only (not delivery).
If you're located where these payment methods are available, enable iDEAL or Bancontact so customers can pay with these payment types.

Menu configurations
The Menu configurations settings allow you to customize how the menu appearance on your Order Ahead web app. By turning on the enable menu sorting setting, you can specify if you want your menu items to appear alphabetically or by SKU.

Please note that your Order Ahead menu items are edited from Restaurant Manager. For more information on creating your menu, see configuring your online menu from Restaurant Manager.
Order options
The Order options settings allow you to give additional ordering options for your customers.
Turn on offer curbside pickup if your business offers this service. If you offer curbside pickup, provide custom curbside pickup instructions to display on your customer's order cart.
The enable advanced ordering setting allows your customer to choose a future time for when they receive their order. If you enable advanced ordering, specify whether customers can order for the current day only or up to 7 days in advance.
Future order prep times can be managed through filtering order times on the Takeout screen of Restaurant POS.
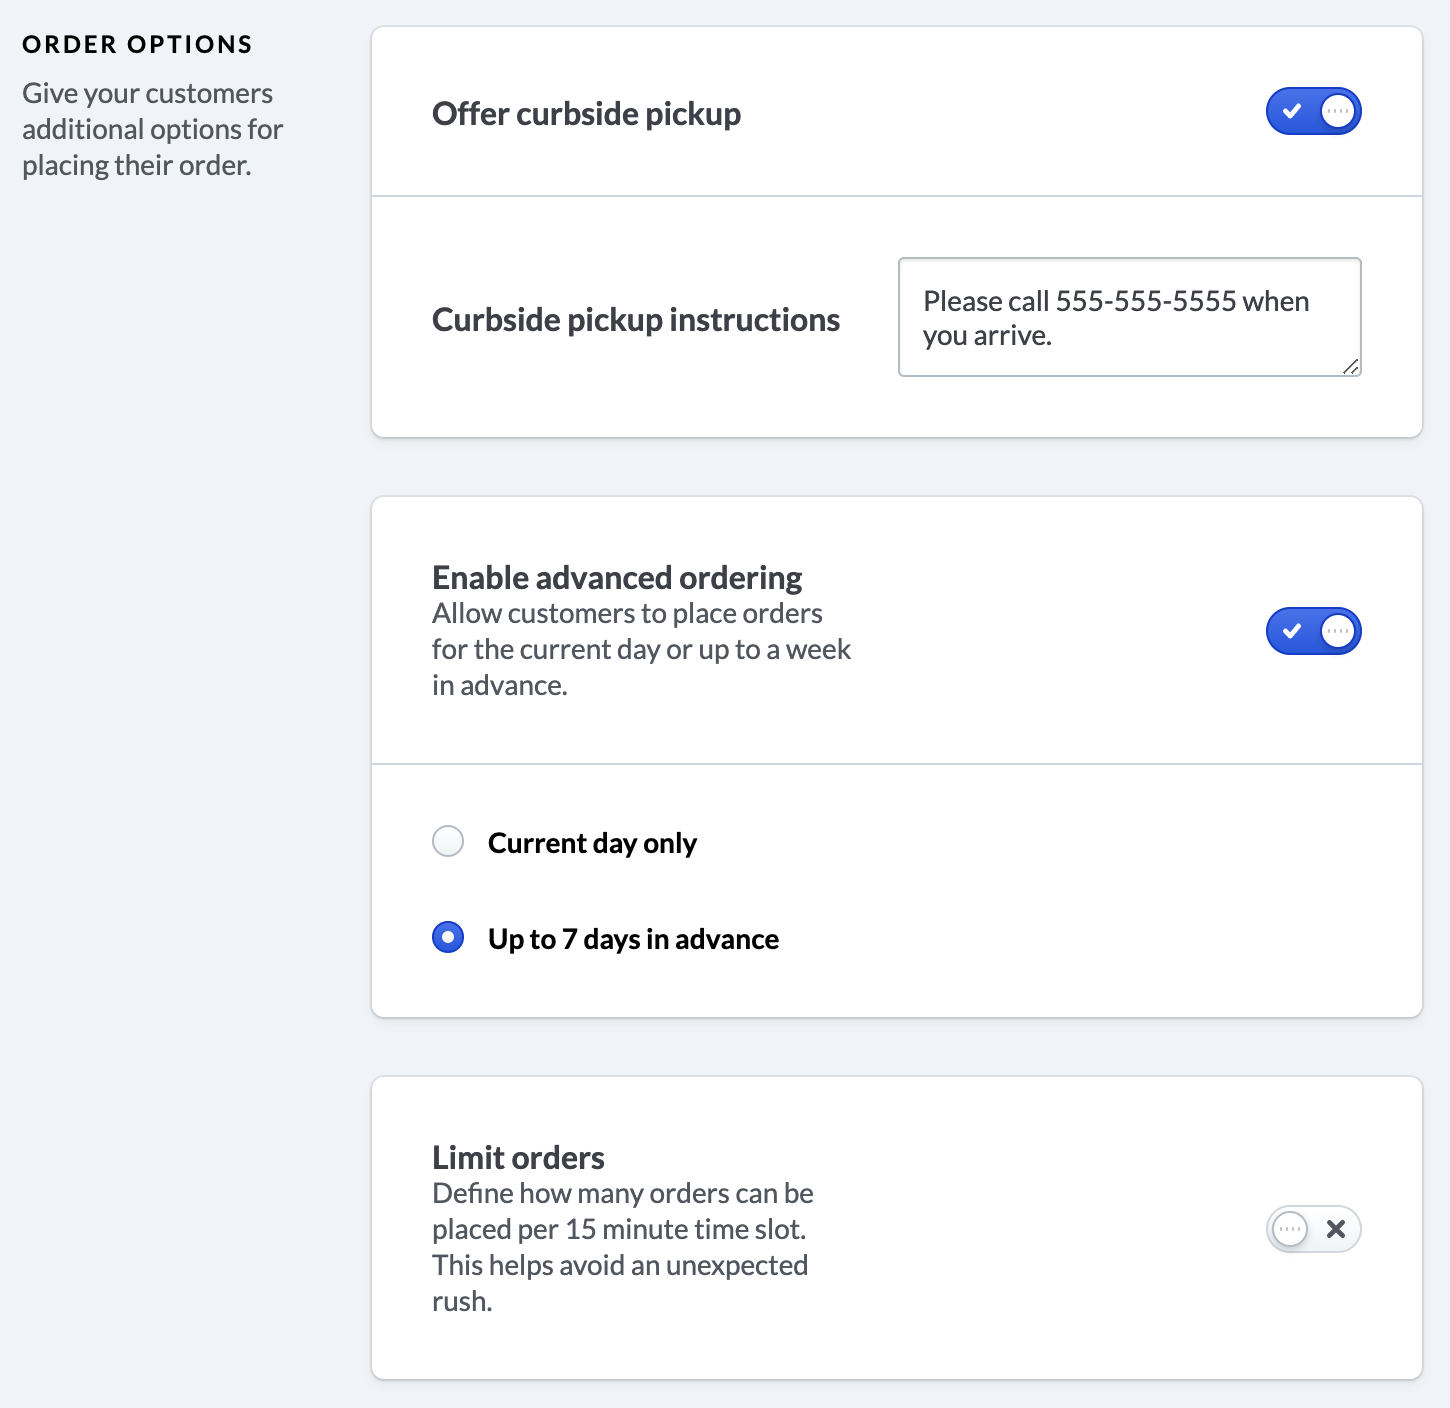
Limit orders
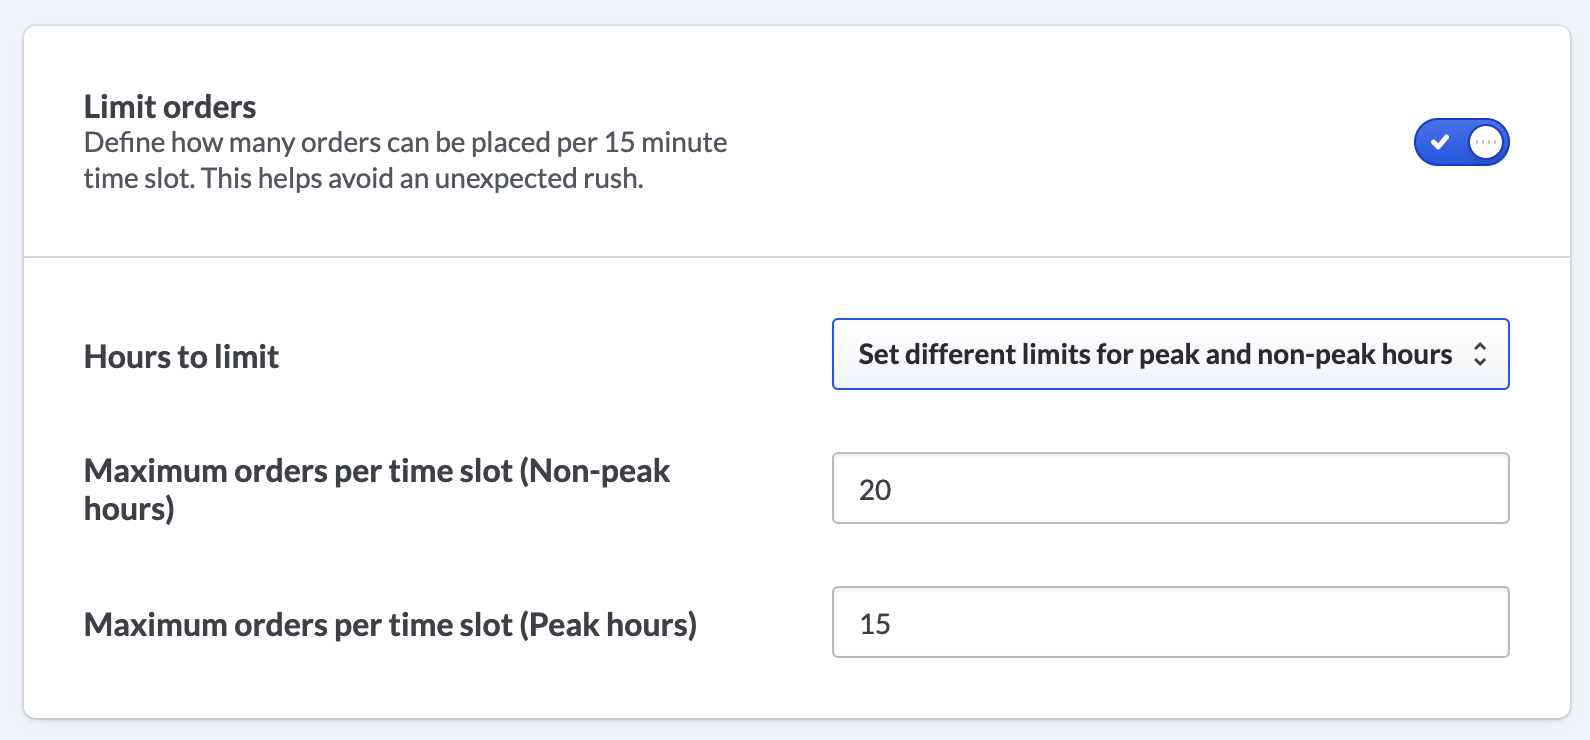
Ordering limiting allows you to define a maximum number of online orders that can be placed every 15 minutes. This is a useful setting to help avoid unexpected rushes. To limit incoming online orders, enable Limit Orders from the Order Options section. When enabled, you can specify which business hours include order limiting.
Hours to limit: Specify which business hours to limit ordering within. From the dropdown menu, you can select either:
- Limit all hours: Specify this option to have one standard maximum number of orders during business hours. Use the dropdown in the field below this setting to specify how many orders to limit.
- Limit peak hours: Specify this option if you want to limit orders during your busiest times only. To limit orders during peak hours, you'll need to have peak hours enabled. Use the dropdown in the field below this setting to specify how many orders to limit.
- Set different limits for peak and non-peak hours: Specify this option to set different order limits for your busiest business hours and regular business hours. Use the dropdown below this setting to specify how many orders to limit during peak hours and during non-peak hours. To limit orders during peak hours, you'll need to have peak hours enabled.
Delivery options
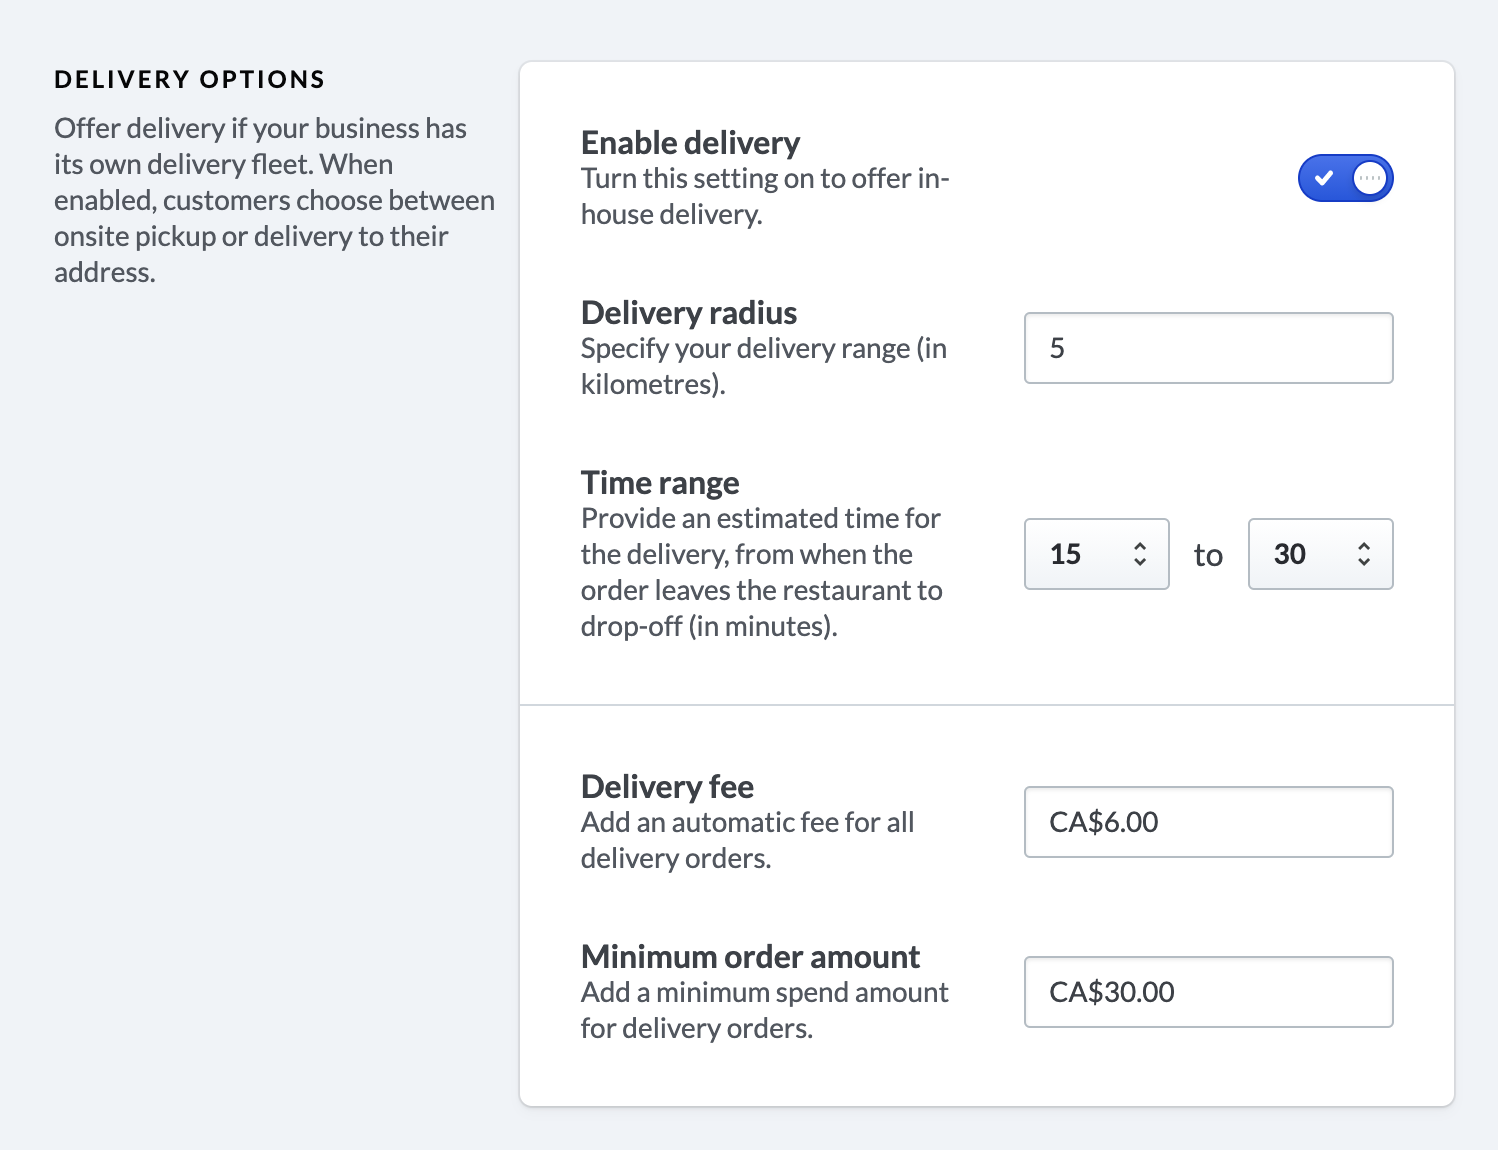
Turn on Enable delivery to offer additional ordering options. Please note this setting is to be used only if your business has its own delivery fleet. In other words, rather than routing orders through a delivery integration, this setting supports in-house delivery. Once enabled, customers can choose between pick up or delivery while ordering from your Order Ahead web app.
If you're enabling delivery for your Order Ahead web app, make sure to also specify the following settings:
- Delivery radius: Enter the radius (in miles or kilometres, according to your region) that your business delivers within. Customers are not able to place orders when they're beyond this range.
- Time range: Estimate how long a delivery usually takes, from when the order leaves the restaurant until when it is dropped off with the customer. This range is used to provide the customer an estimated time on their order, alongside other factors like prep time or peak hours.
- Delivery fee: Add an amount that will be automatically added on delivery orders. This is useful if you want to offset any delivery costs.
- Minimum order amount: Specify the minimum amount that your business accepts for delivery orders. This is useful to ensure you are only delivering orders with a profit margin, rather than accruing delivery costs.
Dine-in
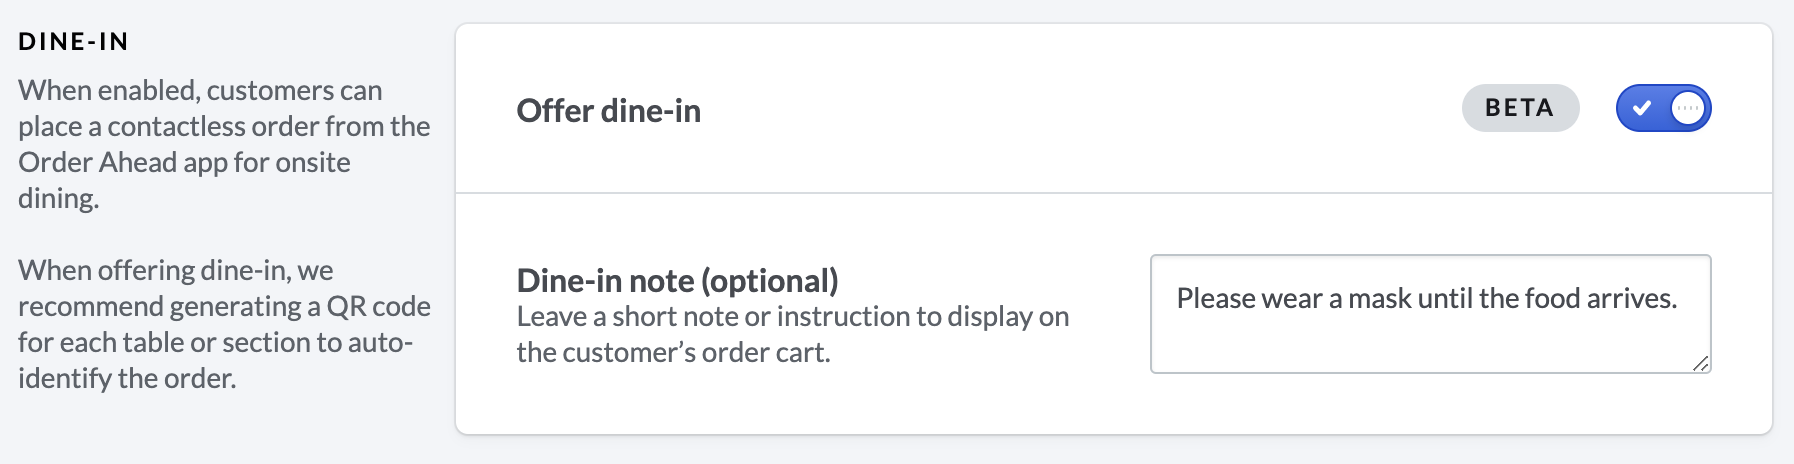
Did you know that you can use Order Ahead for pickup, delivery, and onsite ordering? That's right! If you can host dine-in customers at your restaurant, make sure to enable dine-in for contactless ordering. When enabled, customers can order from the Order Ahead app and specify pickup, delivery (if enabled) or dine-in as their order preference.
If you're offering dine-in, we recommend using the Order Ahead QR code generator. From the QR page on the Back Office, you can create QR codes and then print them onto table signs or promotional materials. When customers scan the QR codes with their phone, they'll be brought to your customer Order Ahead web app for online ordering.
The Dine-in note allows you to provide a custom instruction for a dine-in order cart (such as "We'll be right with you!" or "Please wear your mask until the order arrives."). This note can serve as a helpful instruction for your own custom dine-in ordering context.
Currently, Order Ahead does not support tab ordering. If customers wish to order multiple times during their visit, they'll need to fully complete the order (including payment) on Order Ahead each time.
Note to customers
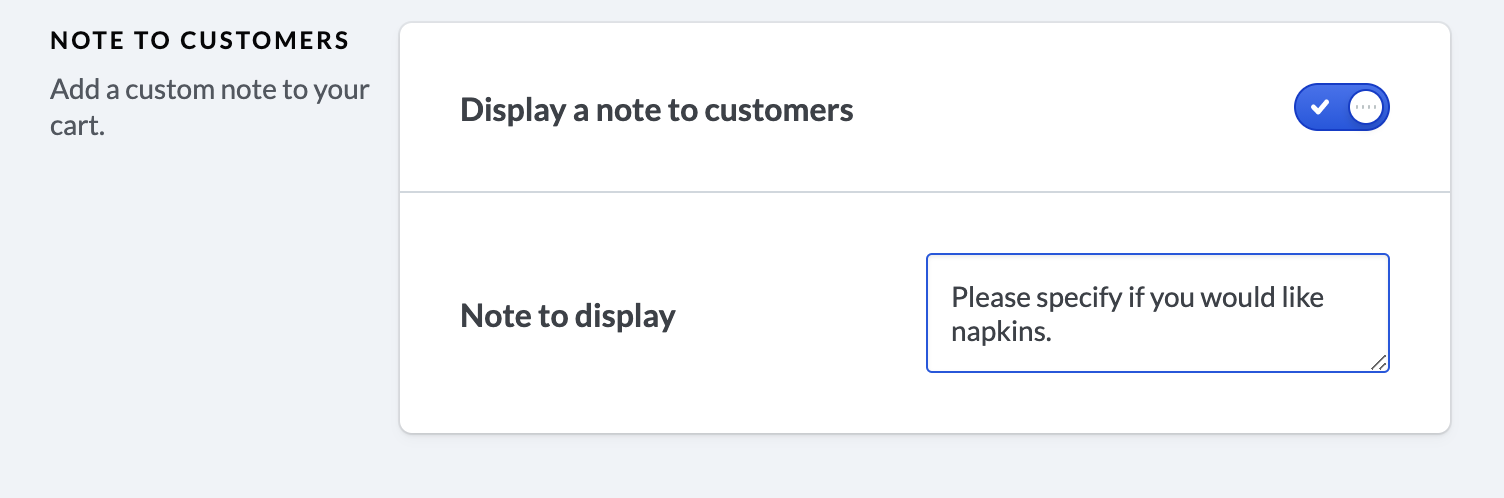
Enable the Display a note to customers setting to leave an interactive custom note for your clients, such as "Let us know if you want to skip utensils." If enabled, enter a custom note in the Note to display field. Customers will be able to view your note and also add a custom note to their order.
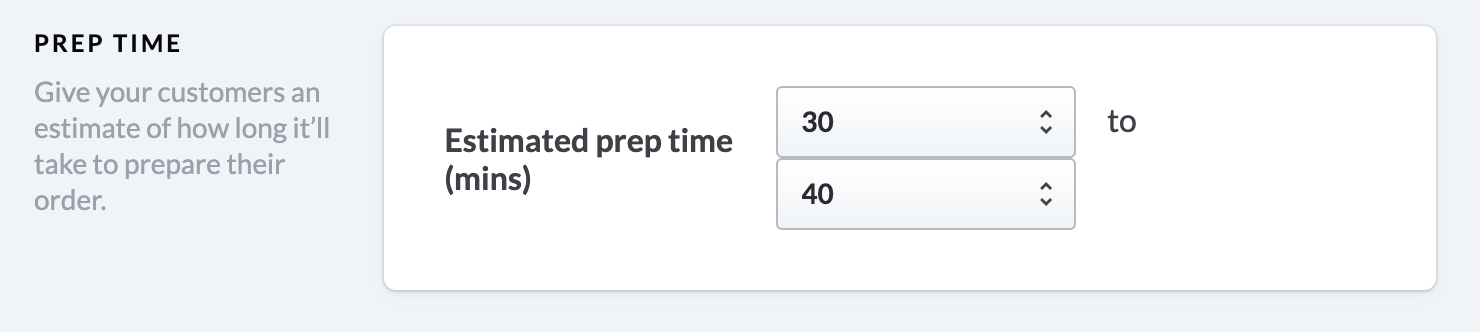
Prep time
To give your customers an estimate of how long it will take to prepare their order, enable the estimated prep time setting and specify the approximate time in minutes.
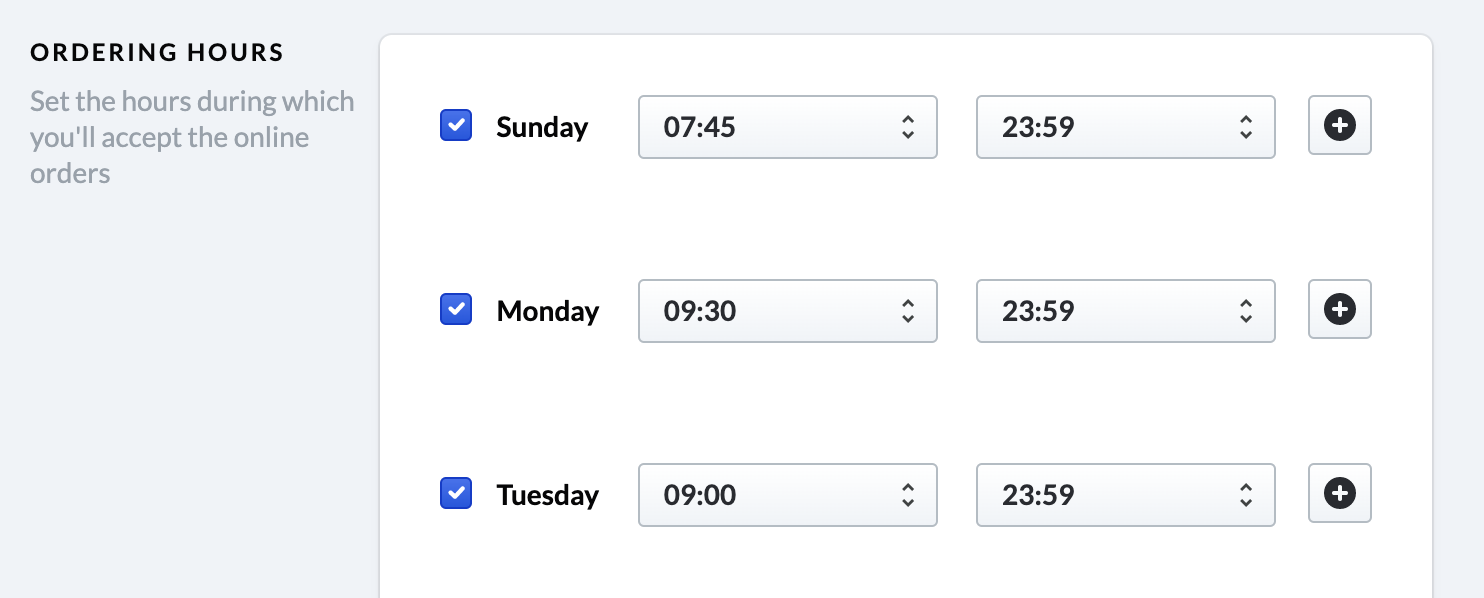
Ordering hours
This is where you set your available ordering hours for this location. Customize the ordering hours for each day of the week and add multiple time blocks throughout the day. Once saved, these hours are immediately reflected on your Order Ahead mobile app, so you may adjust these hours whenever needed.
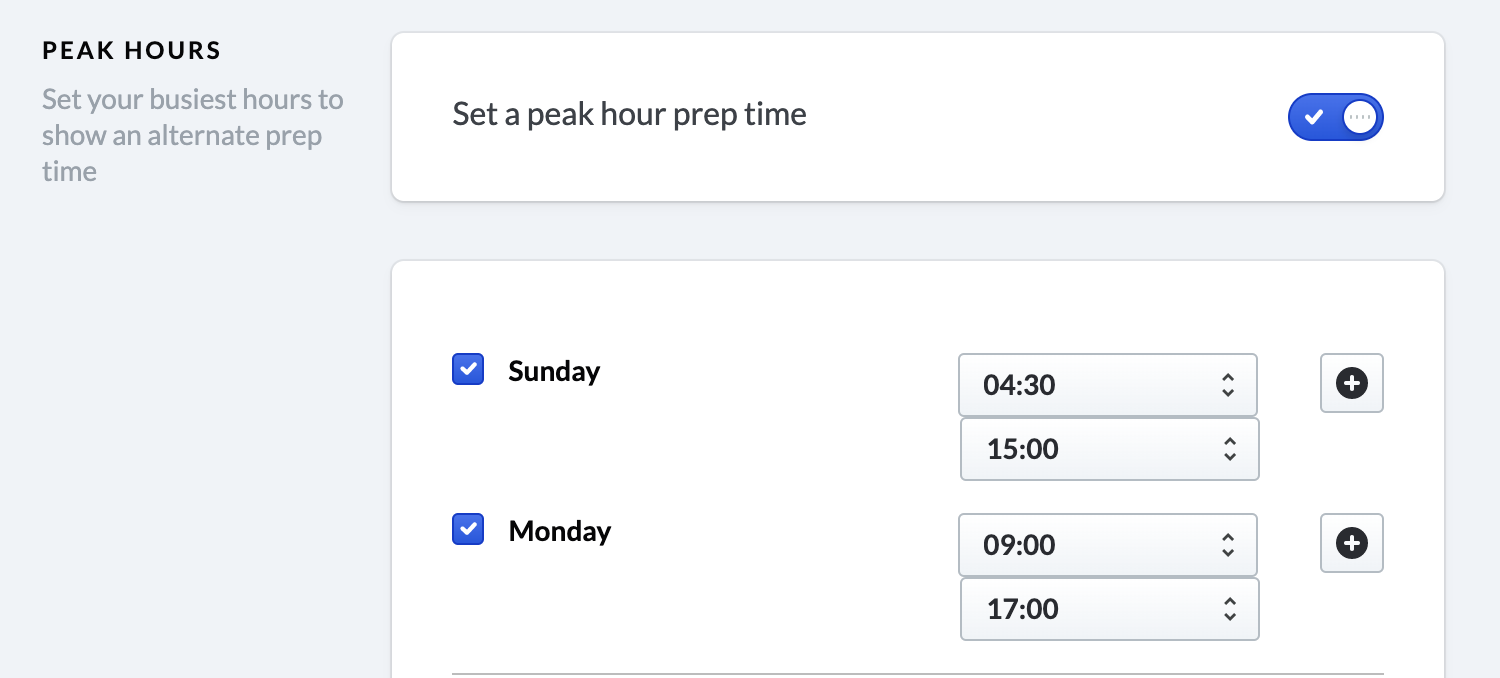
Peak hours
If this location often has peak busy hours, you can communicate the expected prep delay to your customers. Enable the set a peak hour prep time setting and customize your busiest prep times in the fields below for each relevant day. Then, set a peak hour prep time below.
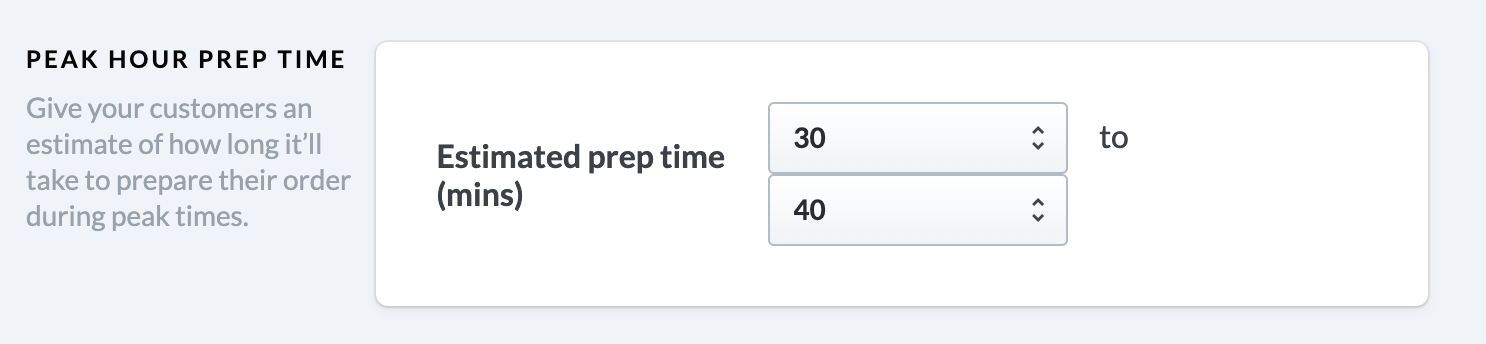
Peak hour prep time
If you have enabled the peak hour prep time setting, provide the custom prep time for orders placed during peak hours (in minutes) on the estimated prep time field.
Location visibility
Set whether this location is visible for your customers. When the Hide location setting is enabled, the location is visible. When the Hide location setting is disabled, the location is hidden.

What's next?
- If you're just getting set up, make sure to connect to Stripe for payments processing. See Setting up payments with Stripe for more information.
- Add a custom logo, banner and color scheme to your Order Ahead web app. See Adding a logo or banner for more information.
- Adjust your password or the business name displayed on your Order Ahead web app. See Account settings for more information.
- When your account is all set up, spread the word about online ordering at your restaurant. See Sharing Order Ahead online for more information.