
Kitchen can be used with a display monitor, processor and bump bar. A processor is a mini-computer without a screen. A processor connects to your monitor screen and runs an operating system (OS) so users can access Lightspeed Kitchen. Along with a processor, a bump bar is also connected so staff may navigate and process orders. The Lightspeed Bumpbar is a customized, mini-keyboard specifically configured for use with Lightspeed Kitchen.
There are two types of processors that Lightspeed supports: the Chromebit (for use in North America) and the Intel Stick (for use in Europe). This article focuses on how to set up a display monitor with a Chromebit processor and Bumpbar.
About the Chromebit
The Asus Chromebit is a portable, mini computer that runs a Chrome OS. The Chromebit enables an internet connection so you can run Lightspeed Kitchen on your display device. When connecting the Chromebit, you will also need to connect a mouse and keyboard for initial Kitchen account configuration. Once Lightspeed Kitchen is set up on your monitor via the Chromebit, you will then need to connect a Bumpbar for your kitchen staff to navigate and process orders. The Bumpbar is the preferred navigational tool for using Kitchen, but it is also possible to use a keyboard. See Using a keyboard as a bumpbar for more info.
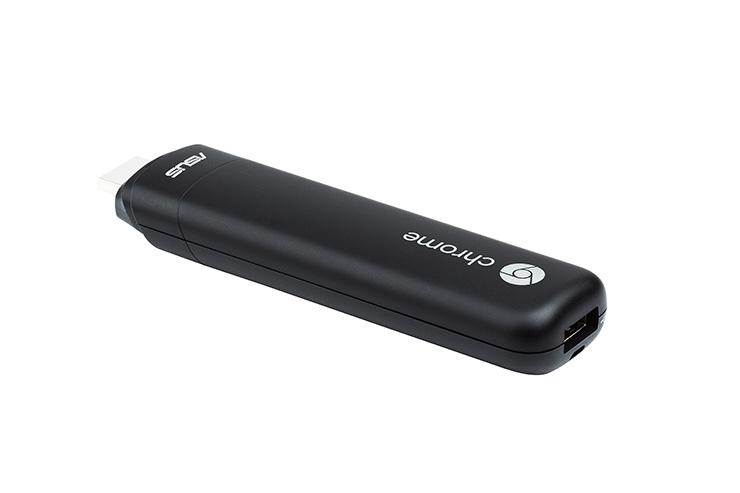
Connecting the Chromebit to a monitor
- Remove the cap.
- Plug the Chromebit into an HDMI port on the monitor or connect it via an HDMI cable.
- Connect the power adapter to a power source and then connect the power jack into the Chromebit.
Connecting a mouse and keyboard to the Chromebit via Bluetooth
- Using a wired mouse, click the gear icon to open the settings menu.
- Click Bluetooth disabled > Enable Bluetooth. The computer will scan for devices.
- Select the Bluetooth mouse you want to pair with the Chromebit. It will pair automatically.
- Select the Bluetooth keyboard you want to pair with the Chromebit. A passcode will appear onscreen. Enter the passcode using the keyboard.
Connecting a mouse and keyboard to the Chromebit via USB
- Connect the USB hub into the USB port on the end of Chromebit.
- Connect the USB hub power adapter to a power source and then connect the power jack into the USB hub.
- Plug the mouse and/or keyboard into the USB hub via the USB ports.
Configuring Lightspeed Kitchen
- Turn the monitor on.
- Connect to your local WiFi network.
- Open the Google Chrome browser and log in to your Google account.
- To prevent screensavers from interrupting Lightspeed Kitchen, add the Keep Awake extension to your Chrome browser.
- Navigate to the Lightspeed Kitchen login page according to if you use Cloud or a Liteserver.
- Cloud: [server name].posios.com/kitchen/.
- Liteserver: [IP address of your Liteserver]:8080/kitchen/.
- Log in to your Lightspeed Kitchen account using the same login credentials as Lightspeed Manager
Create a Kitchen shortcut button
- To the right of the browser web address, click the button with three dots signifying More.
- Click More Tools.
- Click Add to Shelf. A shortcut will be added to your shelf (Chrome’s app launcher).
Connecting a Bumpbar
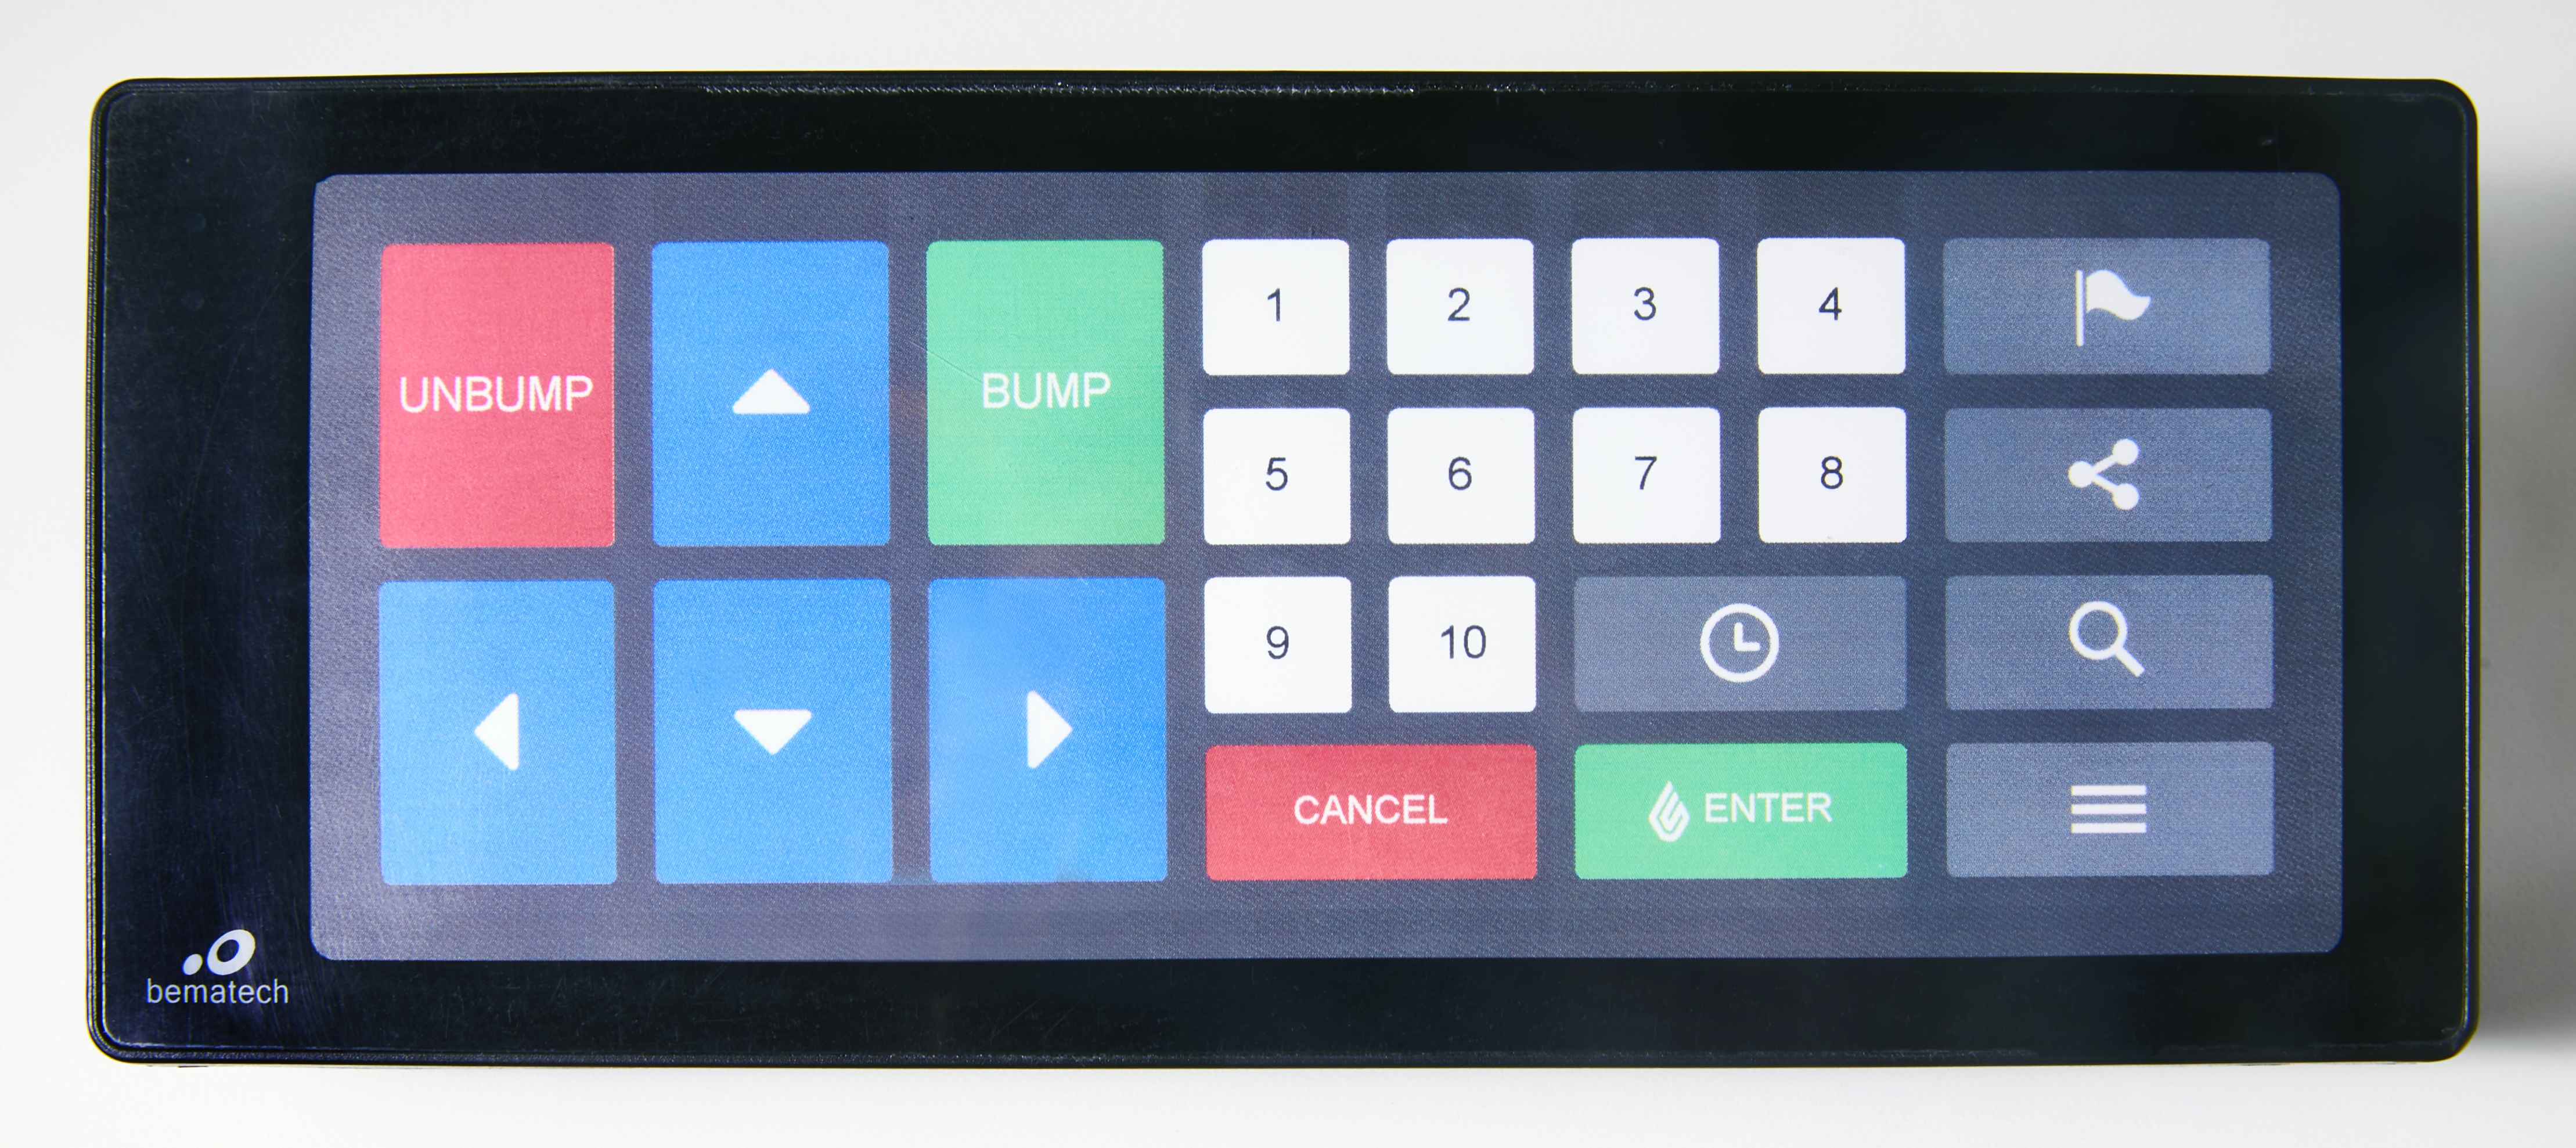
You may choose to use the Lightspeed Bumpbar to navigate within Lightspeed Kitchen. The Bumpbar is the preferred navigational tool for Kitchen when using a monitor, but you can also use a keyboard to perform bump bar actions. See Using a keyboard as a bump bar for more information.
To connect a Bumpbar:
- Connect a USB hub into the USB port on the end of Chromebit.
- Connect the USB hub power adapter to a power source and then connect the power jack into the USB hub.
- Plug the Bumpbar into the USB hub.
What's next?
Configure Kitchen app settings in the Restaurant Manager.
All set up? Learn how to navigate Lightspeed Kitchen and interact with tickets.