Vous pouvez connecter l’imprimante d’additions Star TSP100LAN directement à votre réseau à l’aide d’un câble Ethernet. Connectez l’imprimante à votre appareil de point de vente dès qu’elle est ajoutée à votre réseau.
Table des matières
Configuration matérielle requise
Avant de configurer votre imprimante, vérifiez que votre commande contient le matériel suivant :
| Imprimante d’additions Star TSP100LAN ou TSP100IIILAN | 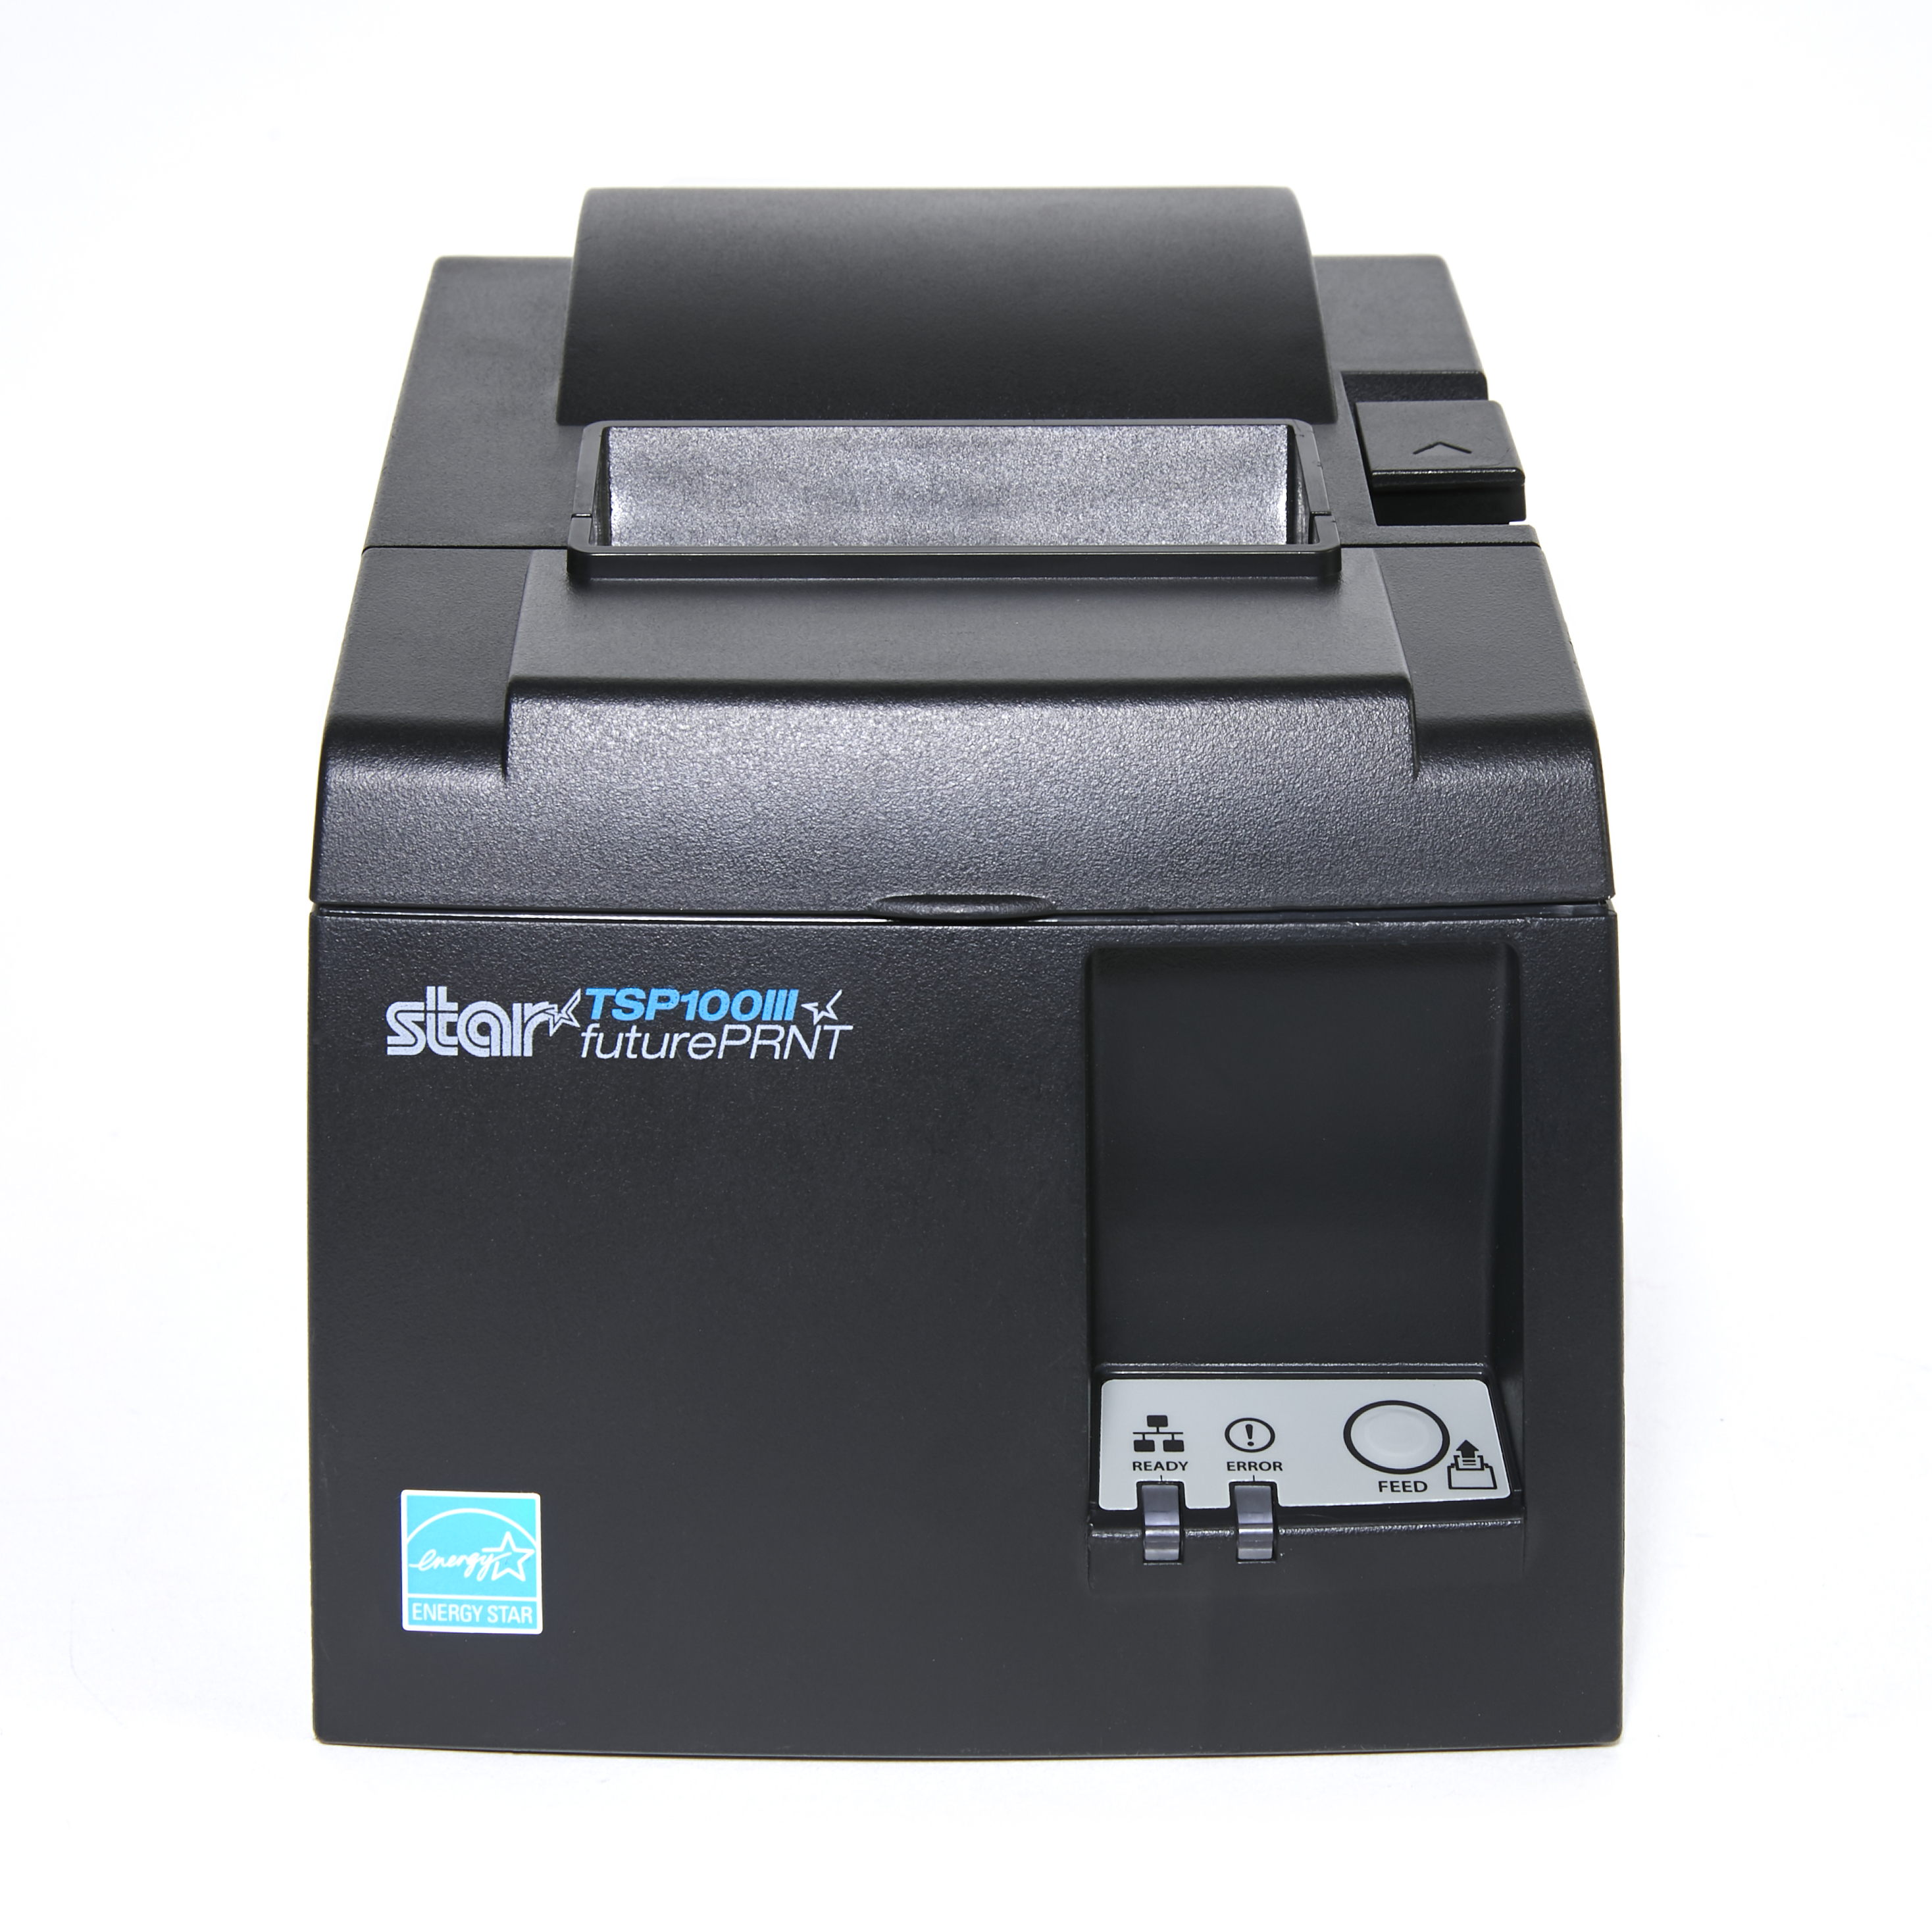 |
| Câble d’alimentation |  |
|
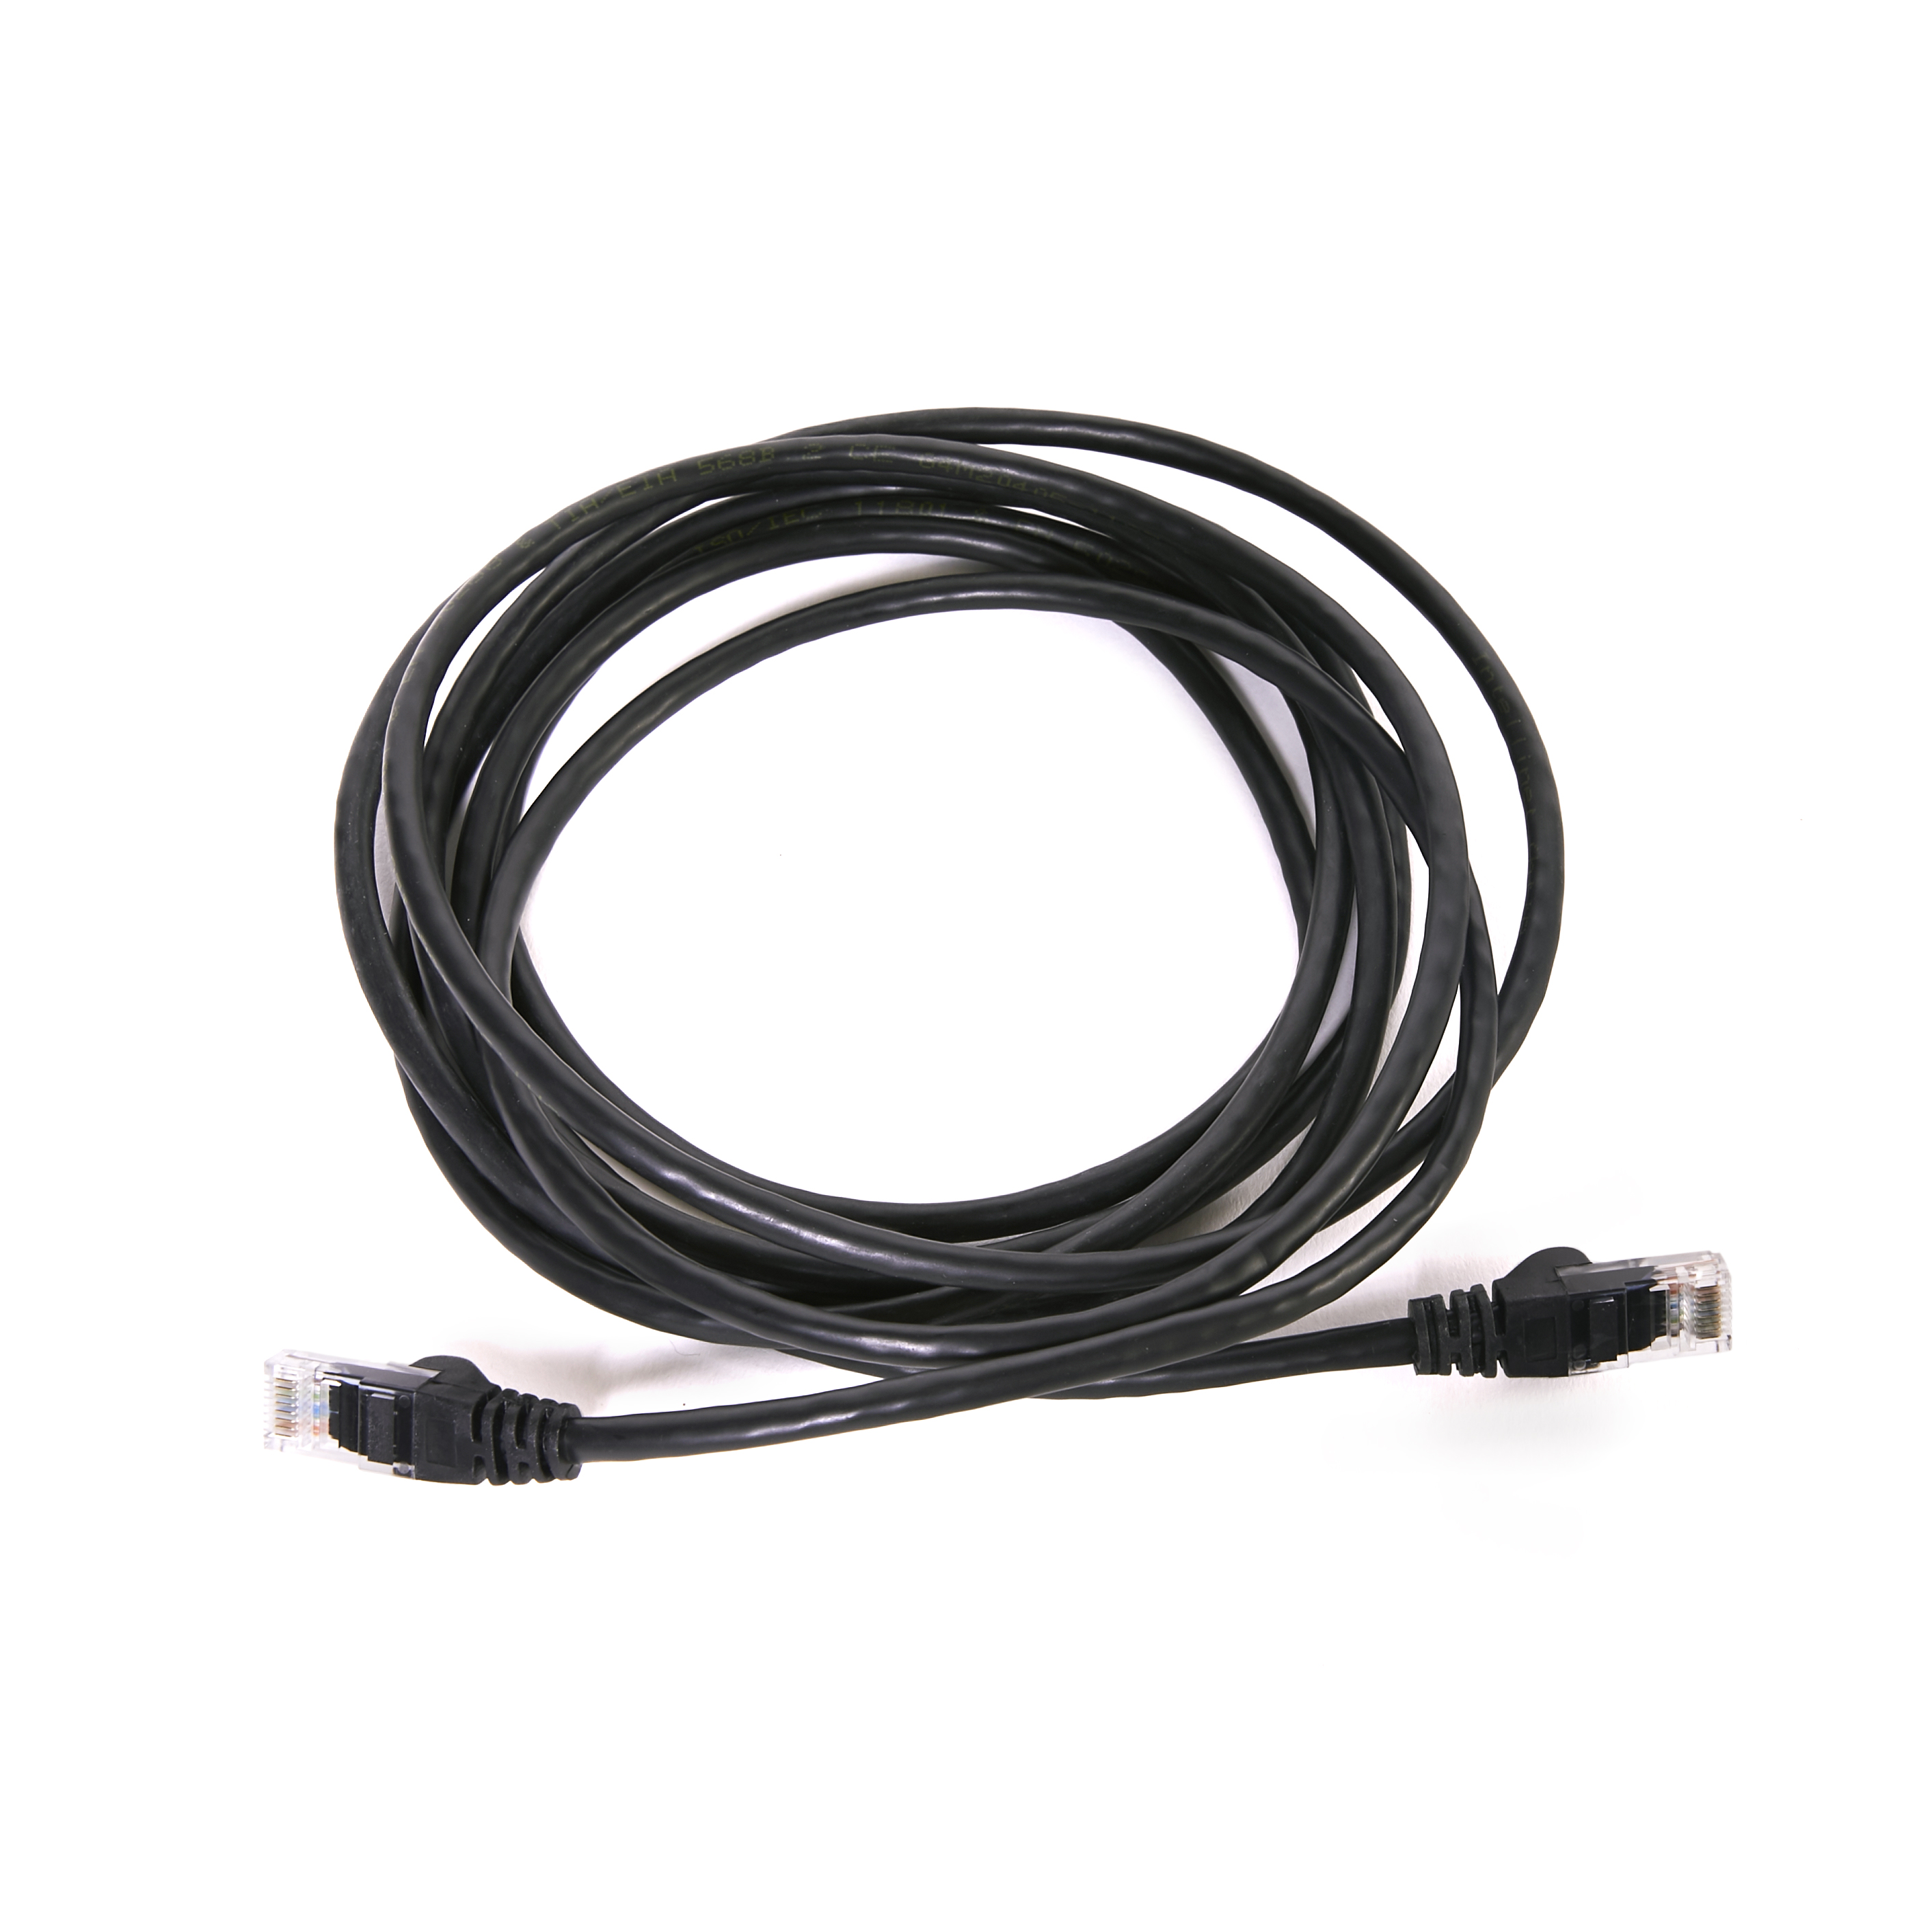
Câble Ethernet |
 |
|
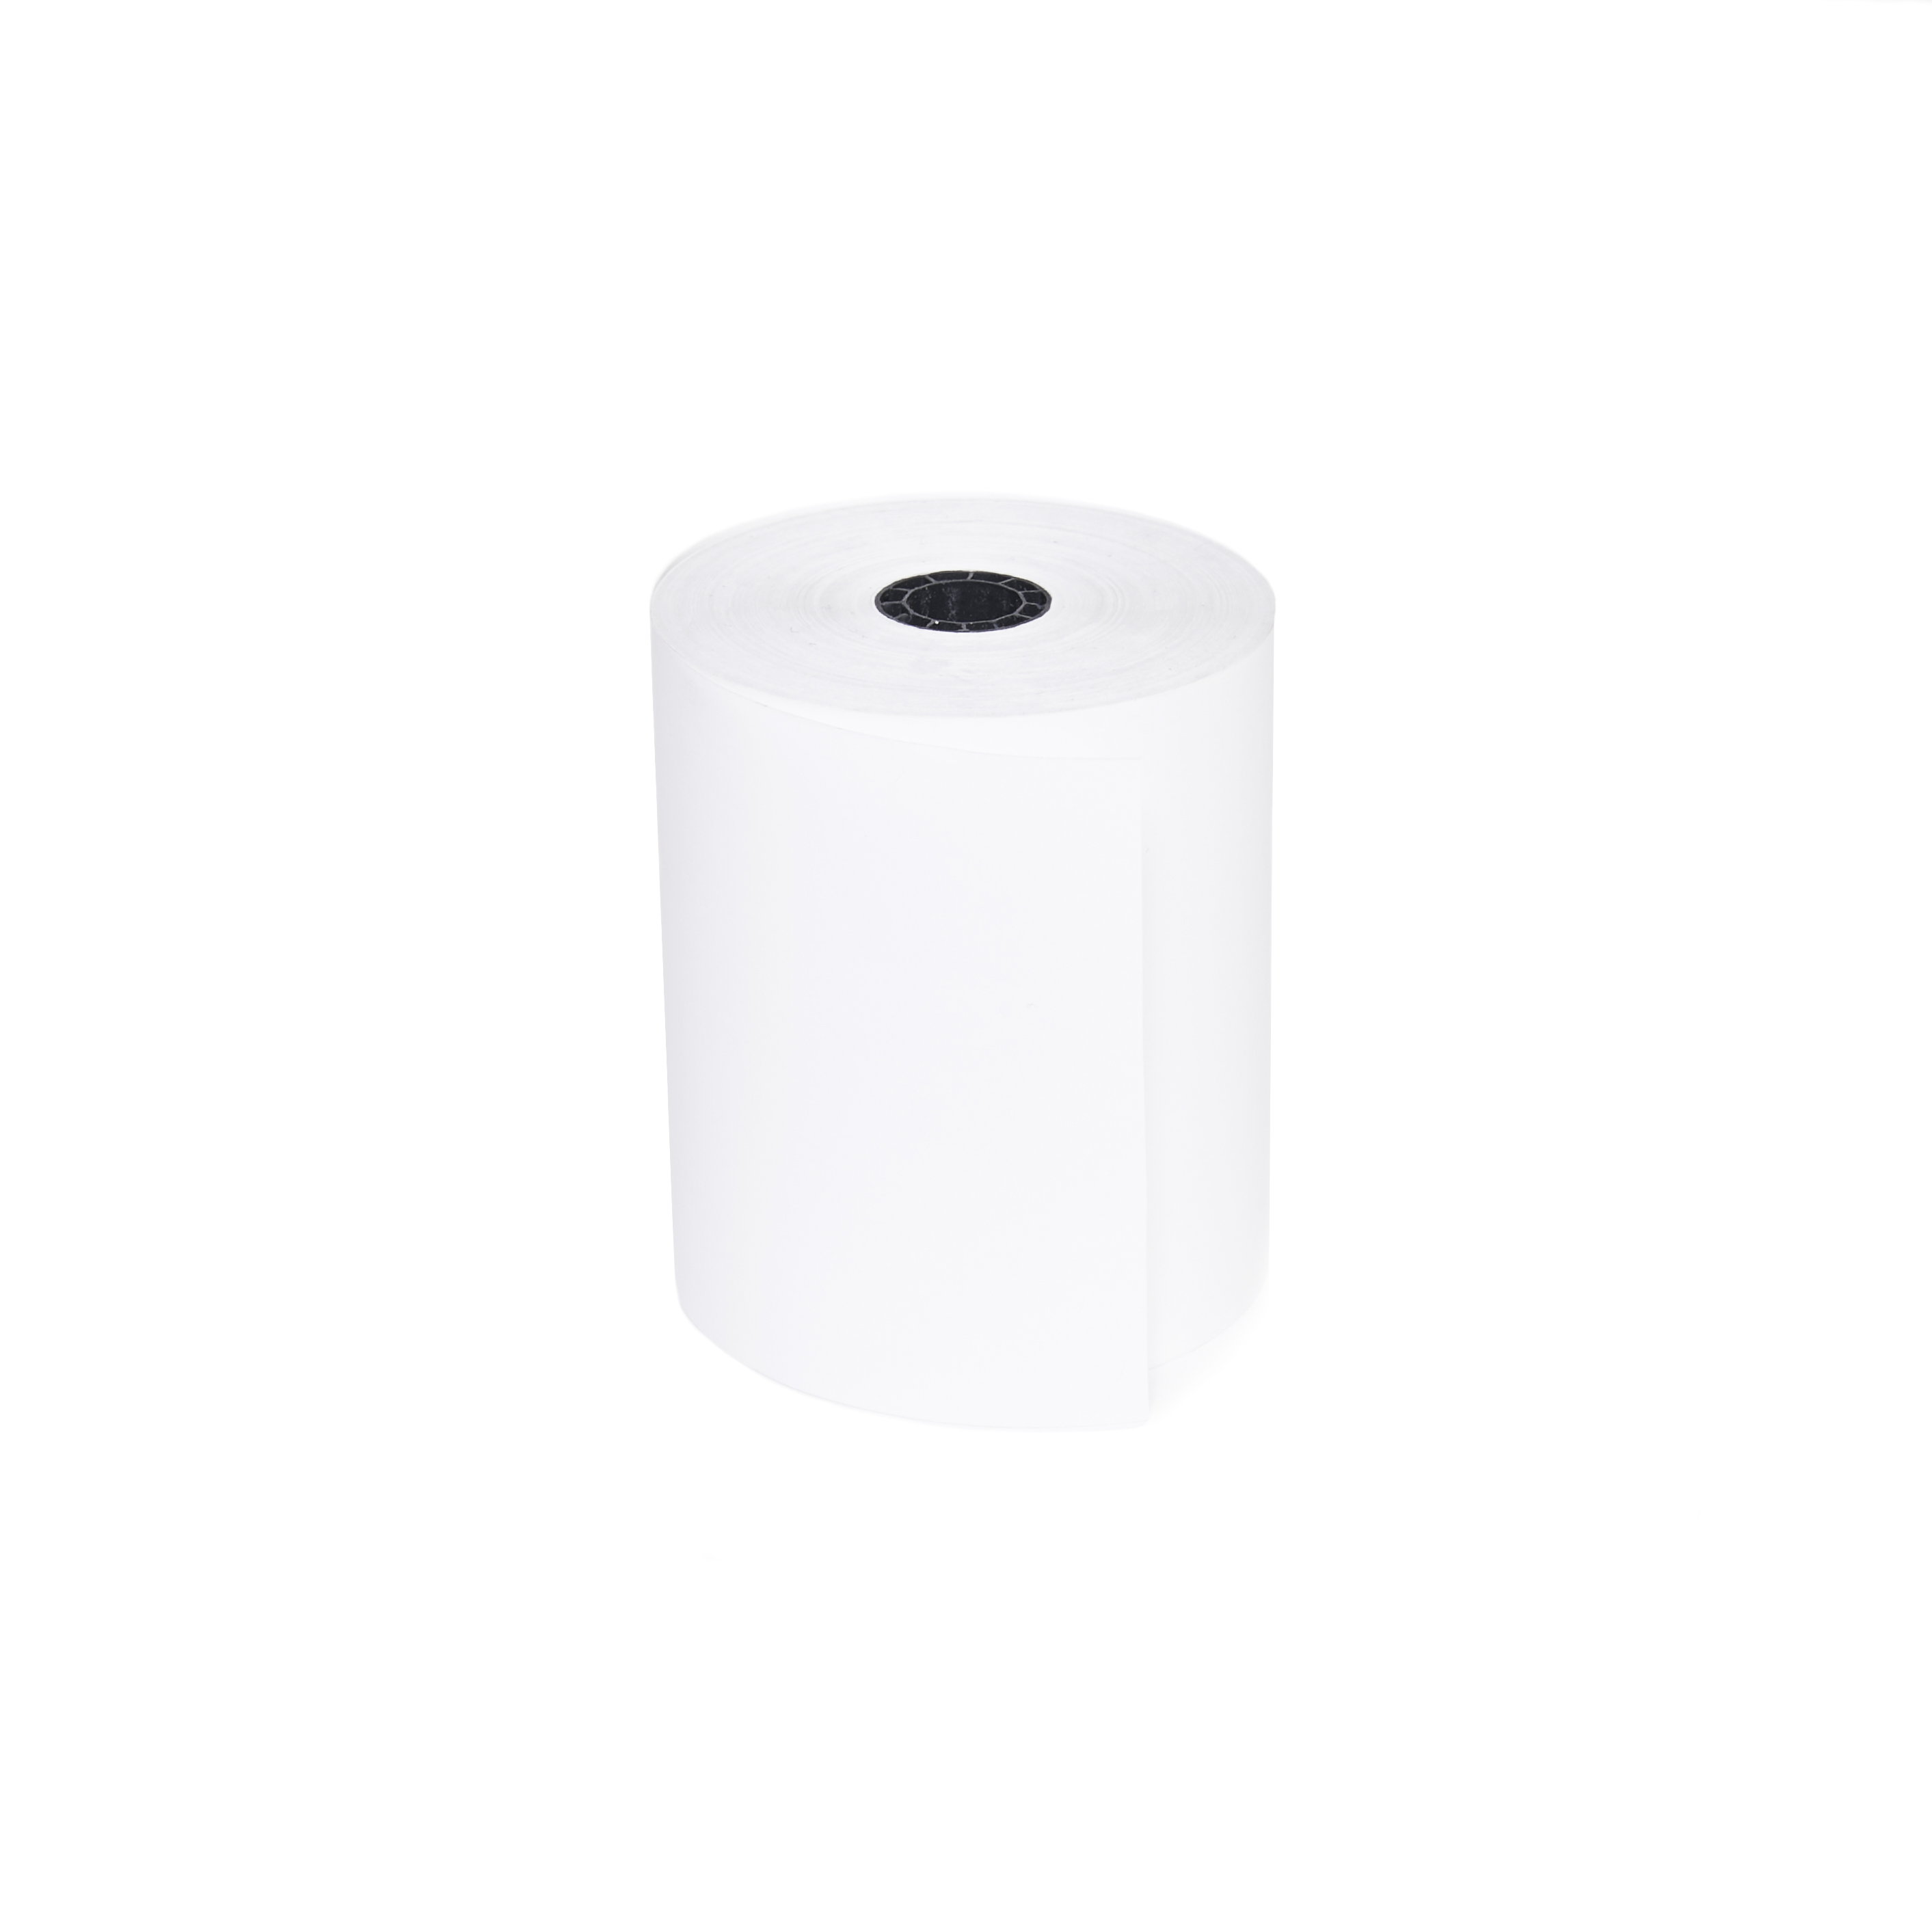
Rouleau de papier
|
|
Configuration des imprimantes Star TSP100LAN et TSP100IIILAN
1. Connecter votre imprimante
Pour connecter votre imprimante, vous avez besoin de son câble d’alimentation et d’un câble Ethernet.
- Branchez une extrémité du câble d’alimentation à votre imprimante et l’autre à une prise de courant.

- Branchez une extrémité du câble Ethernet à votre imprimante et l’autre à votre routeur.
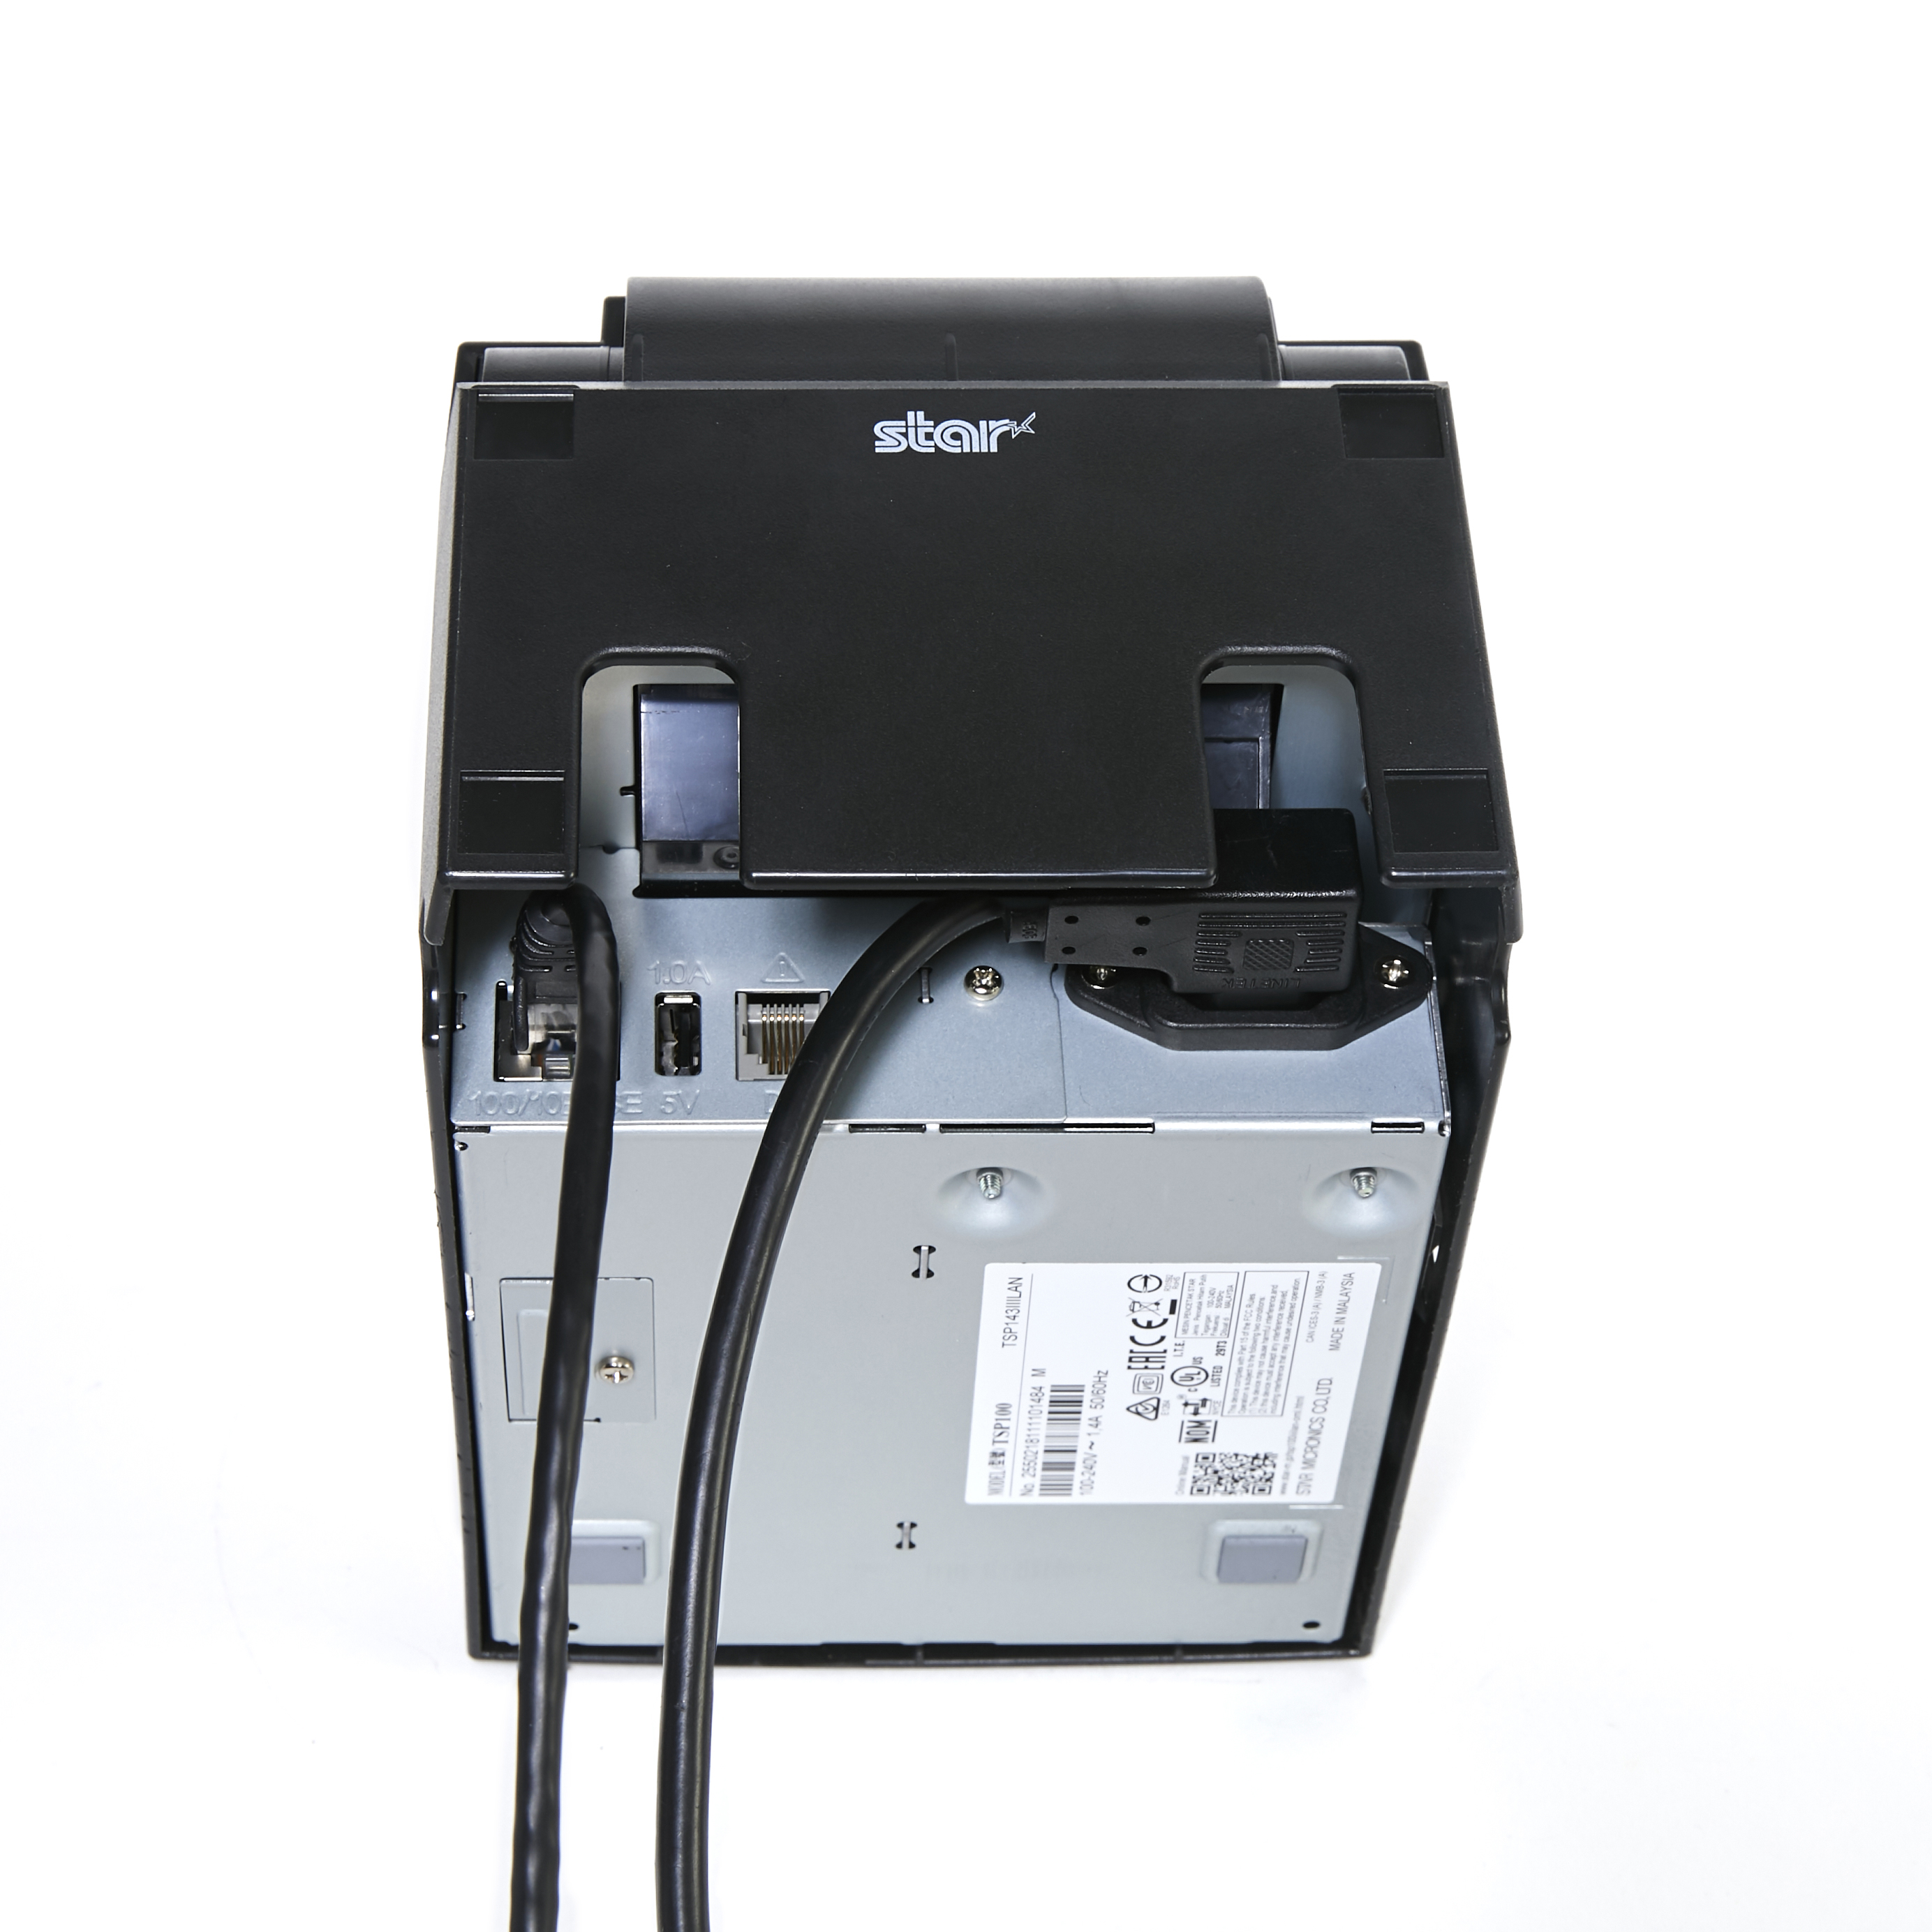
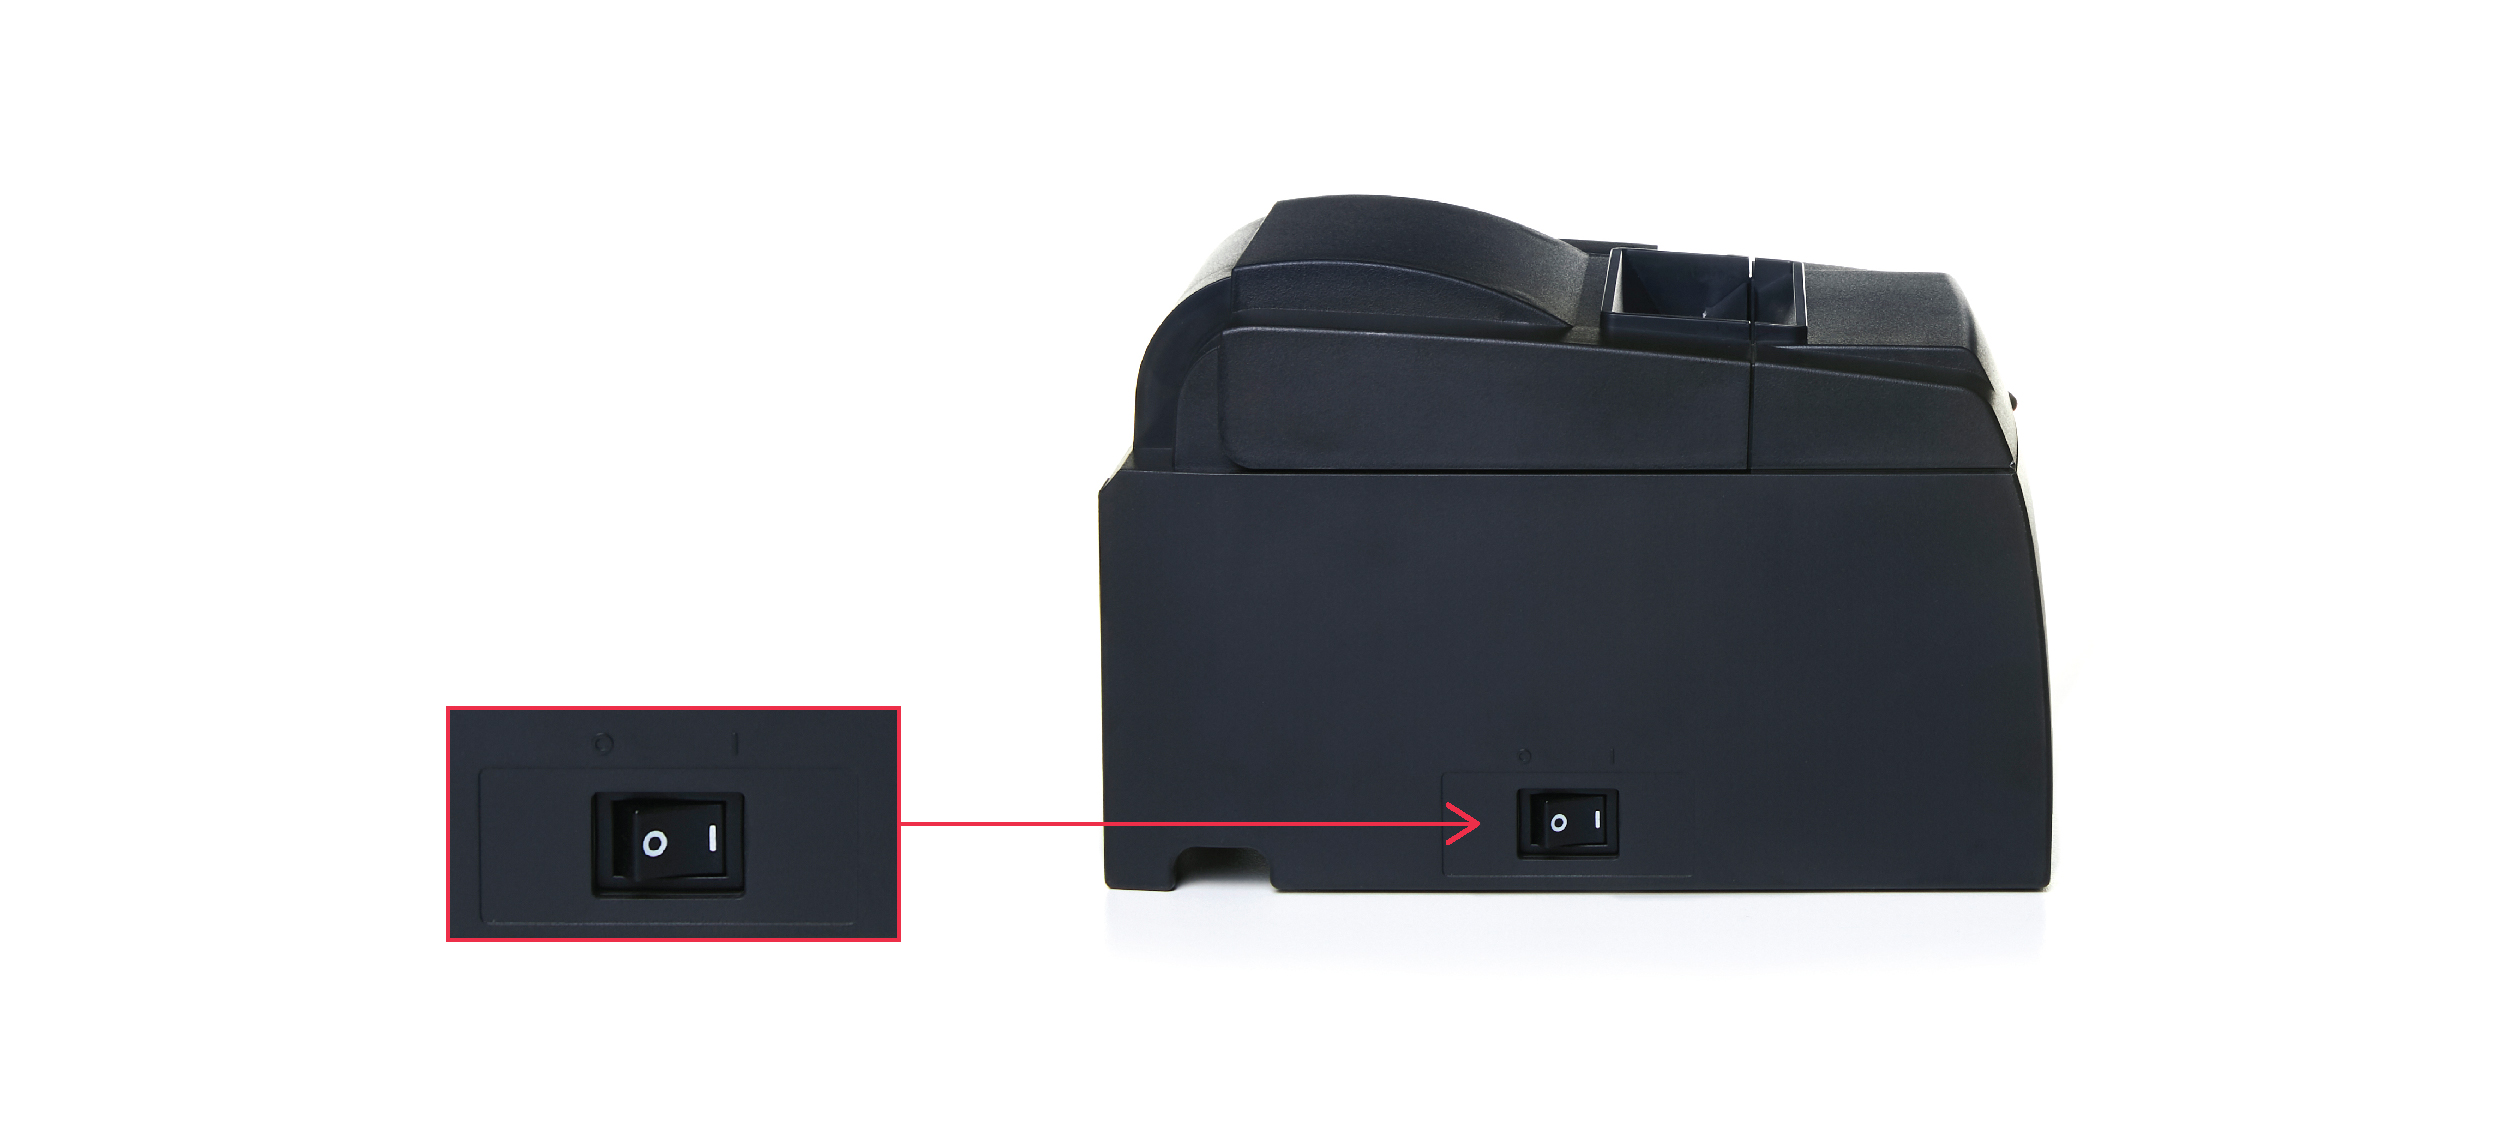
- Allumez votre imprimante et attendez que le voyant d’alimentation ne clignote plus. Votre imprimante est alors prête à être utilisée.
2. Insérer un rouleau de papier
- Ouvrez le couvercle de l’imprimante en poussant vers l’extérieur le levier sur le côté droit et en soulevant le couvercle.
- Insérez le rouleau de papier de manière à ce que son extrémité soit orientée vers le bas, comme illustré sur l’image ci-dessous. Veillez également à ce que le rouleau de papier reste tendu et ne se déroule pas.
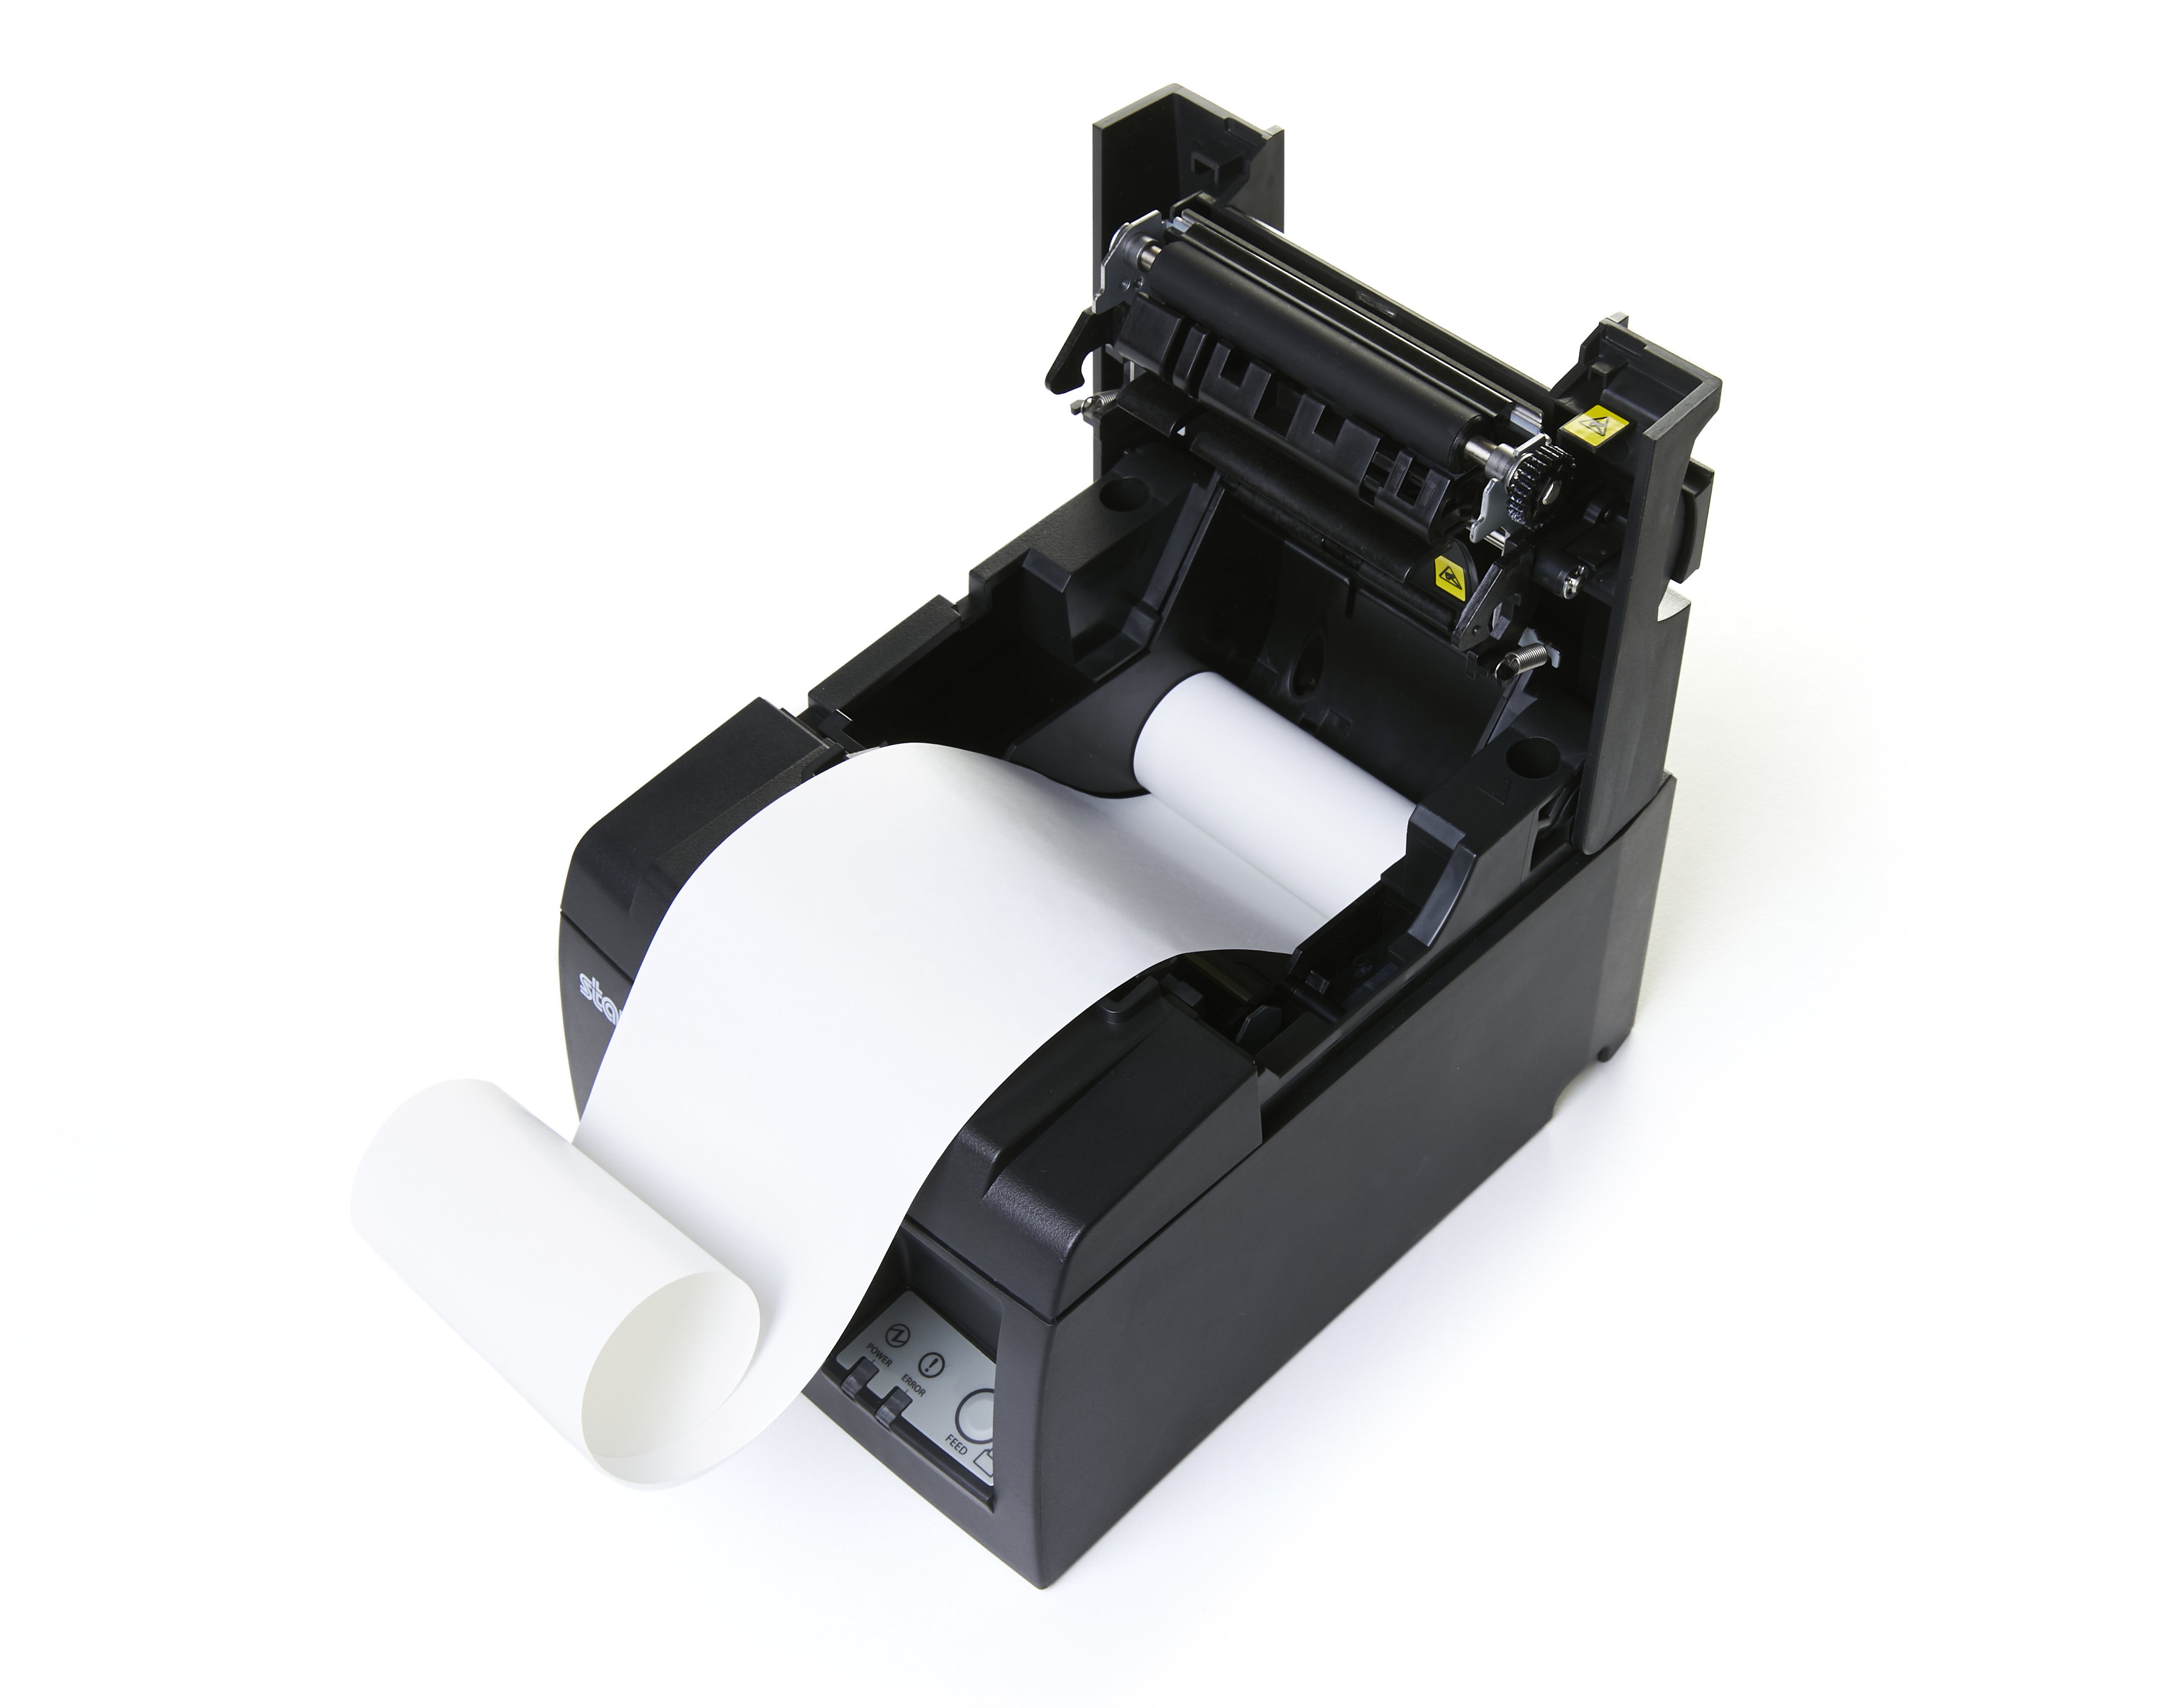
- Tirez le papier par-dessus la coupeuse sur le devant de l’imprimante.
- Poussez le couvercle vers le bas pour le refermer.
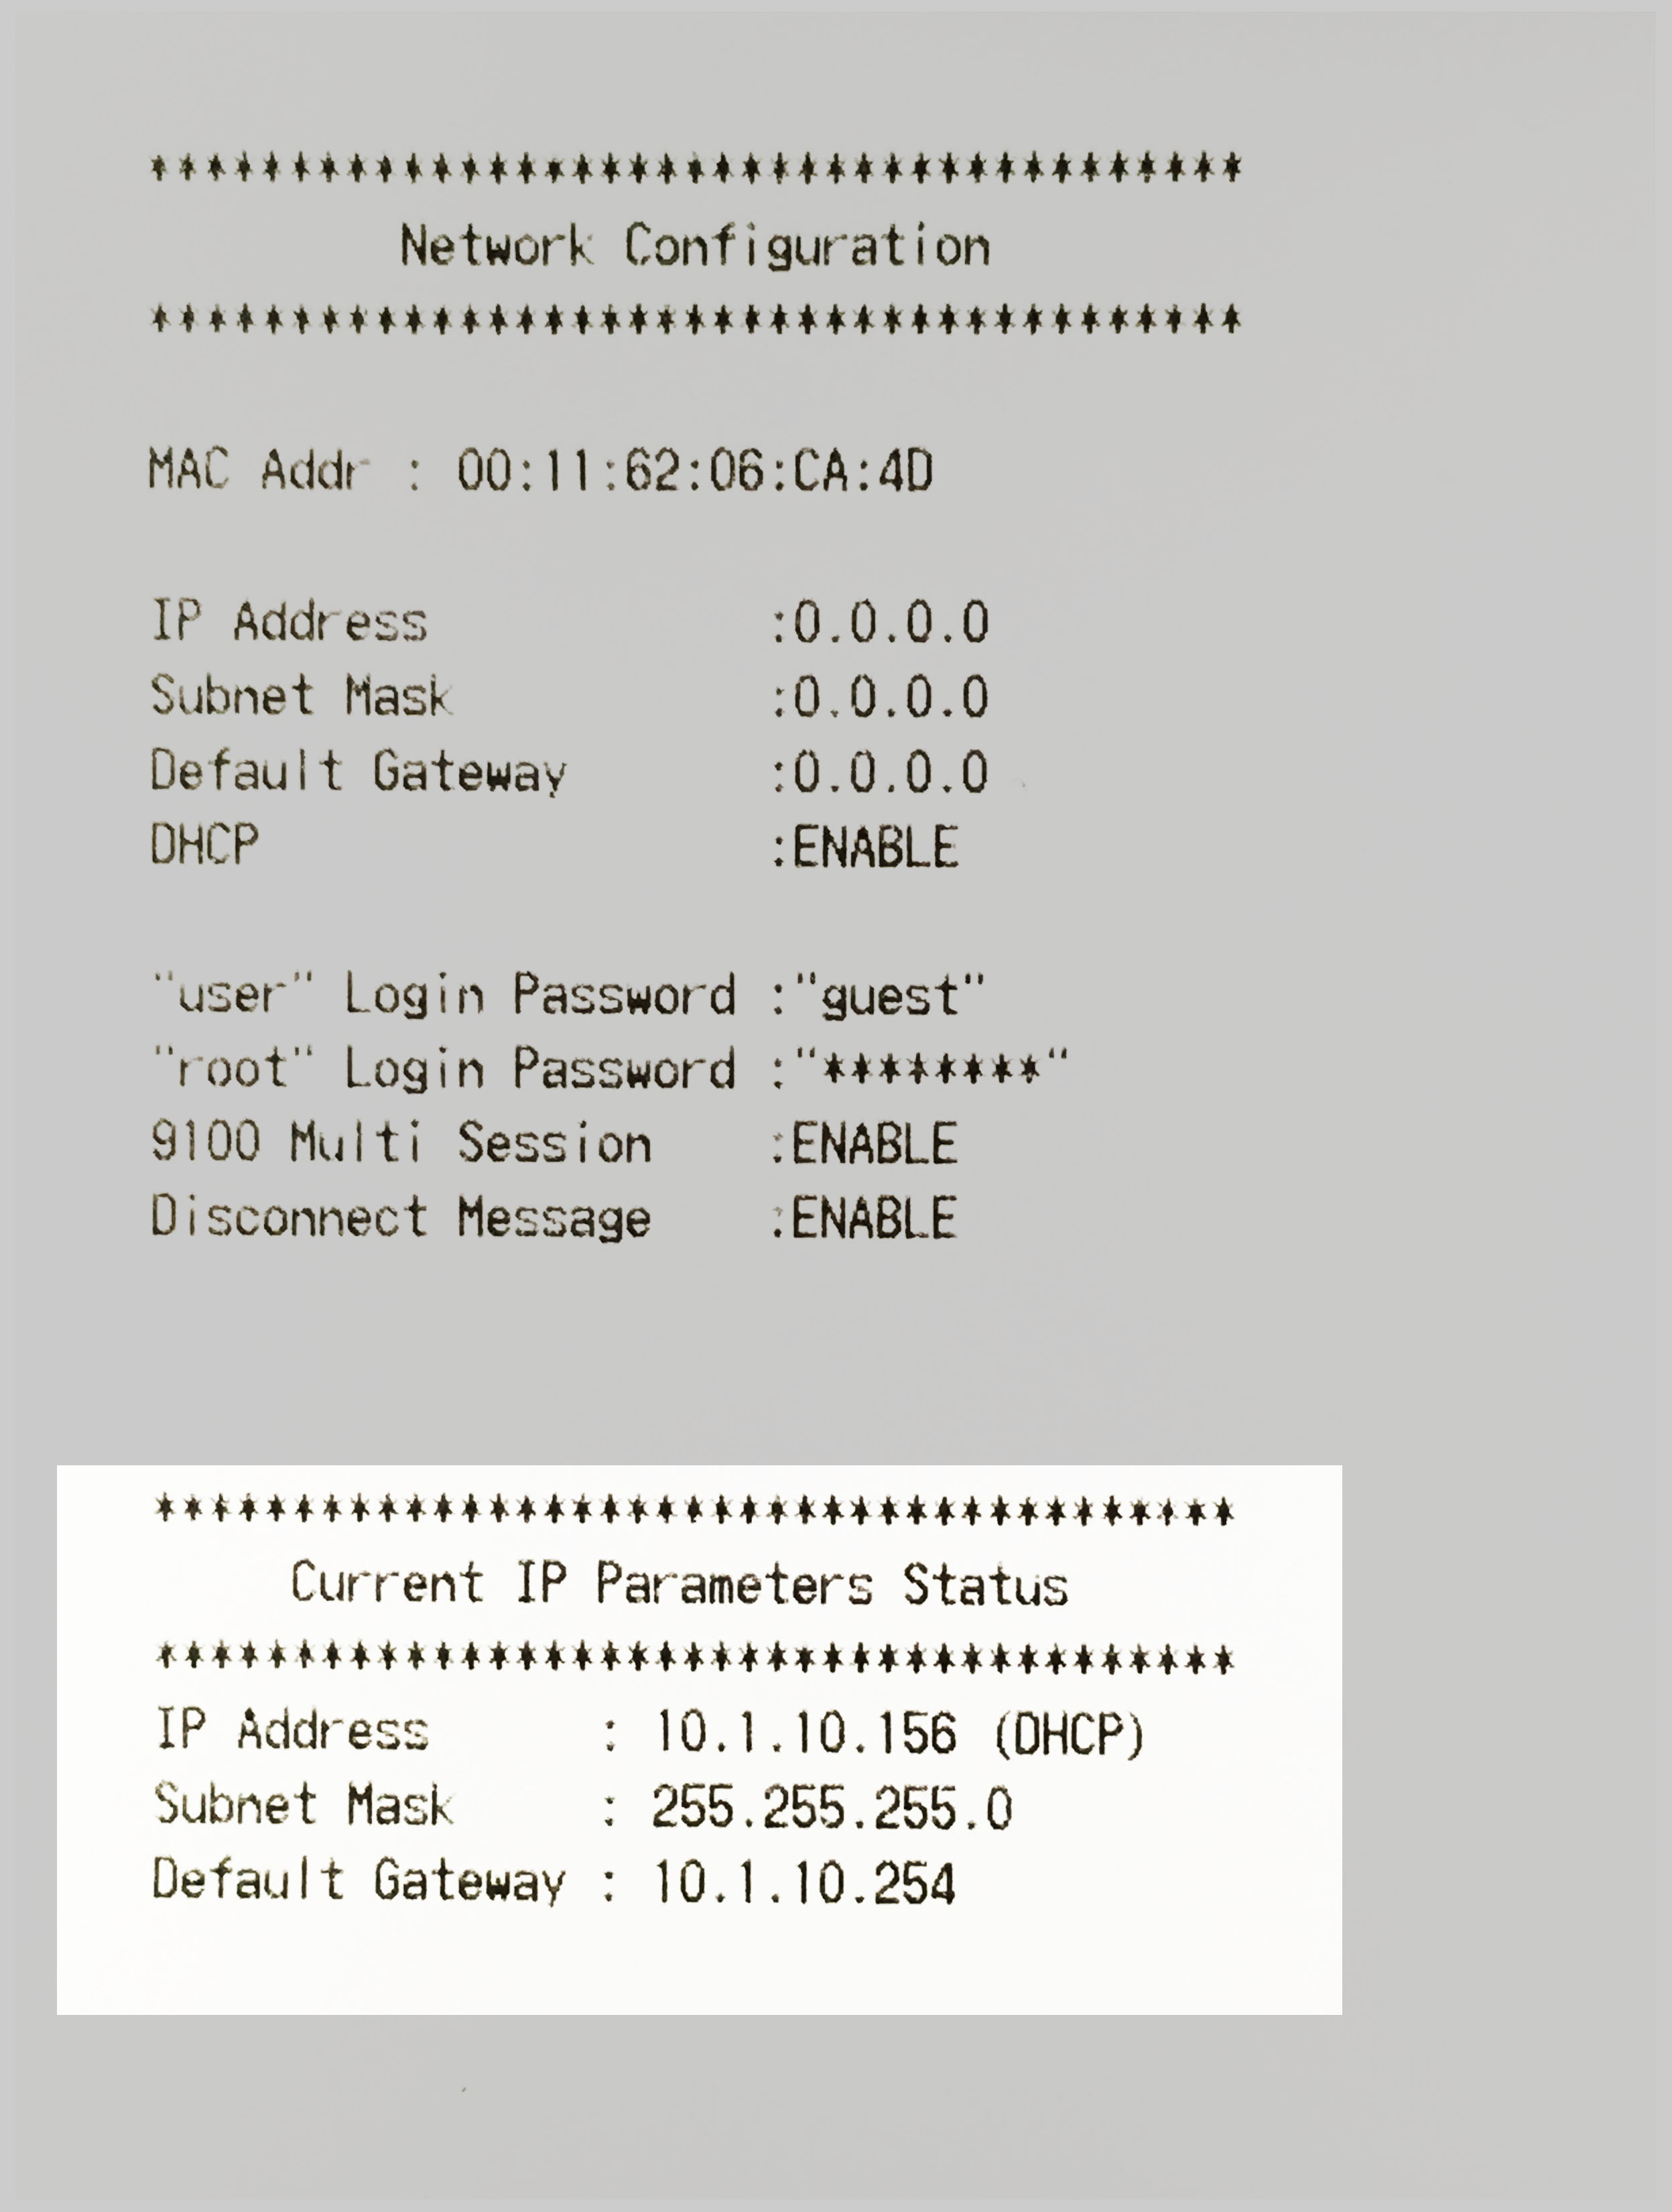
3. Identifier l’adresse IP de votre imprimante
Pour connecter votre imprimante et votre point de vente, vous avez besoin de l’adresse IP de votre imprimante d’additions sur votre réseau. Pour identifier l’adresse IP, imprimez la page Current IP Parameters Status (état actuel des paramètres IP) :
- Éteignez l’imprimante.
- Appuyez sur le bouton d’alimentation de papier et maintenez-le enfoncé.
- Mettez l’imprimante sous tension tout en continuant d’appuyer sur le bouton d’alimentation de papier.
- Attendez que l’appareil commence l’impression, puis relâchez le bouton d’alimentation de papier. Deux additions tests sont imprimées.
La section Current IP Parameters Status (état actuel des paramètres IP) s’affiche en bas de la seconde page. Conservez cette page et notez l’adresse IP : elle vous sera utile plus tard.
4. Ajouter votre imprimante à Restaurant Manager
Avant d’ajouter votre imprimante à Restaurant Manager, veillez à ce que votre iPad soit connecté au même réseau que votre imprimante. Une fois que votre iPad et l’imprimante sont connectés au même réseau :
- Connectez-vous à Restaurant Manager à partir de l’application Restaurant POS ou d’un navigateur Web. Pour en savoir plus, consultez l’article Connexion à Restaurant Manager.
- Dans le menu de navigation, cliquez sur Printing (impression) > Imprimantes.
- Cliquez sur Ajouter une nouvelle imprimante.

- Donnez un nom à l’imprimante (nous recommandons de la nommer en fonction de son utilisation ou de son emplacement : « imprimante d’additions » ou « imprimante de cuisine », par exemple).
- (Facultatif) Remplissez le champ Description.
- Sélectionnez Star comme type et TSP100LAN comme modèle dans les menus déroulants.
- Saisissez l’adresse IP de l’imprimante dans le champ correspondant.
Remarque : L’adresse IP attribuée de l’imprimante (identifiée à la section 3) doit toujours correspondre à l’adresse IP saisie dans Restaurant Manager afin que Lightspeed Restaurant puisse se connecter à votre imprimante. - (Facultatif) Cochez la case Third-party message printer (imprimante de messages de tiers) si vous utilisez une intégration envoyant des messages via cette imprimante.
- Si vous connectez un tiroir-caisse à cette imprimante, activez le paramètre Cash drawer attached (tiroir-caisse connecté).
- Cliquez sur Enregistrer.
5. Attribuer un modèle à votre imprimante
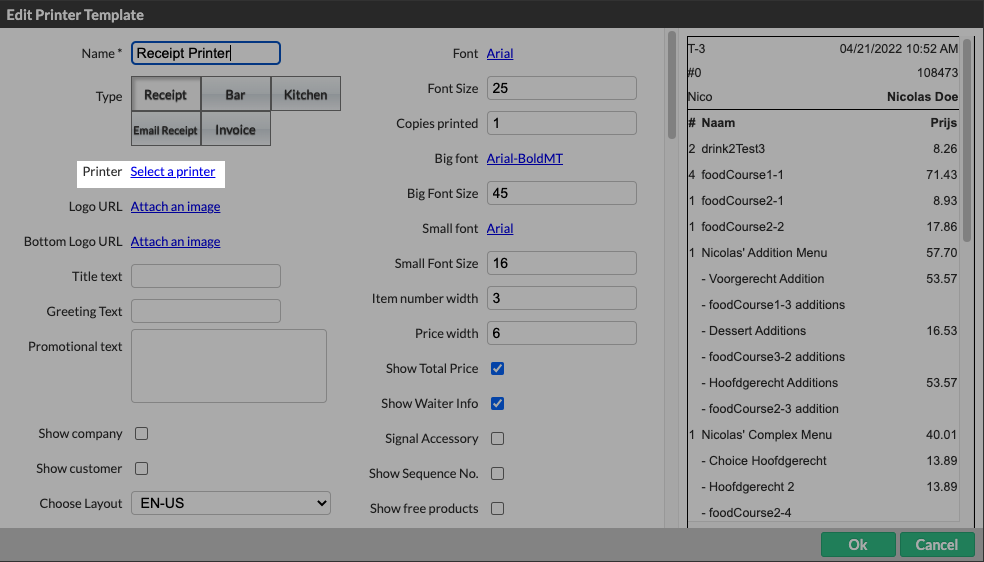
Avant d’imprimer des additions, attribuez un modèle à votre imprimante pour configurer son format d’impression. Le type du modèle indique la fonction de l’imprimante et le format de l’addition. Utilisez le type Addition pour les additions des clients et les types Bar ou Cuisine pour les billets de production. Pour en savoir plus et pour découvrir comment personnaliser vos modèles, consultez l’article Création de modèles d’impression.
- Dans le menu de navigation, cliquez sur Printing (impression) > Printer Templates (modèles d’impression).
- Créez un modèle d’impression ou sélectionnez un modèle existant.
- Dans la fenêtre contextuelle Modifier le modèle d’imprimante, cliquez sur Sélectionner une imprimante à côté du champ Imprimante.
- Sélectionnez le nom de la nouvelle imprimante pour attribuer ce modèle à votre imprimante.
- Cliquez sur Ok pour enregistrer.
6. Faire un test d’impression
Faites un test d’impression pour vous assurer que votre imprimante est connectée et que le modèle correspond à vos attentes.
- Lancez une nouvelle commande dans l’application Restaurant POS. Pour en savoir plus, consultez l’article Commande de base sur iPad.
- Ajoutez un article à la commande.
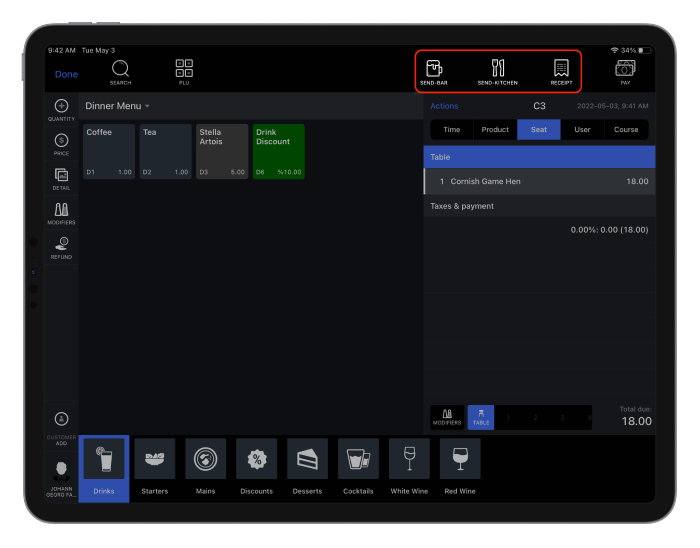
- En fonction du type de modèle (défini à la section 5), appuyez sur AU BAR, À LA CUISINE ou REÇU pour imprimer une addition ou un billet de production et évaluer sa configuration.
- Annulez la transaction en appuyant sur PAYER, puis sur Annuler l’addition, et sélectionnez une raison pour l’annulation.
- Appuyez sur Finaliser pour terminer.
Félicitations ! Votre imprimante Star TSP100LAN peut désormais imprimer des billets et des additions à partir de vos appareils utilisant Restaurant POS.
Pour découvrir comment modifier votre modèle d’impression, consultez l’article Création de modèles d’impression.
Prochaine étape
Découvrez comment personnaliser vos modèles d’impression en consultant l’article Paramètres avancés des modèles d’impression.