In this article
The Star TSP100IIIWLAN printer connects wirelessly to your network via Wi-Fi. Once connected to your network, you will be able to link the printer to your point-of-sale device.
Table of contents
Hardware requirements
Before you can set up your printer, you’ll need the hardware included in your shipment:
| Star TSP100IIIWLAN receipt printer | 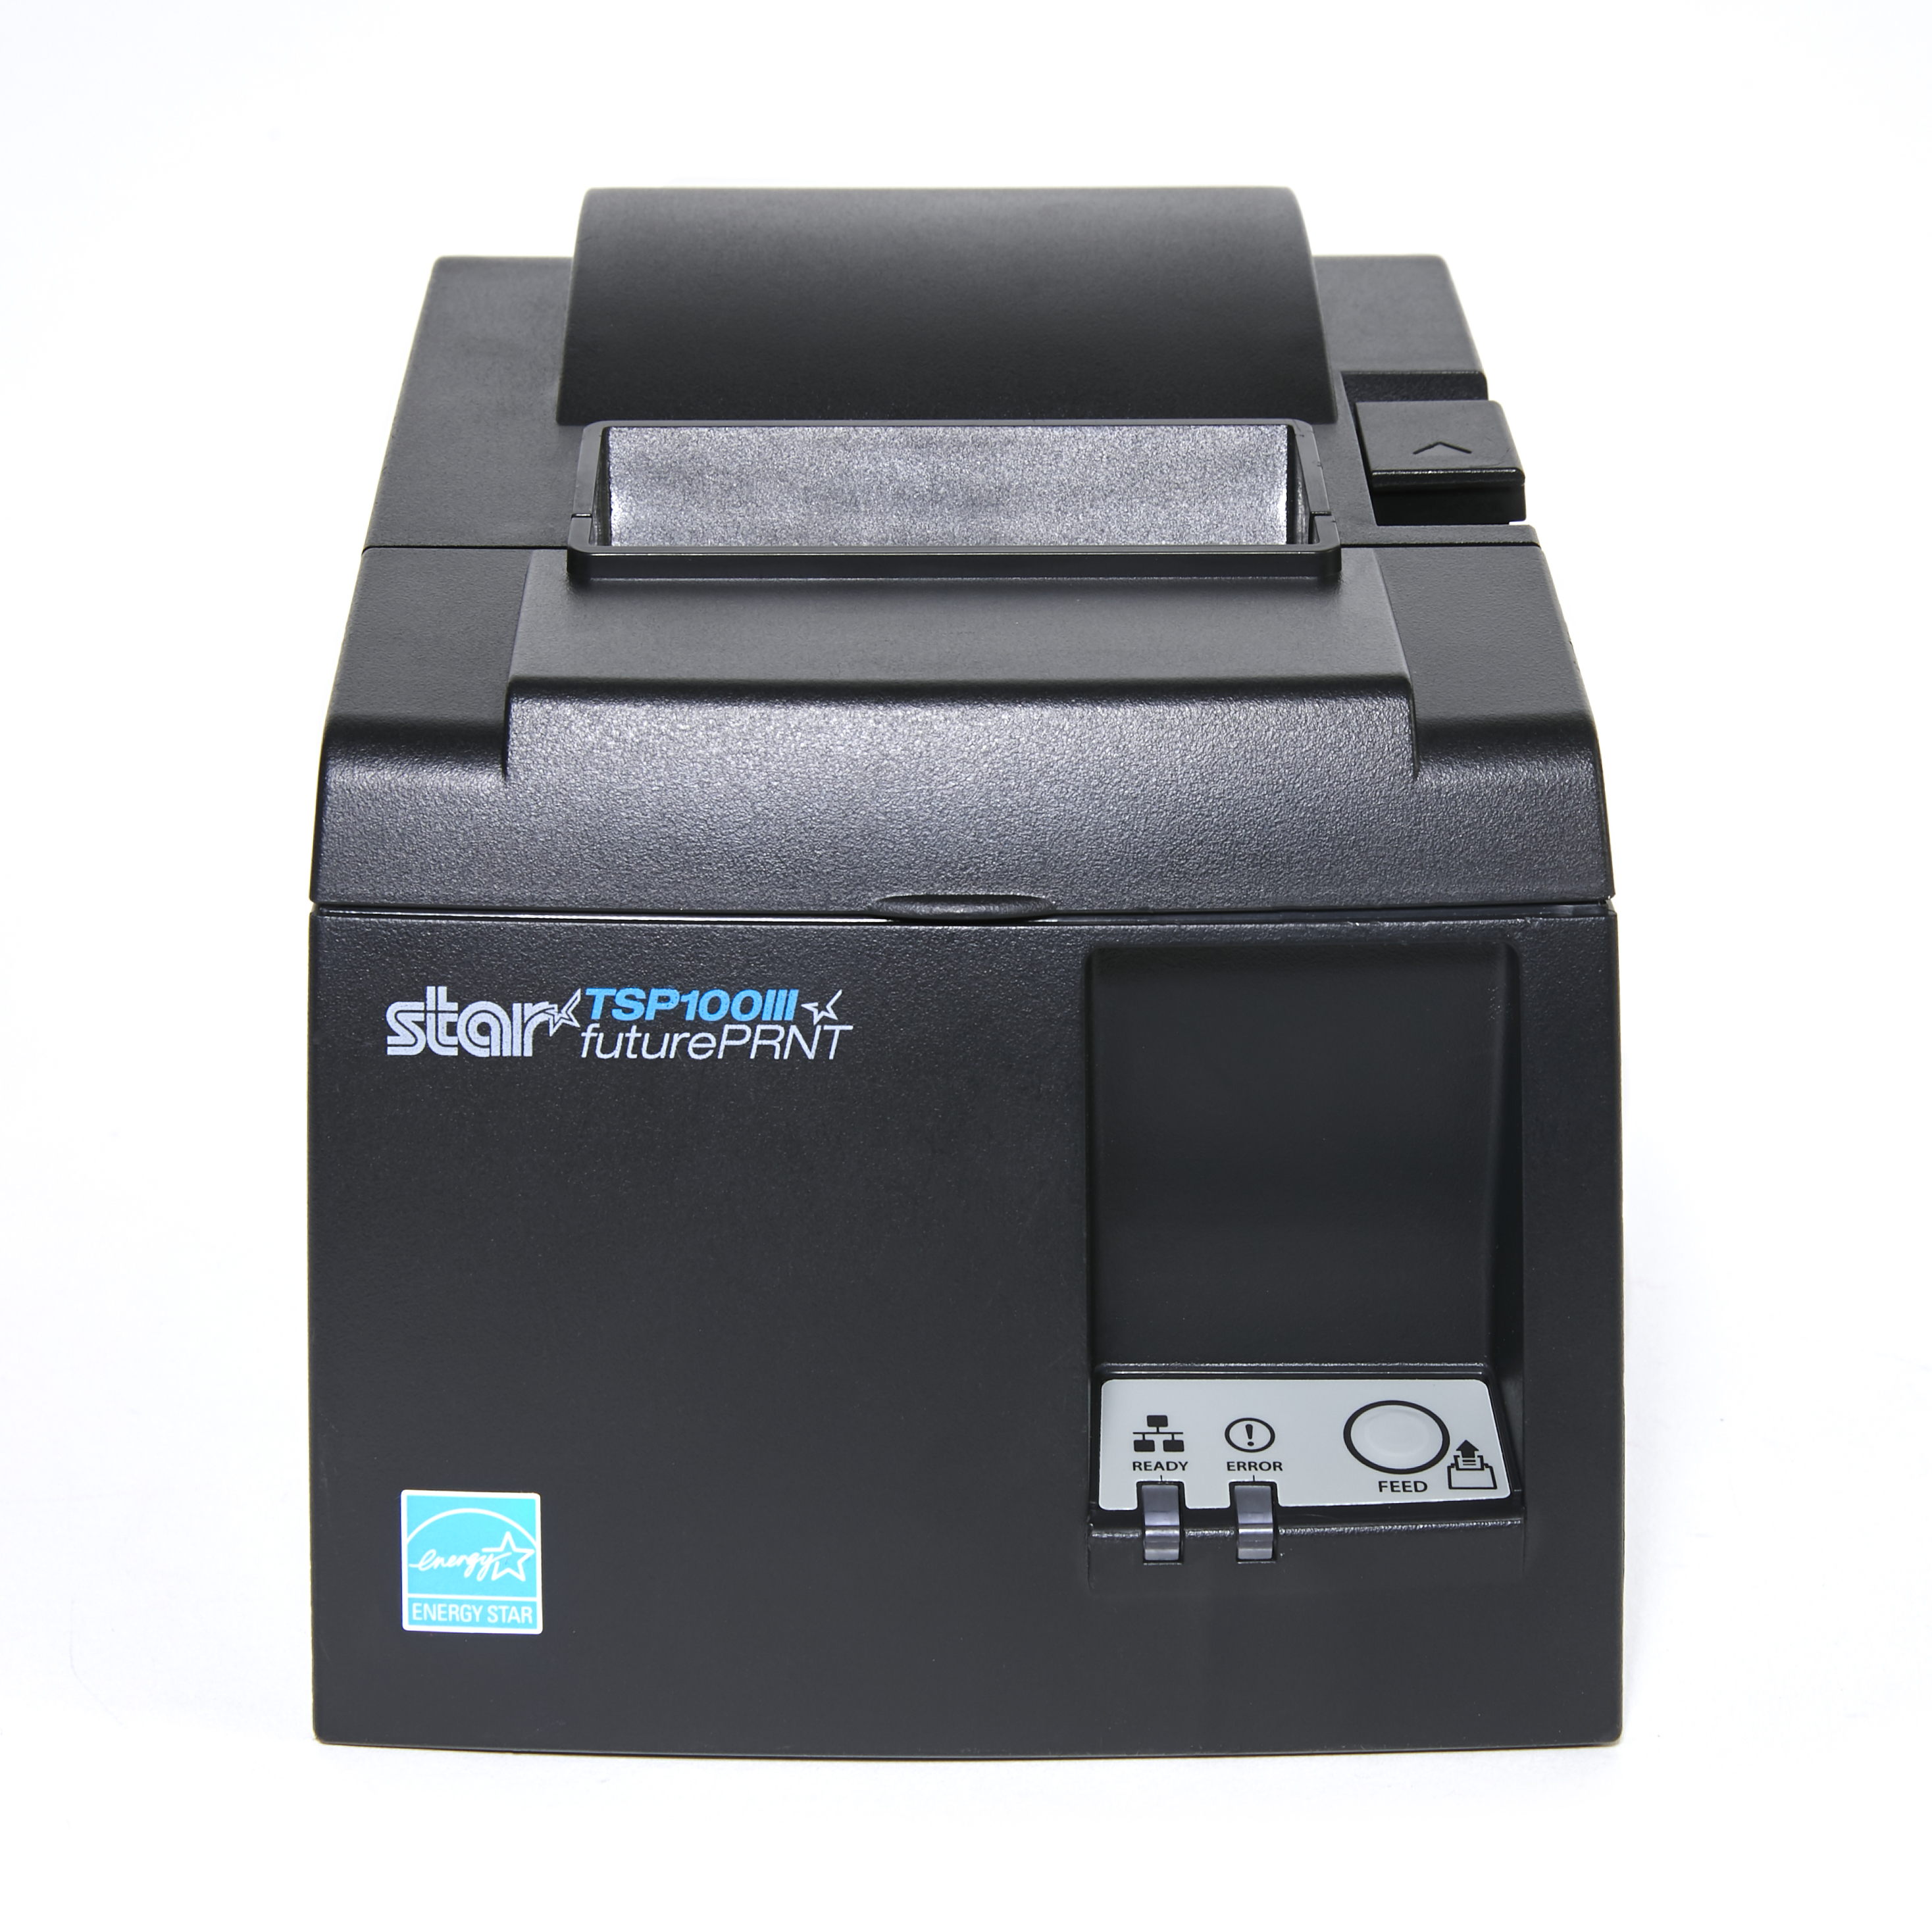 |
| Power cable |  |
|
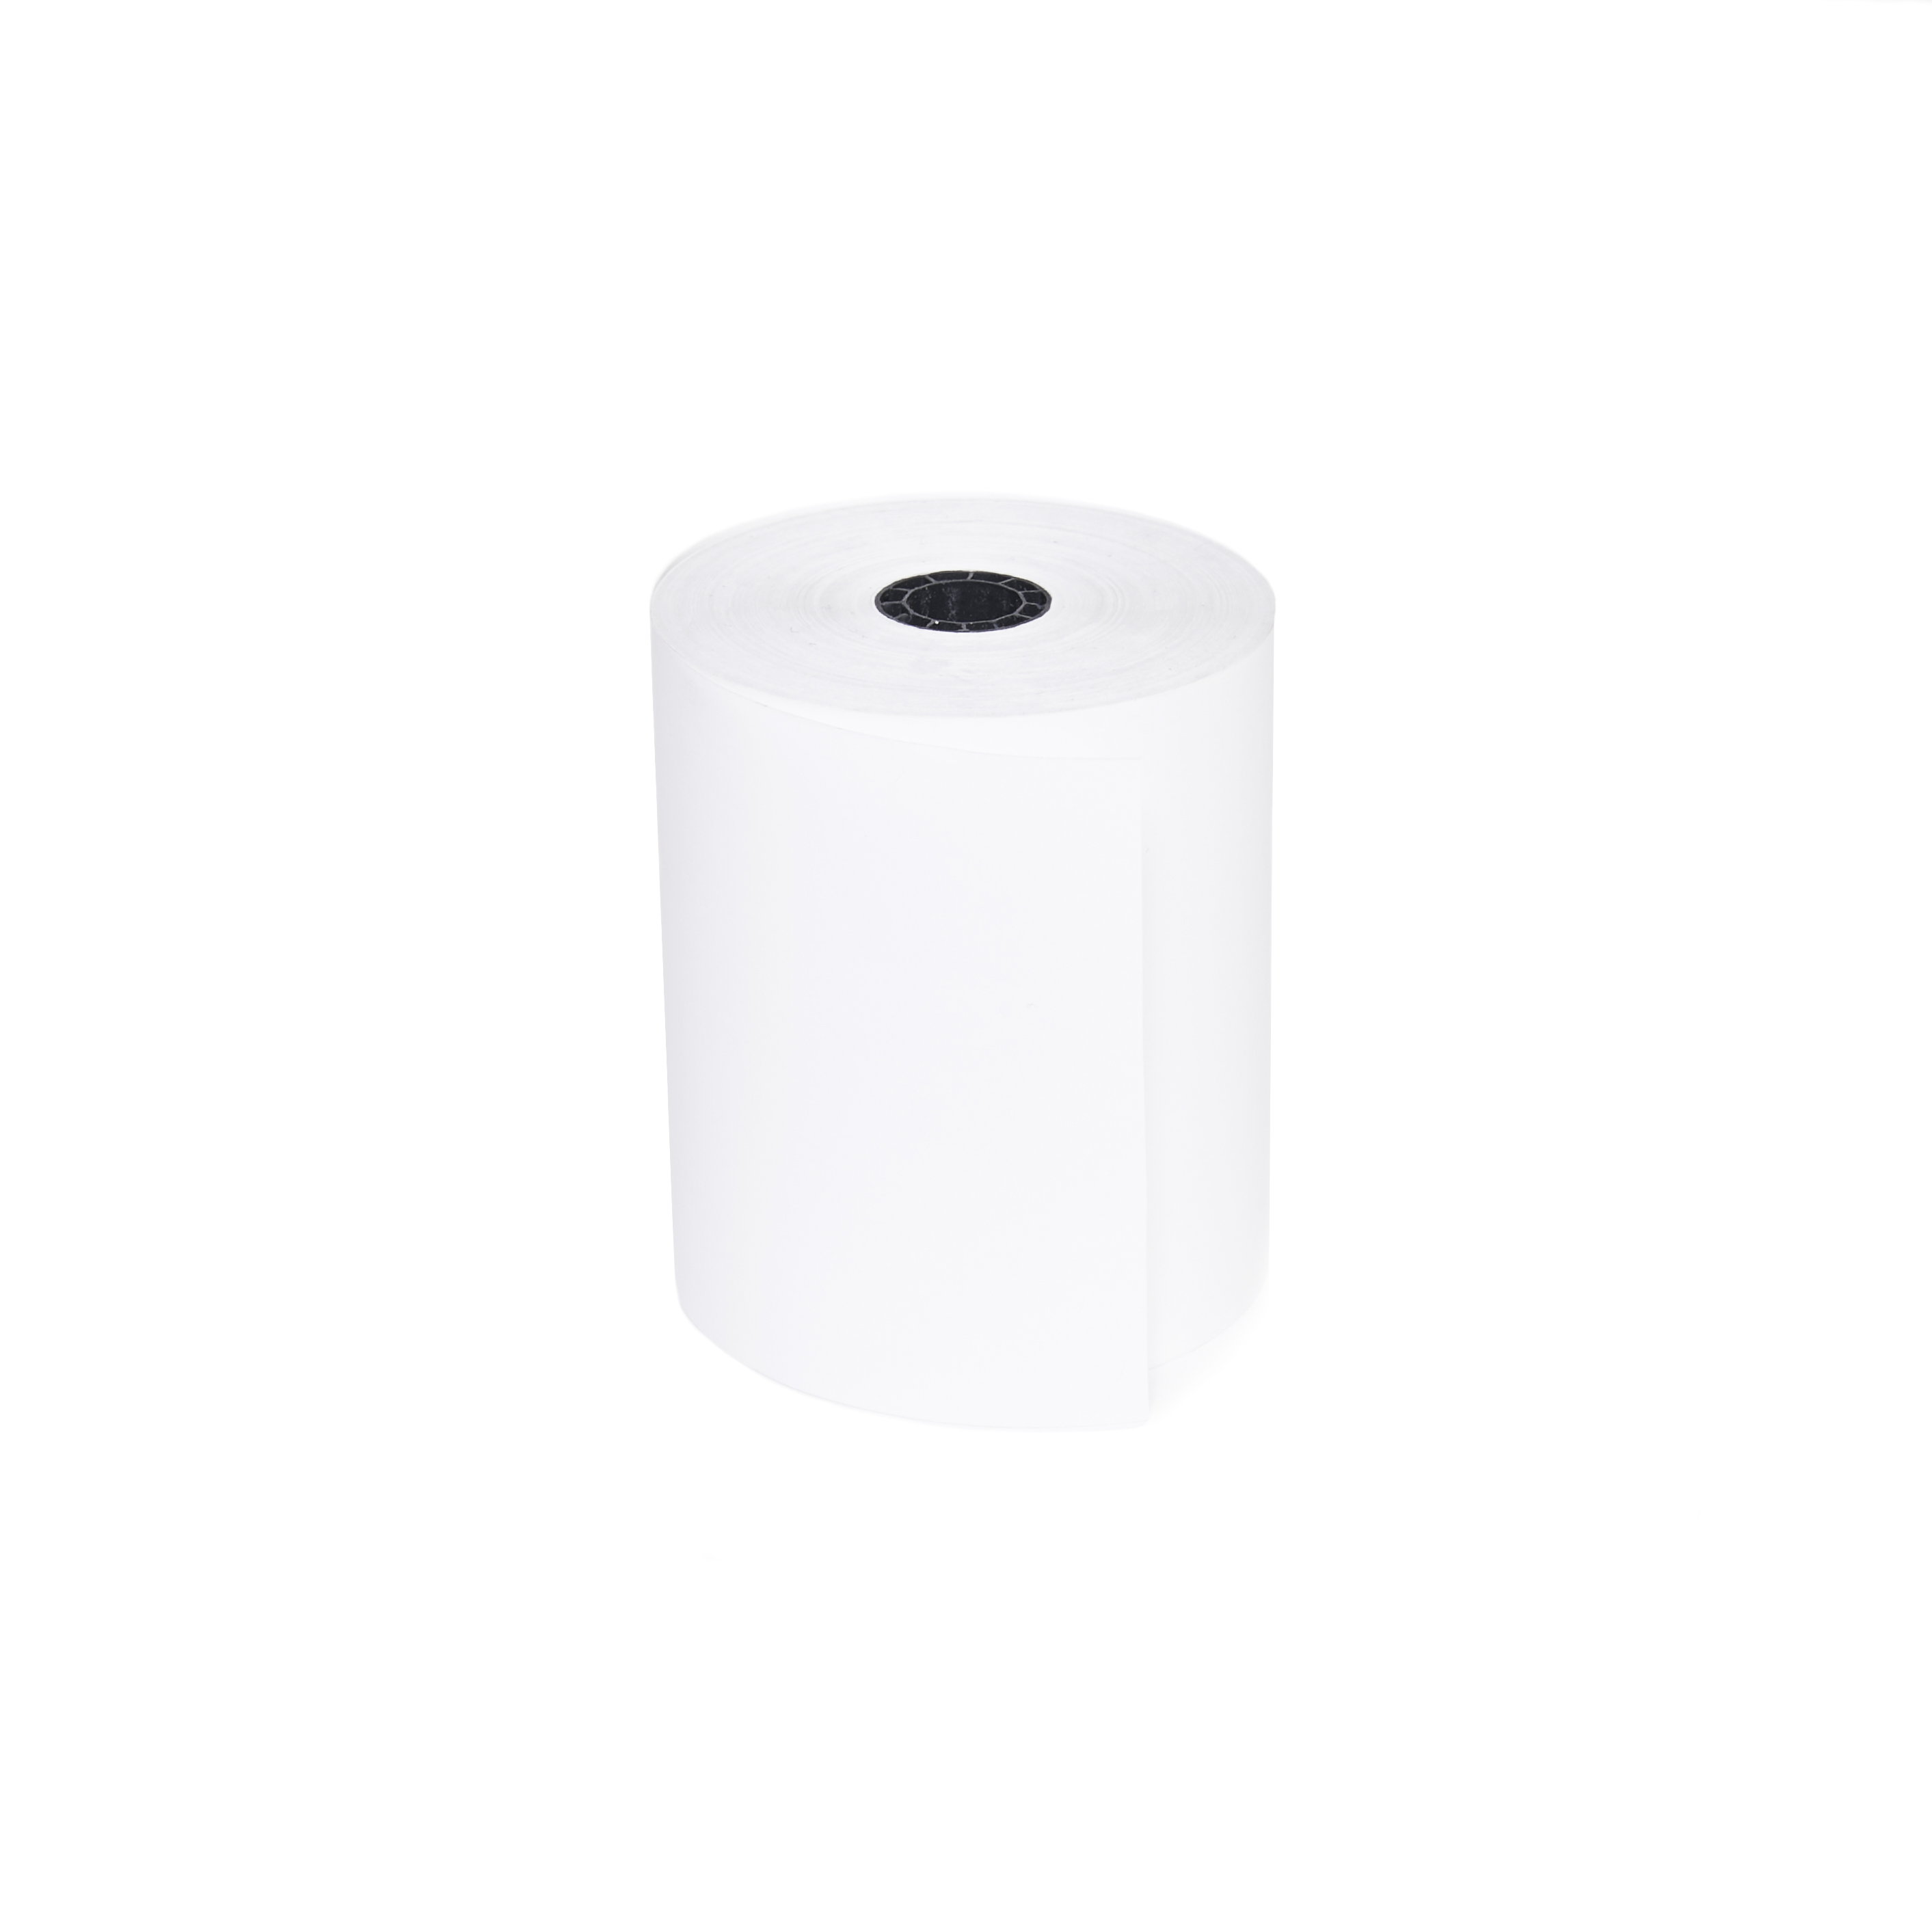
Paper roll
|
|
Setting up the Star TSP100IIIWLAN
1. Connect your printer
Using Wi-Fi Protected Setup™ (WPS) is the easiest way to connect your printer to your router. WPS is a feature that lets you connect WPS-supported devices to your router wirelessly.
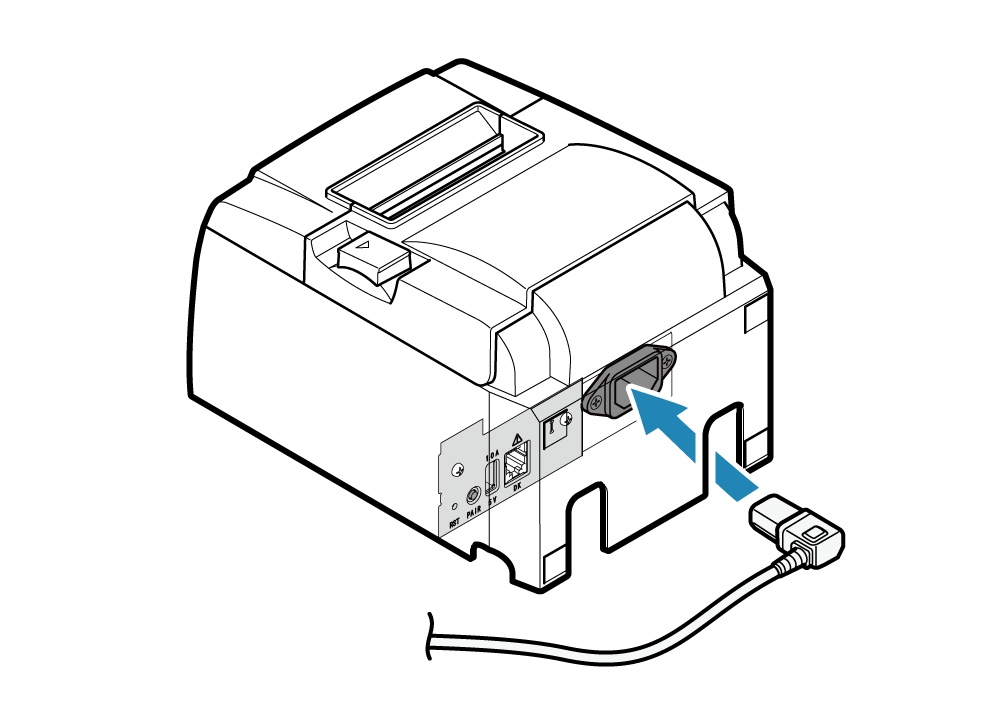
- Connect the power cable to your printer and plug the other end into an electrical outlet.
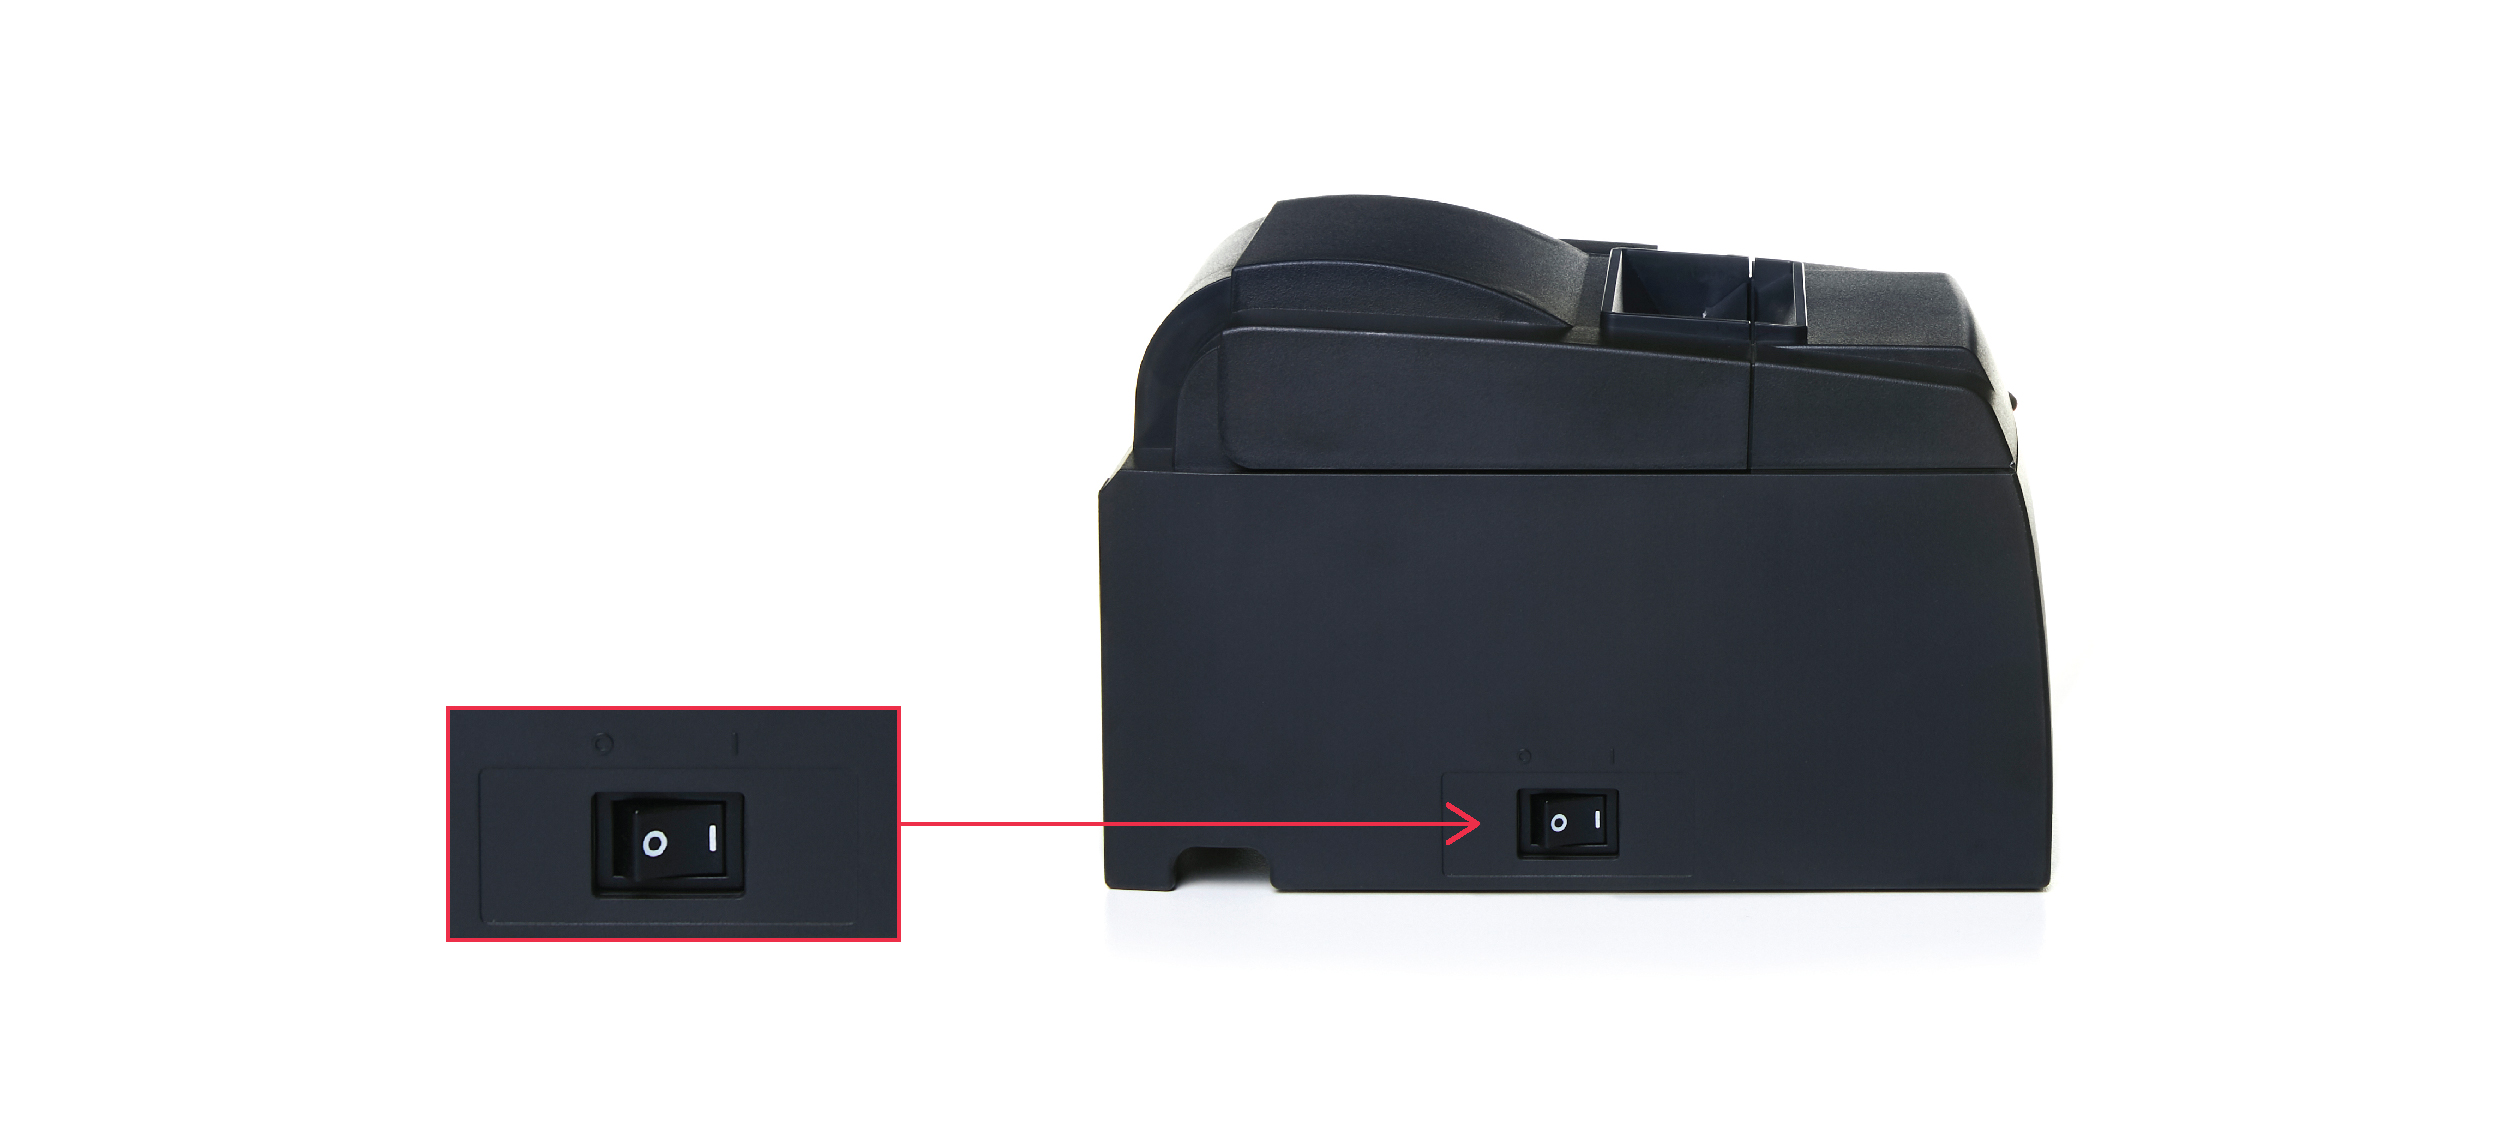
- Turn on your printer and wait for the power light to turn solid, indicating your printer is ready.
- On the back of your printer, press and hold the red PAIR button until the blue LED light on the front of your printer starts blinking.
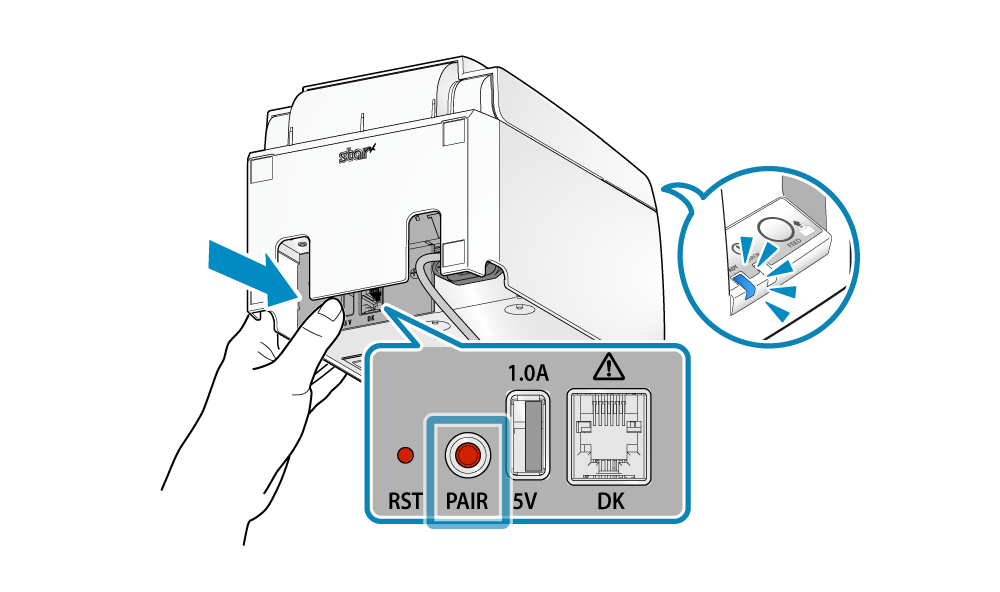
- On your router, press the
 (WPS) button. Note: Steps 3 and 4 need to be done within 30 seconds of each other.


2. Insert a paper roll
- Open the printer's cover by pushing the lever on the right side away from you and lifting the cover.
- Insert the paper roll so that the end feeds from the bottom of the roll, as shown in the image below. While doing so, make sure the paper roll stays tight and doesn't unspool.
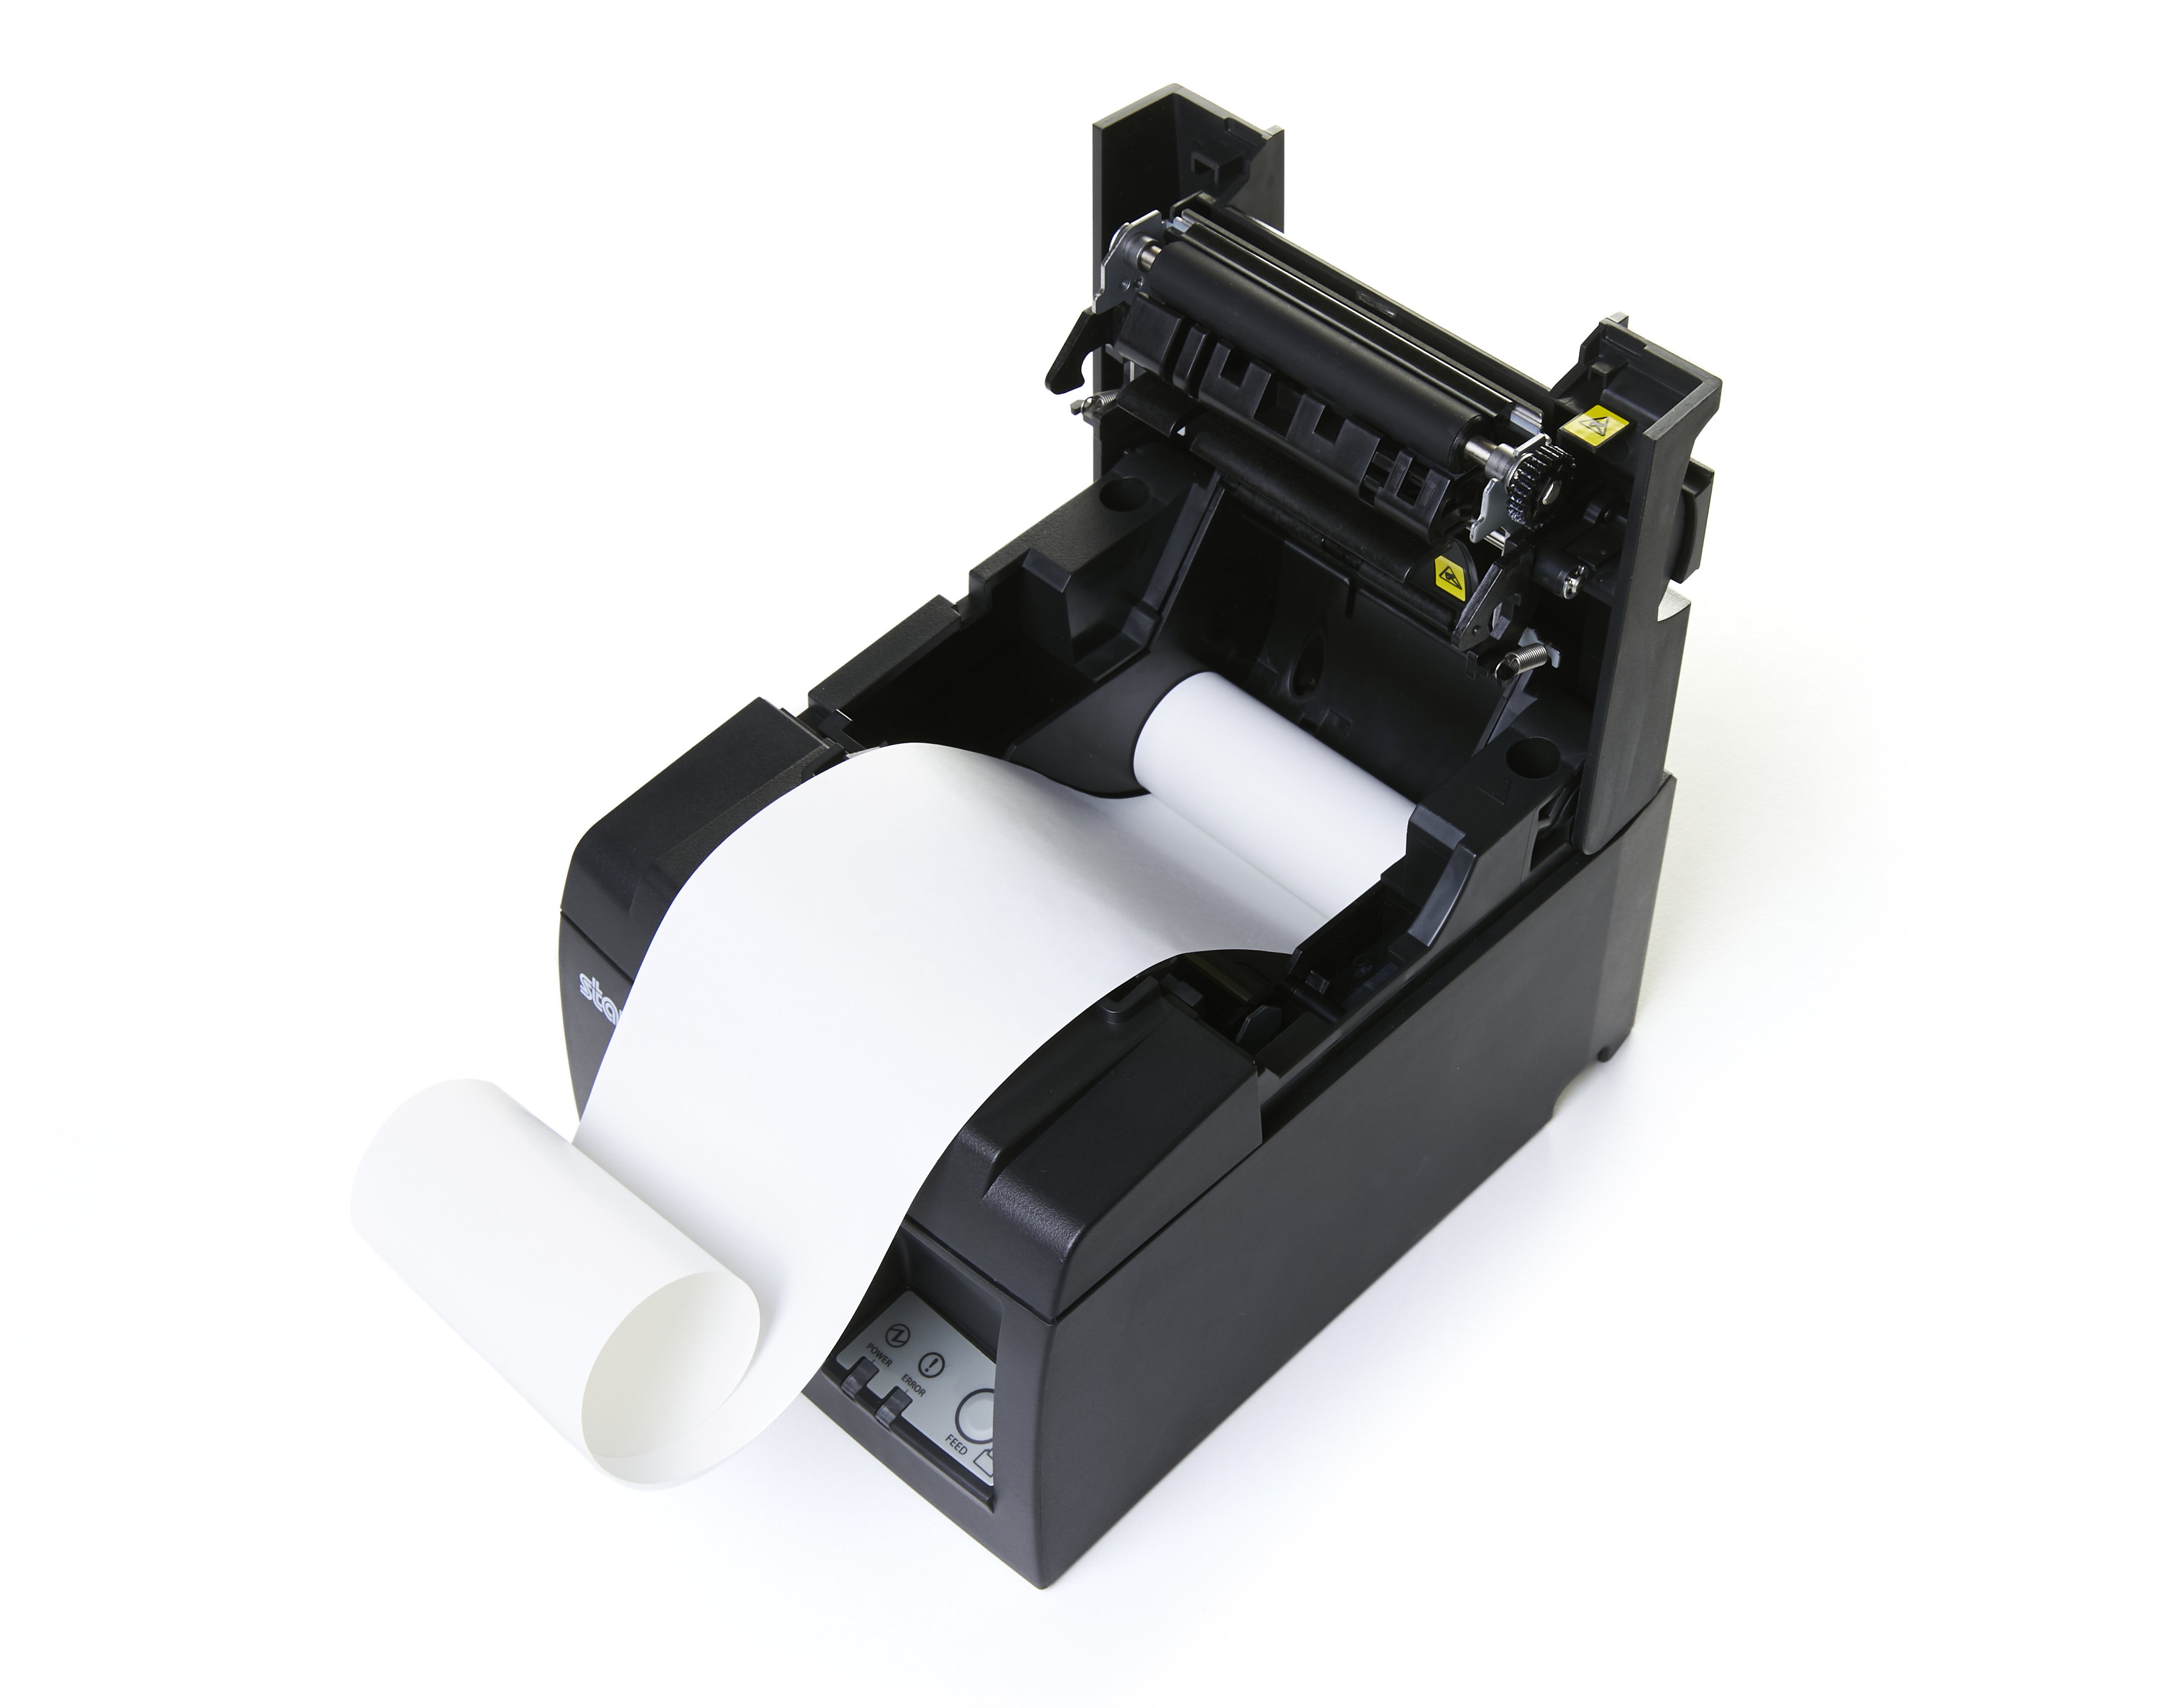
- Pull the paper out past the cutter at the front of the printer.
- Push the cover down to snap it shut.

3. Find your printer's IP address.
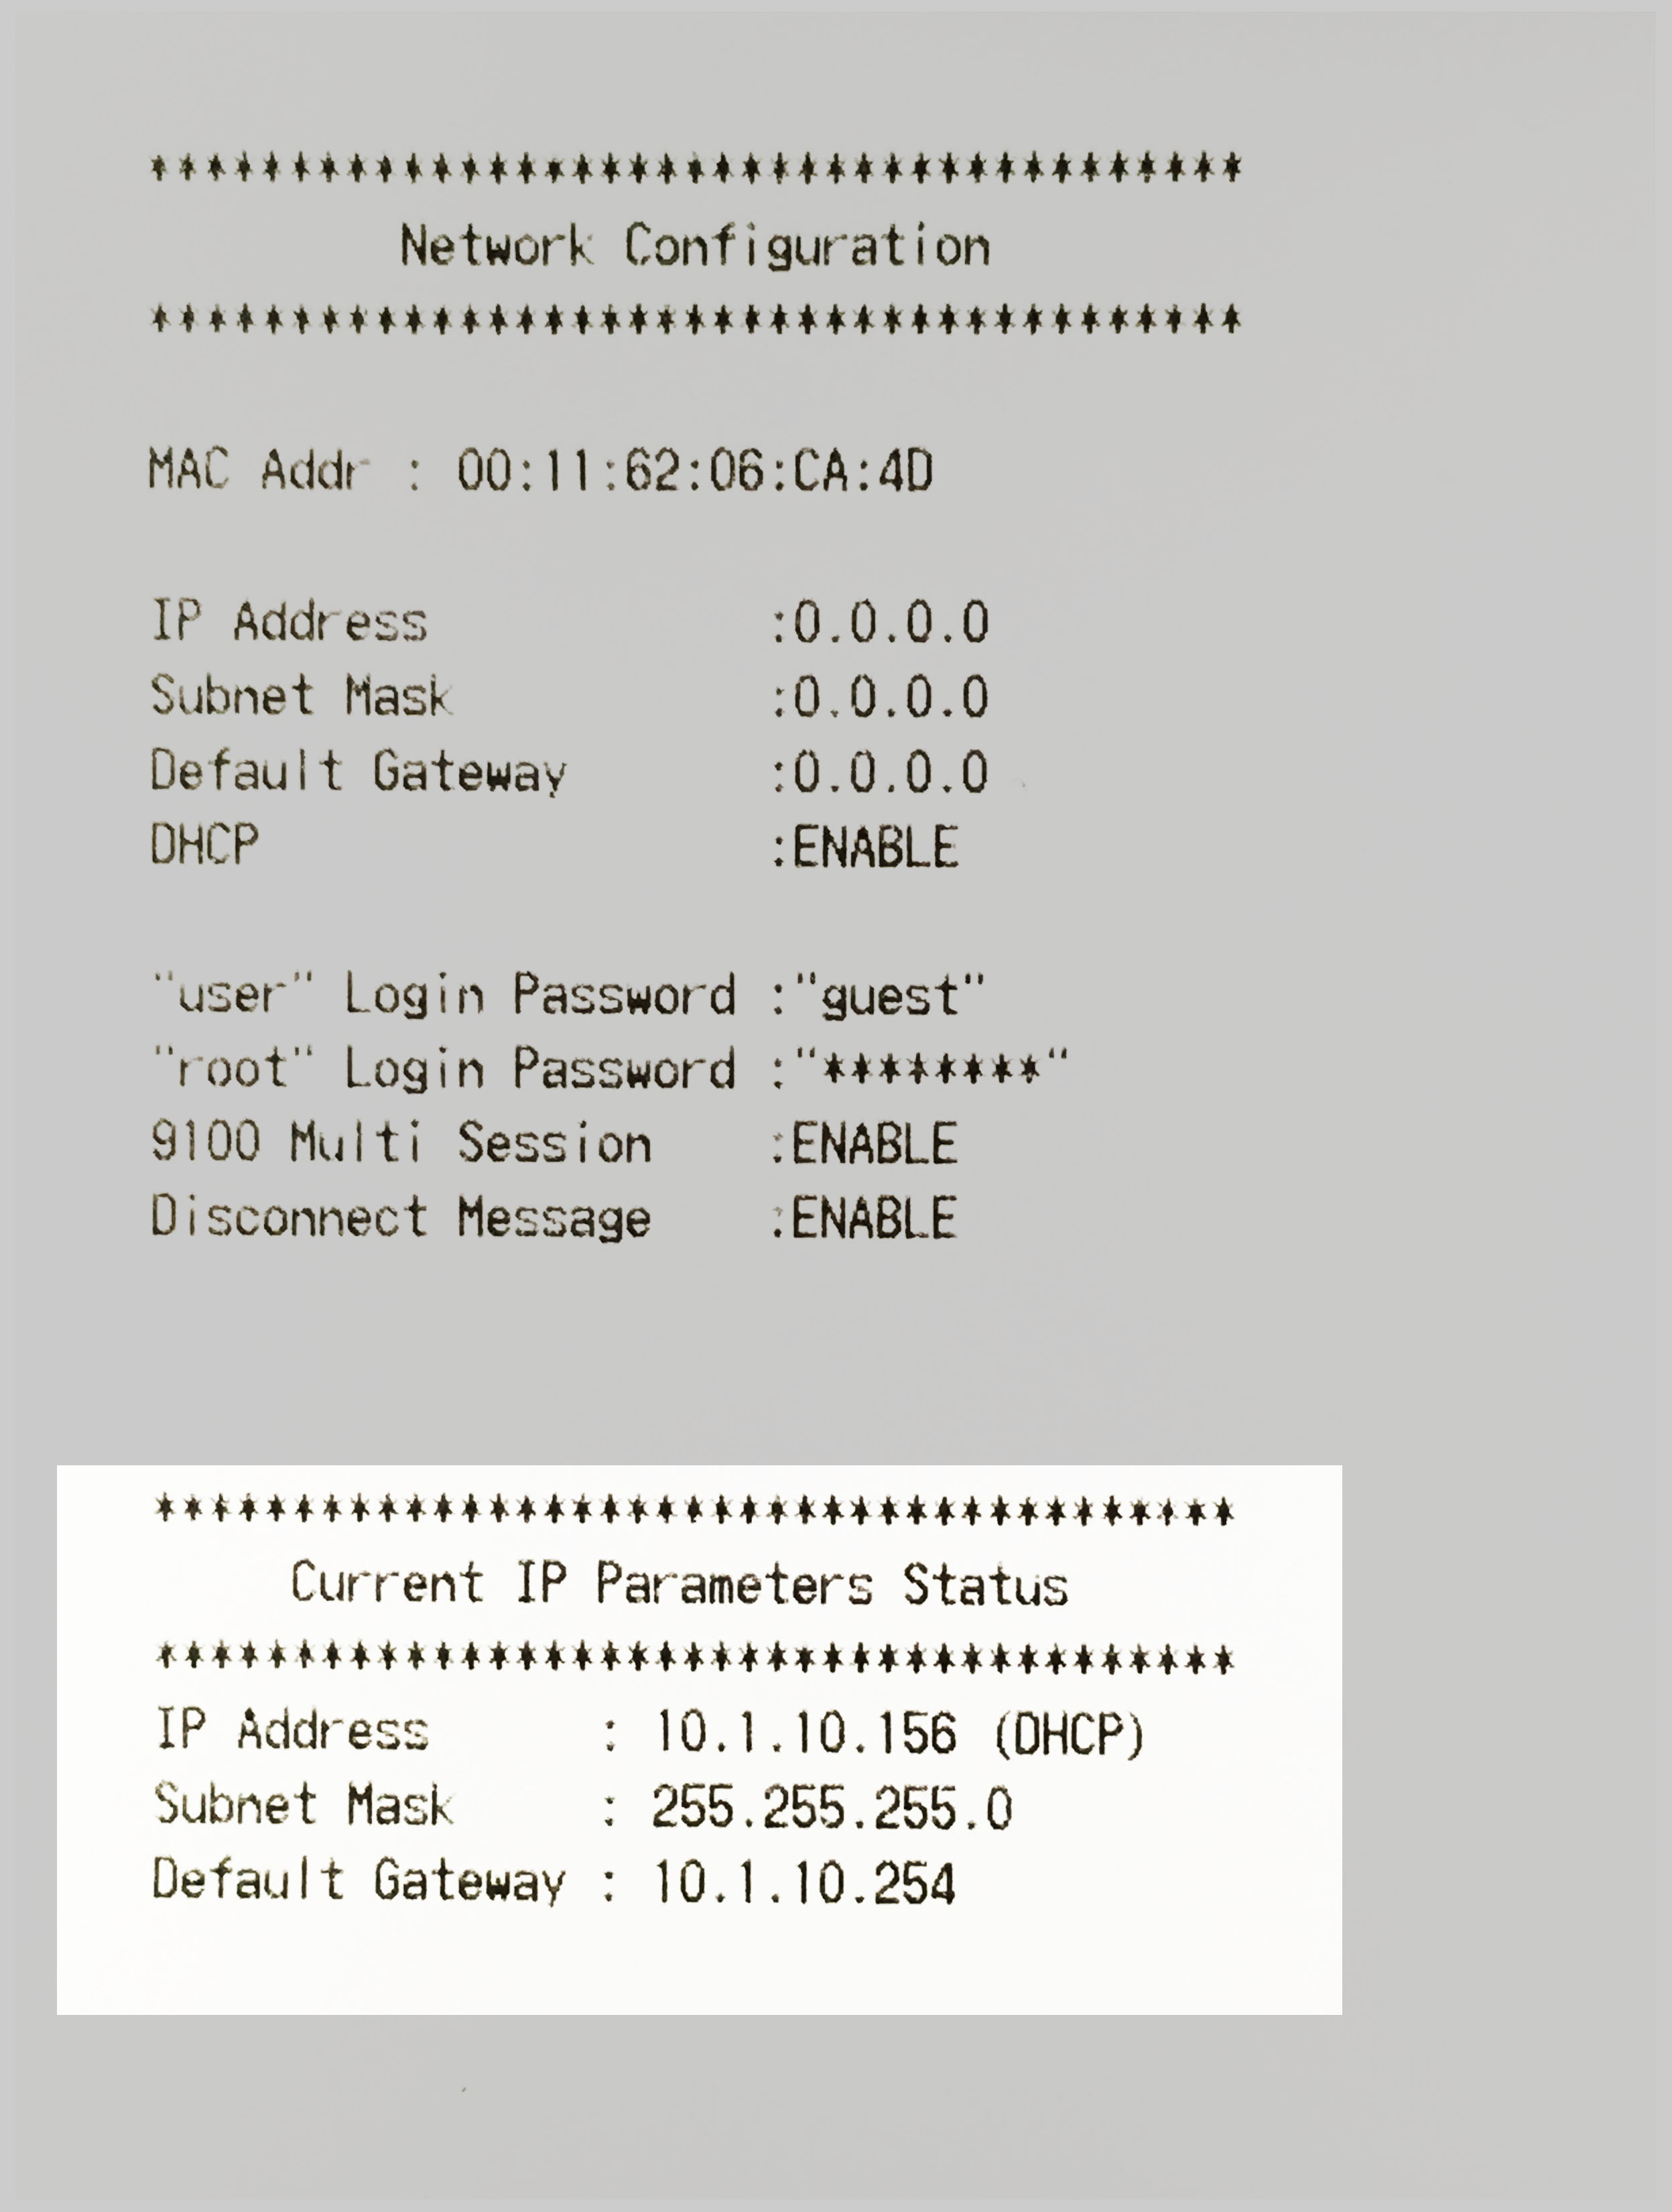
To connect your printer and POS, you will need the IP address of the receipt printer on your network. To find the IP address, print the Current IP Parameters Status page:
- Turn the printer off
- Hold down the feed button.
- Turn the power on while continuing to hold feed.
- Wait for the device to start printing, then release feed. Two test receipts will print.
The bottom of the second page will show Current IP Parameters Status. Hang on to this page and note the IP Address, which will be used later.
4. Add your printer to Restaurant Manager
Before adding your printer to Restaurant Manager, make sure your iPad is connected to the same network as your printer. Once both your iPad and printer are on the same network:
- Log in to Restaurant Manager from the Restaurant POS app or a web browser. For help, see Logging into Restaurant Manager.
- From the navigation menu, select Printing > Printers.
- Select Add New Printer.
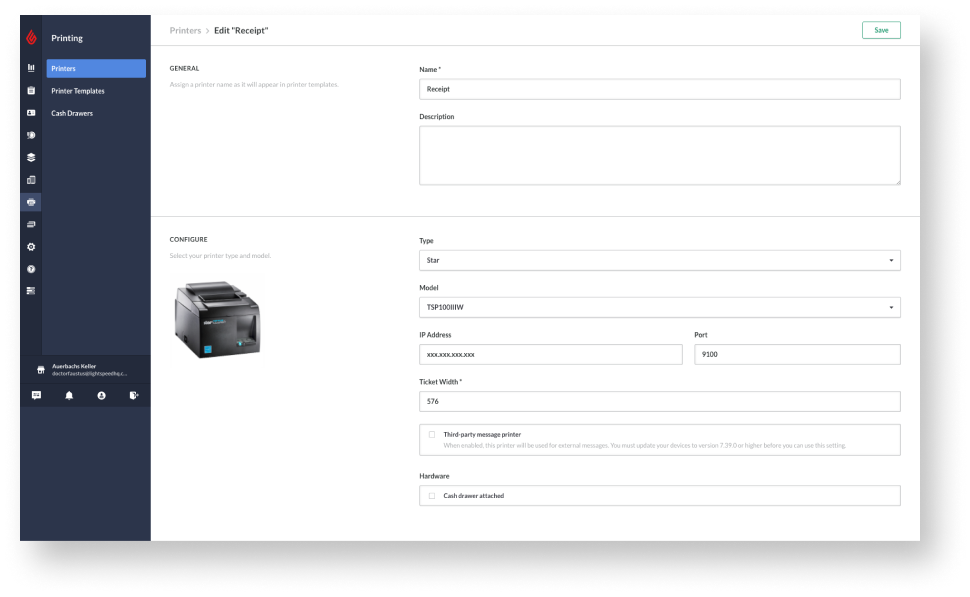
- Give the printer a name (we recommend naming it after its function or location, e.g., “Receipt printer” or “Kitchen Printer”).
- (Optional) Fill in the Description field.
- Select Star as the Type and TSP100IIIW as the Model from the drop-down menus.
- Enter the printer's IP address into the relevant field.
Note: For Lightspeed Restaurant to connect with your printer, the printer's assigned IP address (obtained in section 3) must always match the IP address entered in Restaurant Manager. - (Optional) If using an integration that will send messages through this printer, enable Third-party message printer.
- If you are connecting a cash drawer to this printer, enable the Cash drawer attached setting.
- Click Save.

5. Connect your printer to a template
Before you can print receipts, assign a template to your printer to determine the format with which it will print. The template Type will dictate the function of the printer and the layout of the receipt. Use Receipt type for customer receipts, and use Bar or Kitchen type for production tickets. For more information and to learn how to adjust your templates, visit Creating printer templates.
- From the navigation menu, select Printing > Printer Templates.
- Create or select an existing printer template.
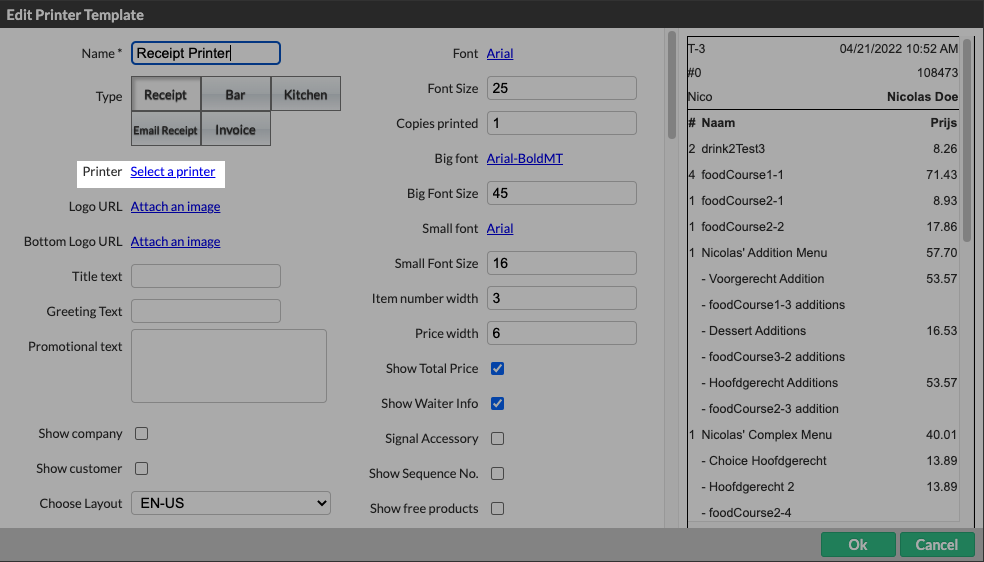
- In the Edit Printer Template pop-up, beside Printer, click Select a Printer.
- Select the new printer by name to assign the template to your printer.
- Select Ok to save.
6. Print a test receipt
Print a test receipt to ensure that your printer is connected and that the template looks as expected.
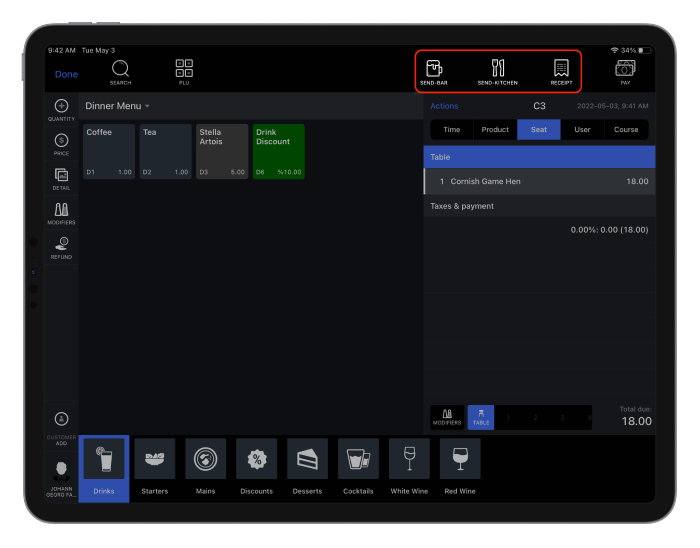
- In the Restaurant POS app, start a new order. For help, visit Basic ordering on an iPad.
- Add an item to the order.
- Based on the template Type (set in section 5), tap Send-bar, Send-kitchen, or Receipt to print a receipt or production ticket and assess how it looks.
- Void the transaction by tapping Pay and selecting Void receipt, and pick a reason for the void.
- Tap Finalize to finish.

Congratulations! Your Star TSP100IIIWLAN can now print tickets and receipts from your Restaurant POS devices.
To learn how to change your printer template, visit Creating printer templates.
What’s next?
Learn about customizing your printer templates by visiting Advanced printer template settings.