Use floors to organize your tables into groups. Floors can reflect the actual layout of your restaurant as a floor plan (e.g. table-service environments) or can be used to organize your tables by type (e.g. quick-service environments).
- In Restaurant Manager, click Floors.
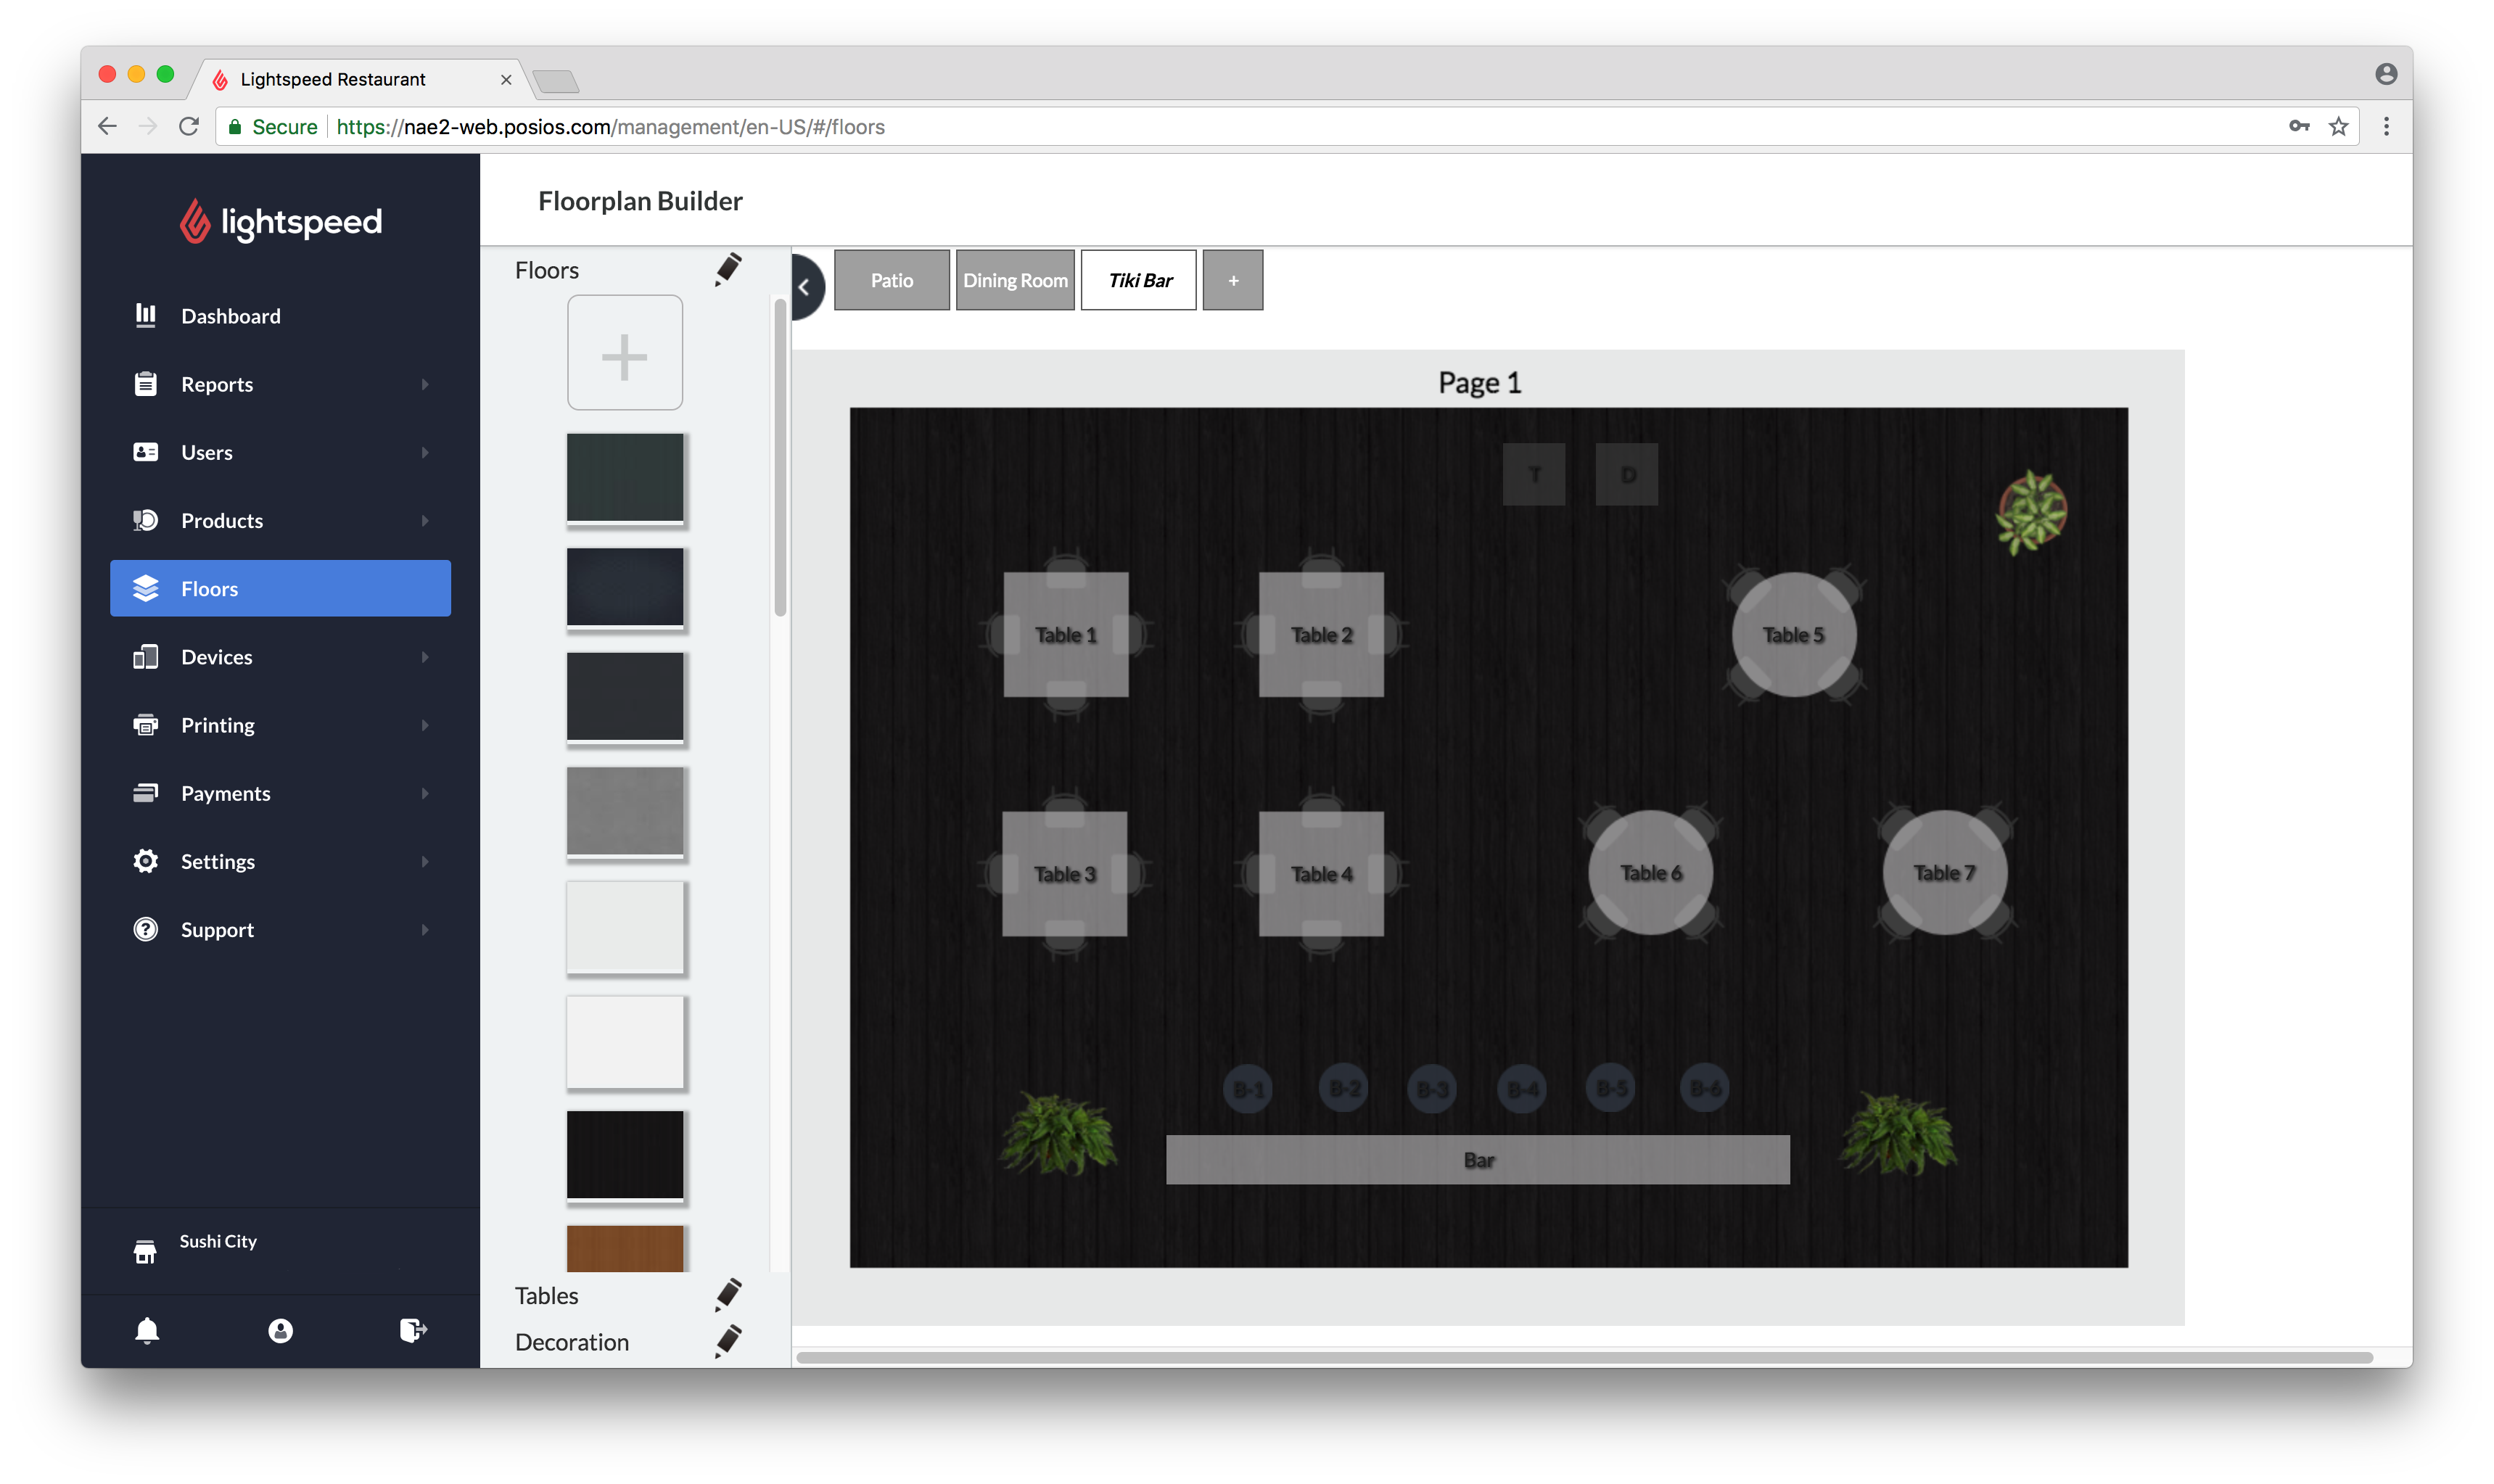
- Click the plus icon + at the top of the Floorplan Builder to add a floor.
- Specify the settings and click OK.
Settings
NAME A name for the floor.
DESCRIPTION A description of the floor. Note that this will only appear in Restaurant Manager. WIDTH AND HEIGHT Floor width and height in pixels. For use on a iPad, we recommend that you leave the width and height values as-is (1024x690). DEFAULT SIZES Default size for the floor. VISIBLE Adjusts whether or not the floor is visible in Restaurant POS. ATTACH PRINTER You can assign a default printer from which all receipts are printed for that floor. Select the kitchen, bar or receipt printer template. -
Customize your new floor by selecting a background from the menu on the left.
What's Next:
Continue your floor plan by adding tables. See Creating tables for more information.