Lightspeed Accounting supports the following posting methods for posting your Point of Sales data to Sage Business Cloud Accounting:
-
Journal Entry
-
Sales Invoice
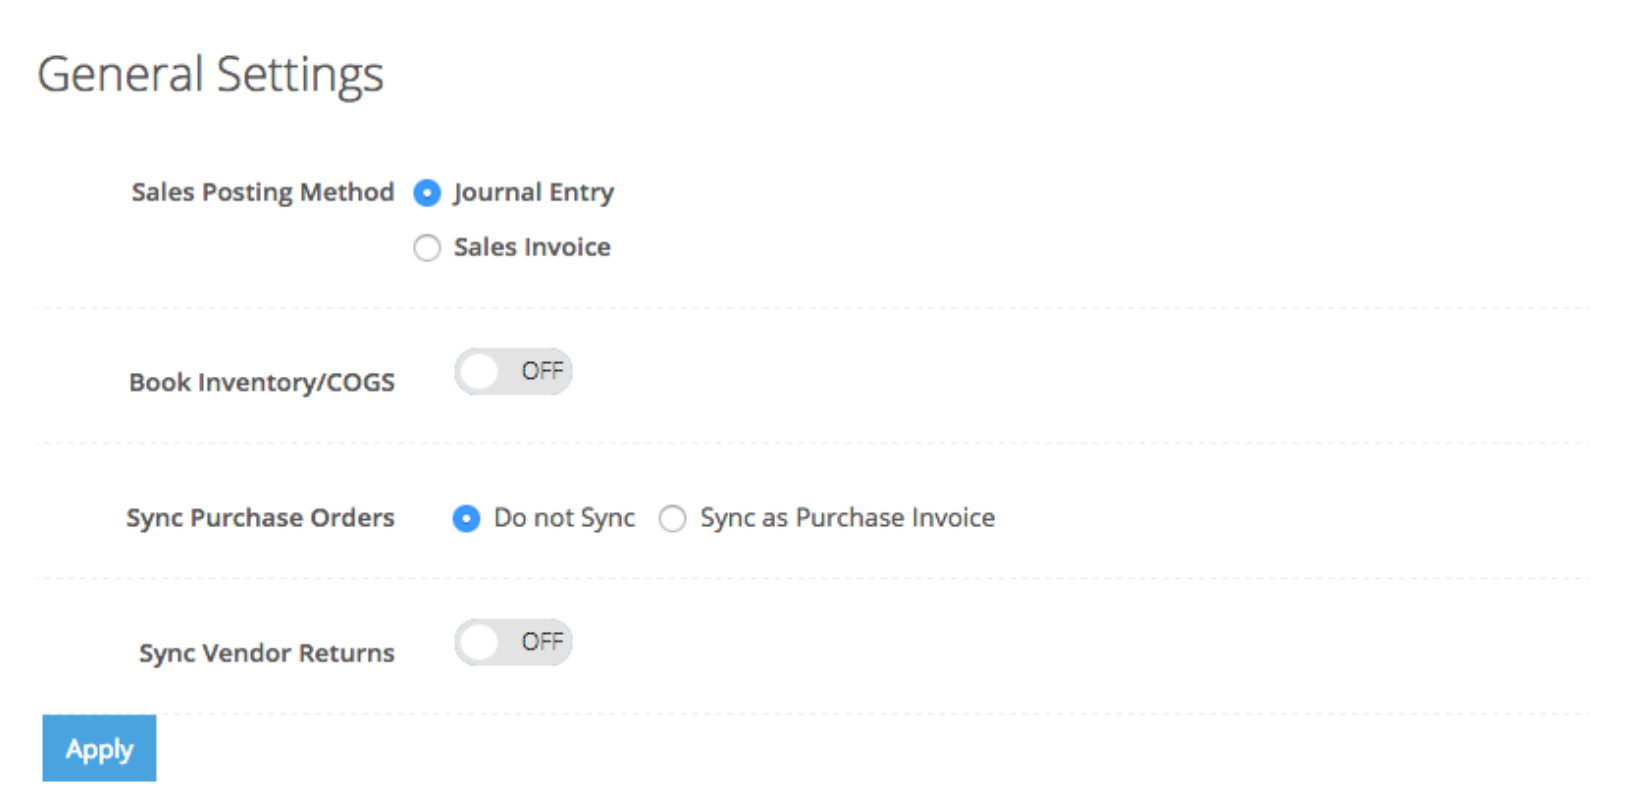
Journal Entry
Creates a single journal entry with the sales grouped item category, along with discounts, payments, tax, and cash drawer.
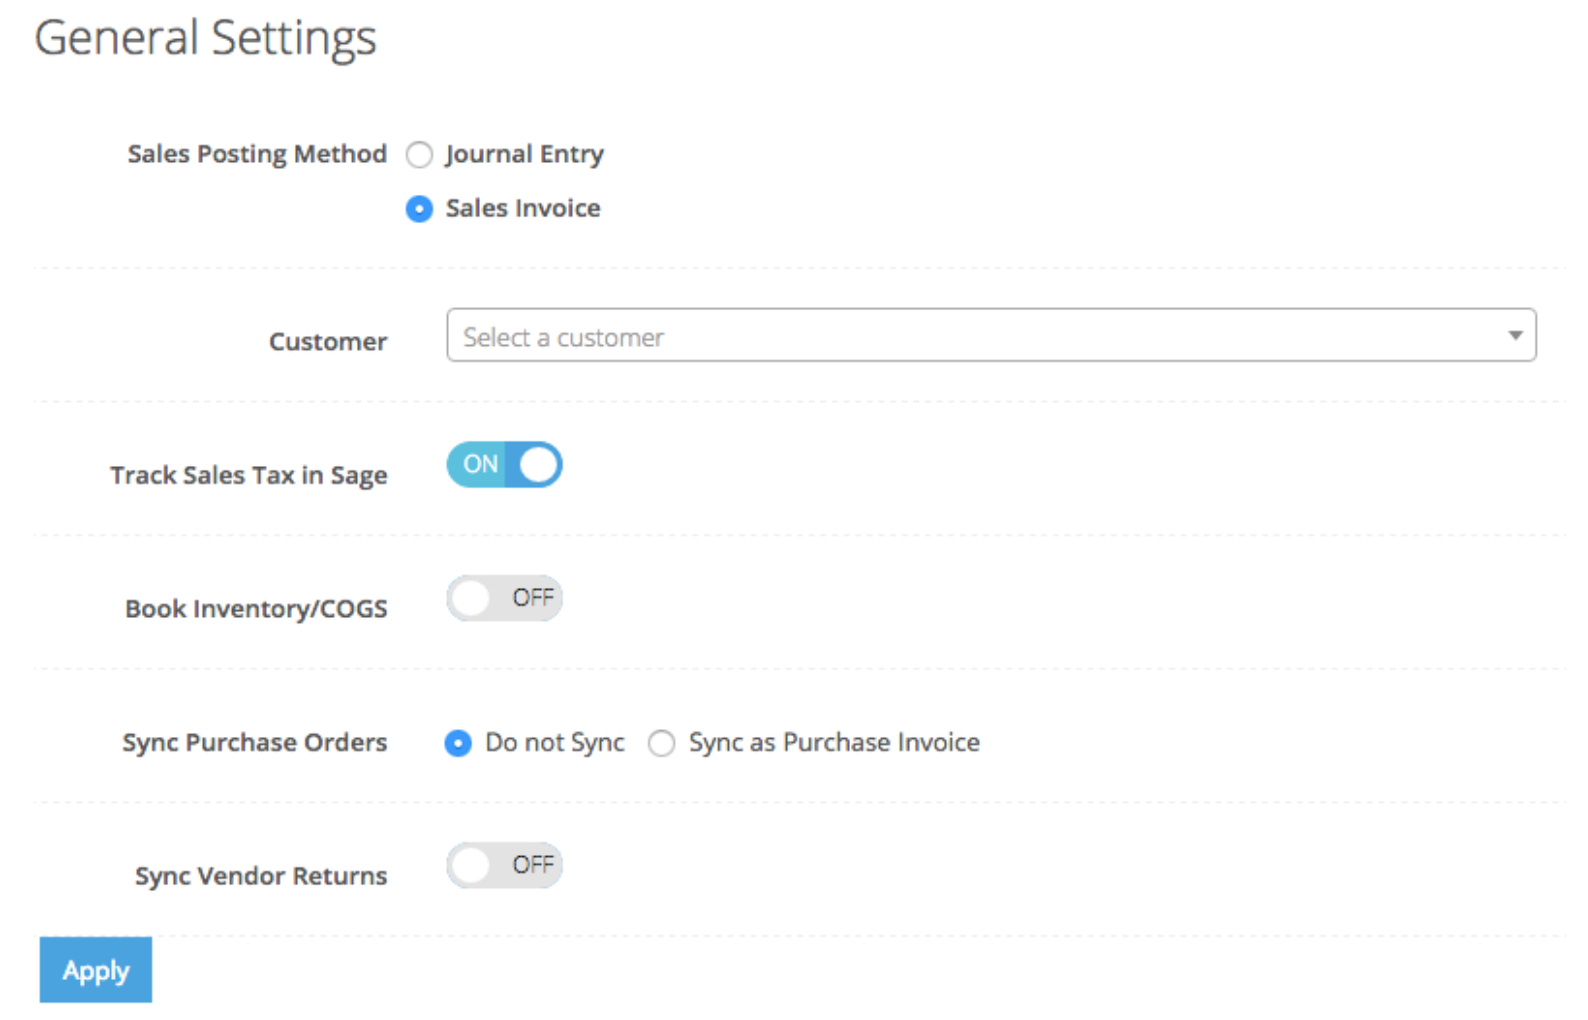
Sales Invoice
Creates a single Sales Invoice that summarizes the entire day of activity.
The following setting options will vary depending on the method selected.
| Customer | Only applies to Sales Invoices. Optionally allows you to associate the Lightspeed Accounting posting with a Sage Business Cloud Accounting Customer.
NOTE: Lightspeed Accounting integration is not based on each point of sale transaction, so this contact should be something like Walk-In or Point of Sale not an individual customer who purchased a product/service. |
| Track Sales Tax in Sage |
If this is enabled, Lightspeed Accounting uses the sales tax rates as defined in Sage Business Cloud Accounting, allowing you to match the Lightspeed Restaurant POS tax rates with Sage Business Cloud Accounting. If applicable, you can also specify a non-taxable rate. |
| Book Inventory/COGS | Creates a journal entry representing Inventory and Cost of Goods Sold offset value amounts based on products sold net of returns. Inventory and COGS accounts are specified at the category level. Please note that this option is a value based integration, not a quantity based (e.g. Lightspeed Accounting will post the cost of how much was sold and not how many).
If you are applying your vendor invoices directly to a COGS account in Sage Business Cloud Accounting as you are paying your bills, you do not want to enable this option as it will result in duplicate COGS amounts as well as reduce an Inventory Asset account balance that does not exist. |
| Sync Purchase Orders | Not available for Lightspeed Restaurant. |
_________________
Once you have set all of your accounting options, press the Apply button to save your settings.
What's next?
Continue with the configuration by mapping your accounting.