The Star mC-Print3 receipt printer connects directly to your iPad with a USB cable. To set up the Star mC-Print3 USB, you’ll need to insert paper into the printer, connect the printer to your iPad, and add the printer to the Restaurant Manager.
What you'll need
To set up your printer, you'll need:
|
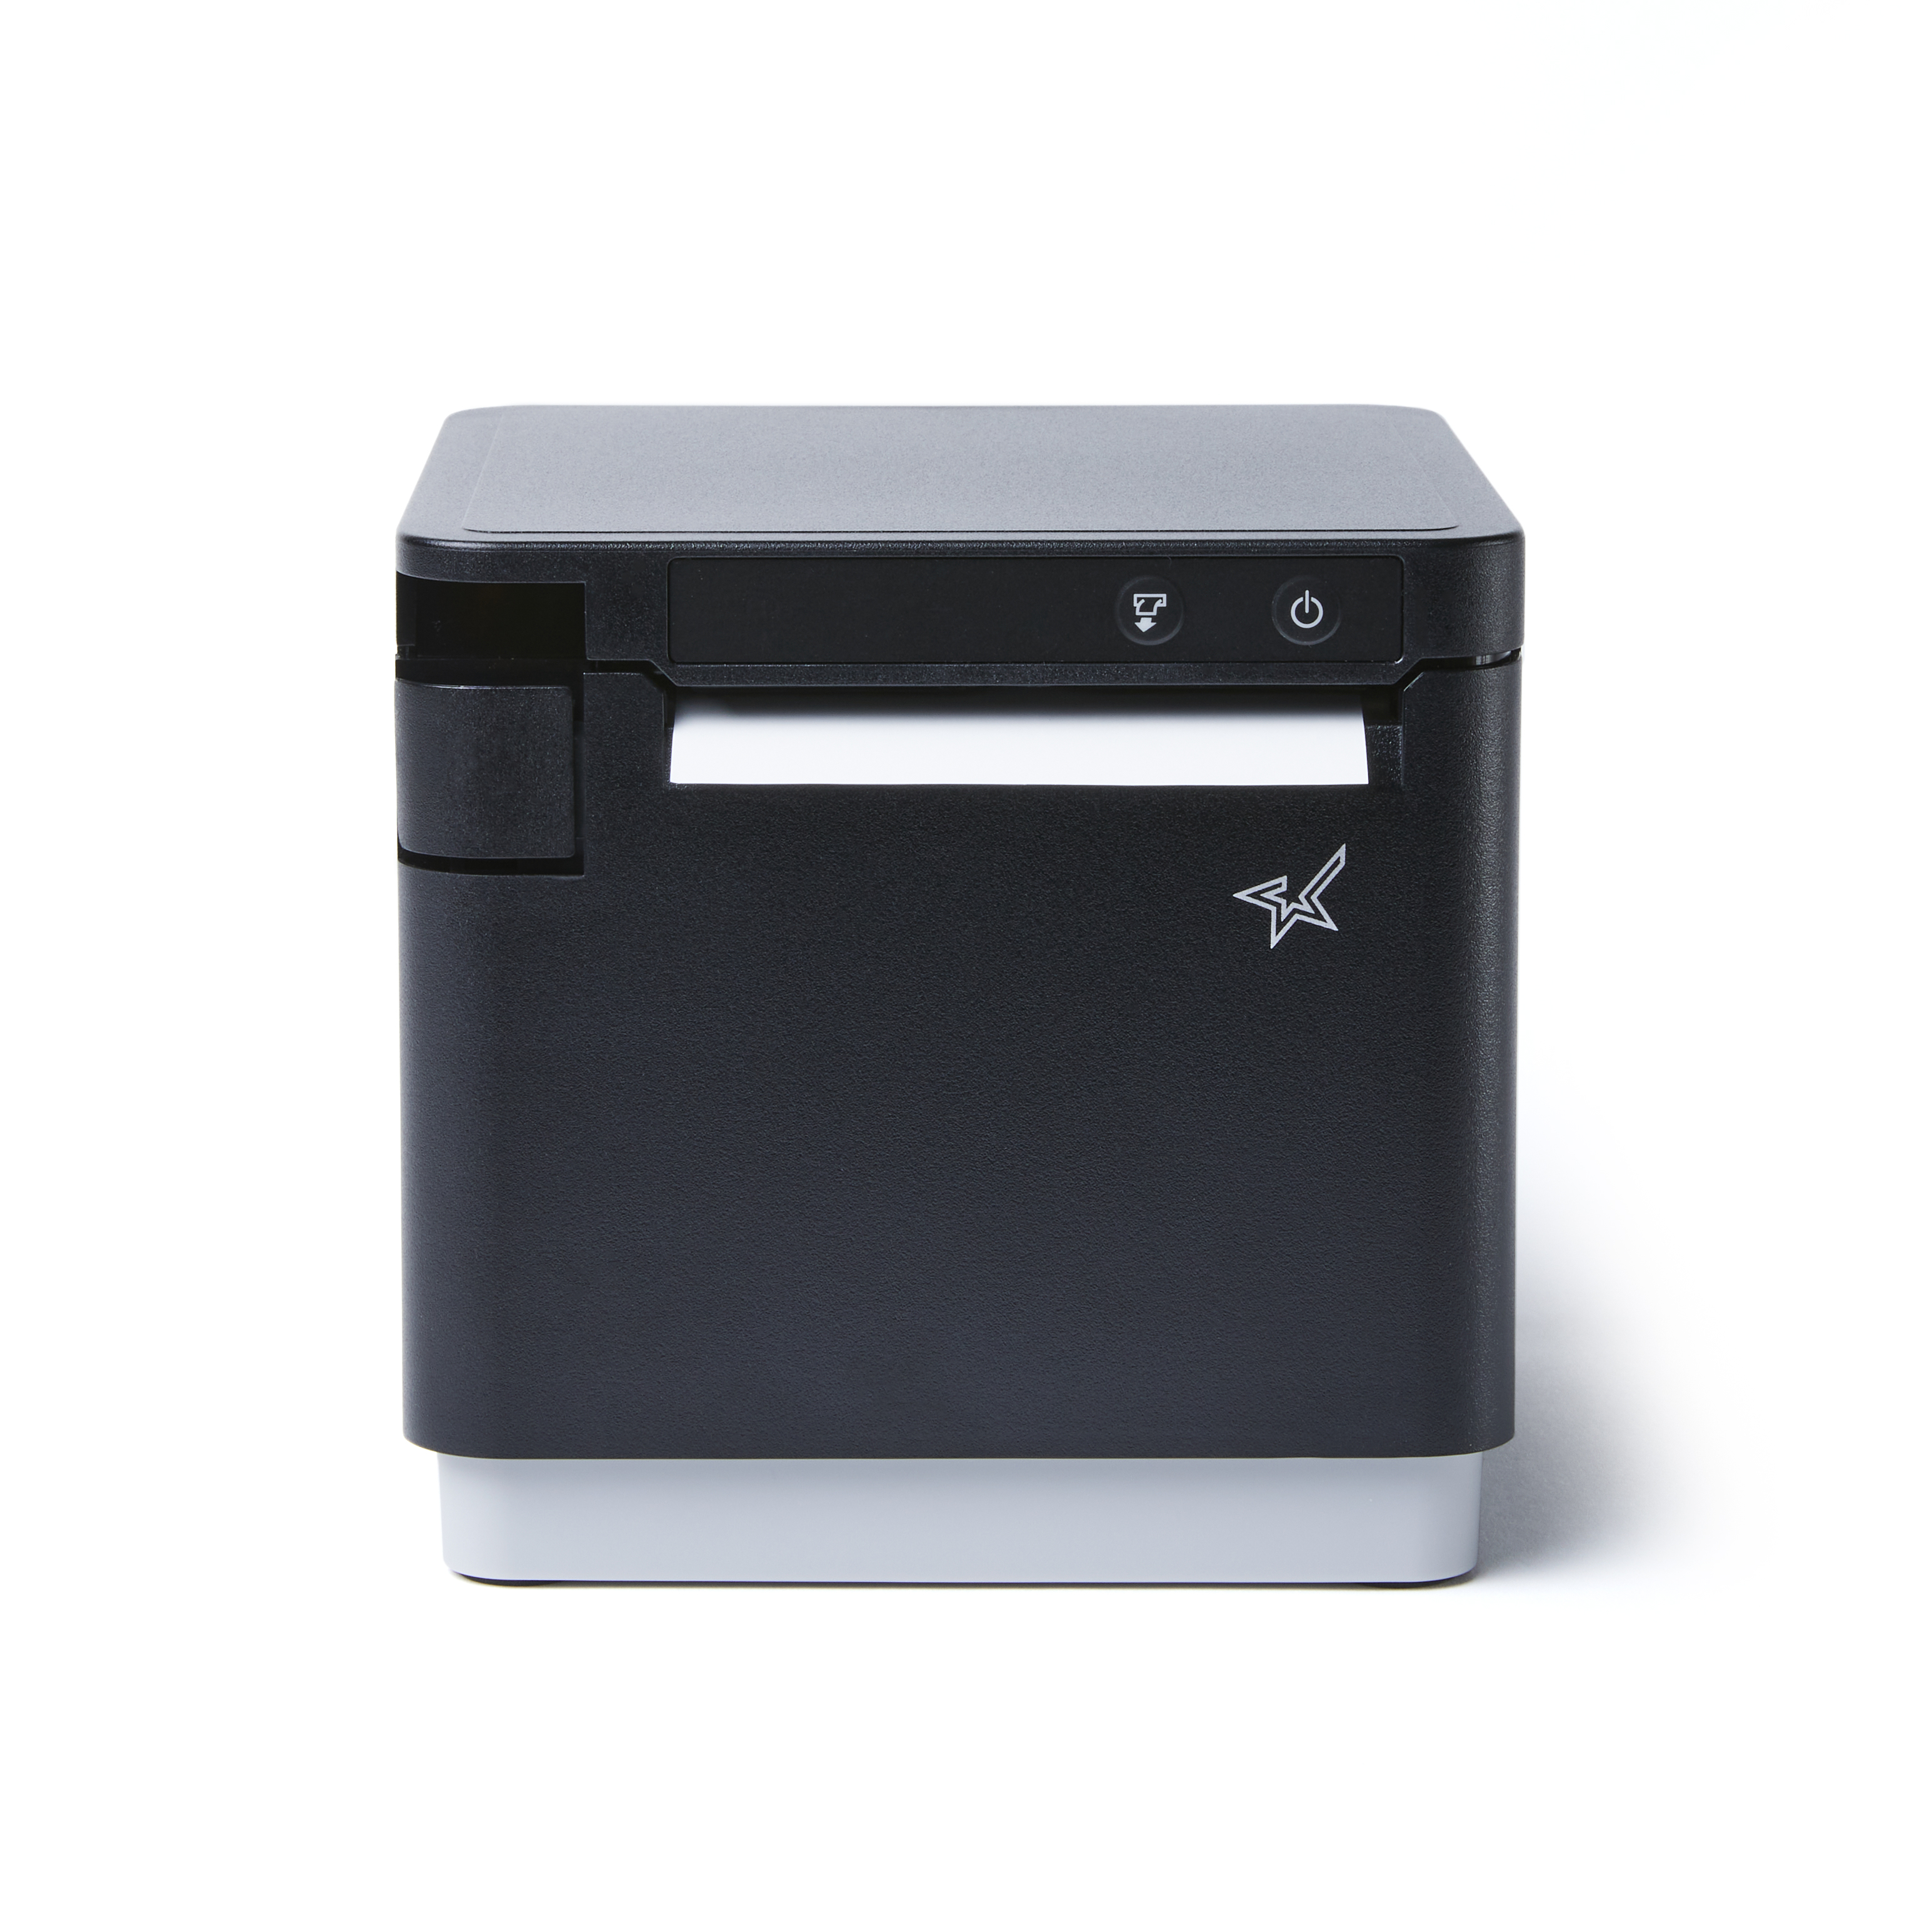
Star mC-Print3 |
|
| Power cable | 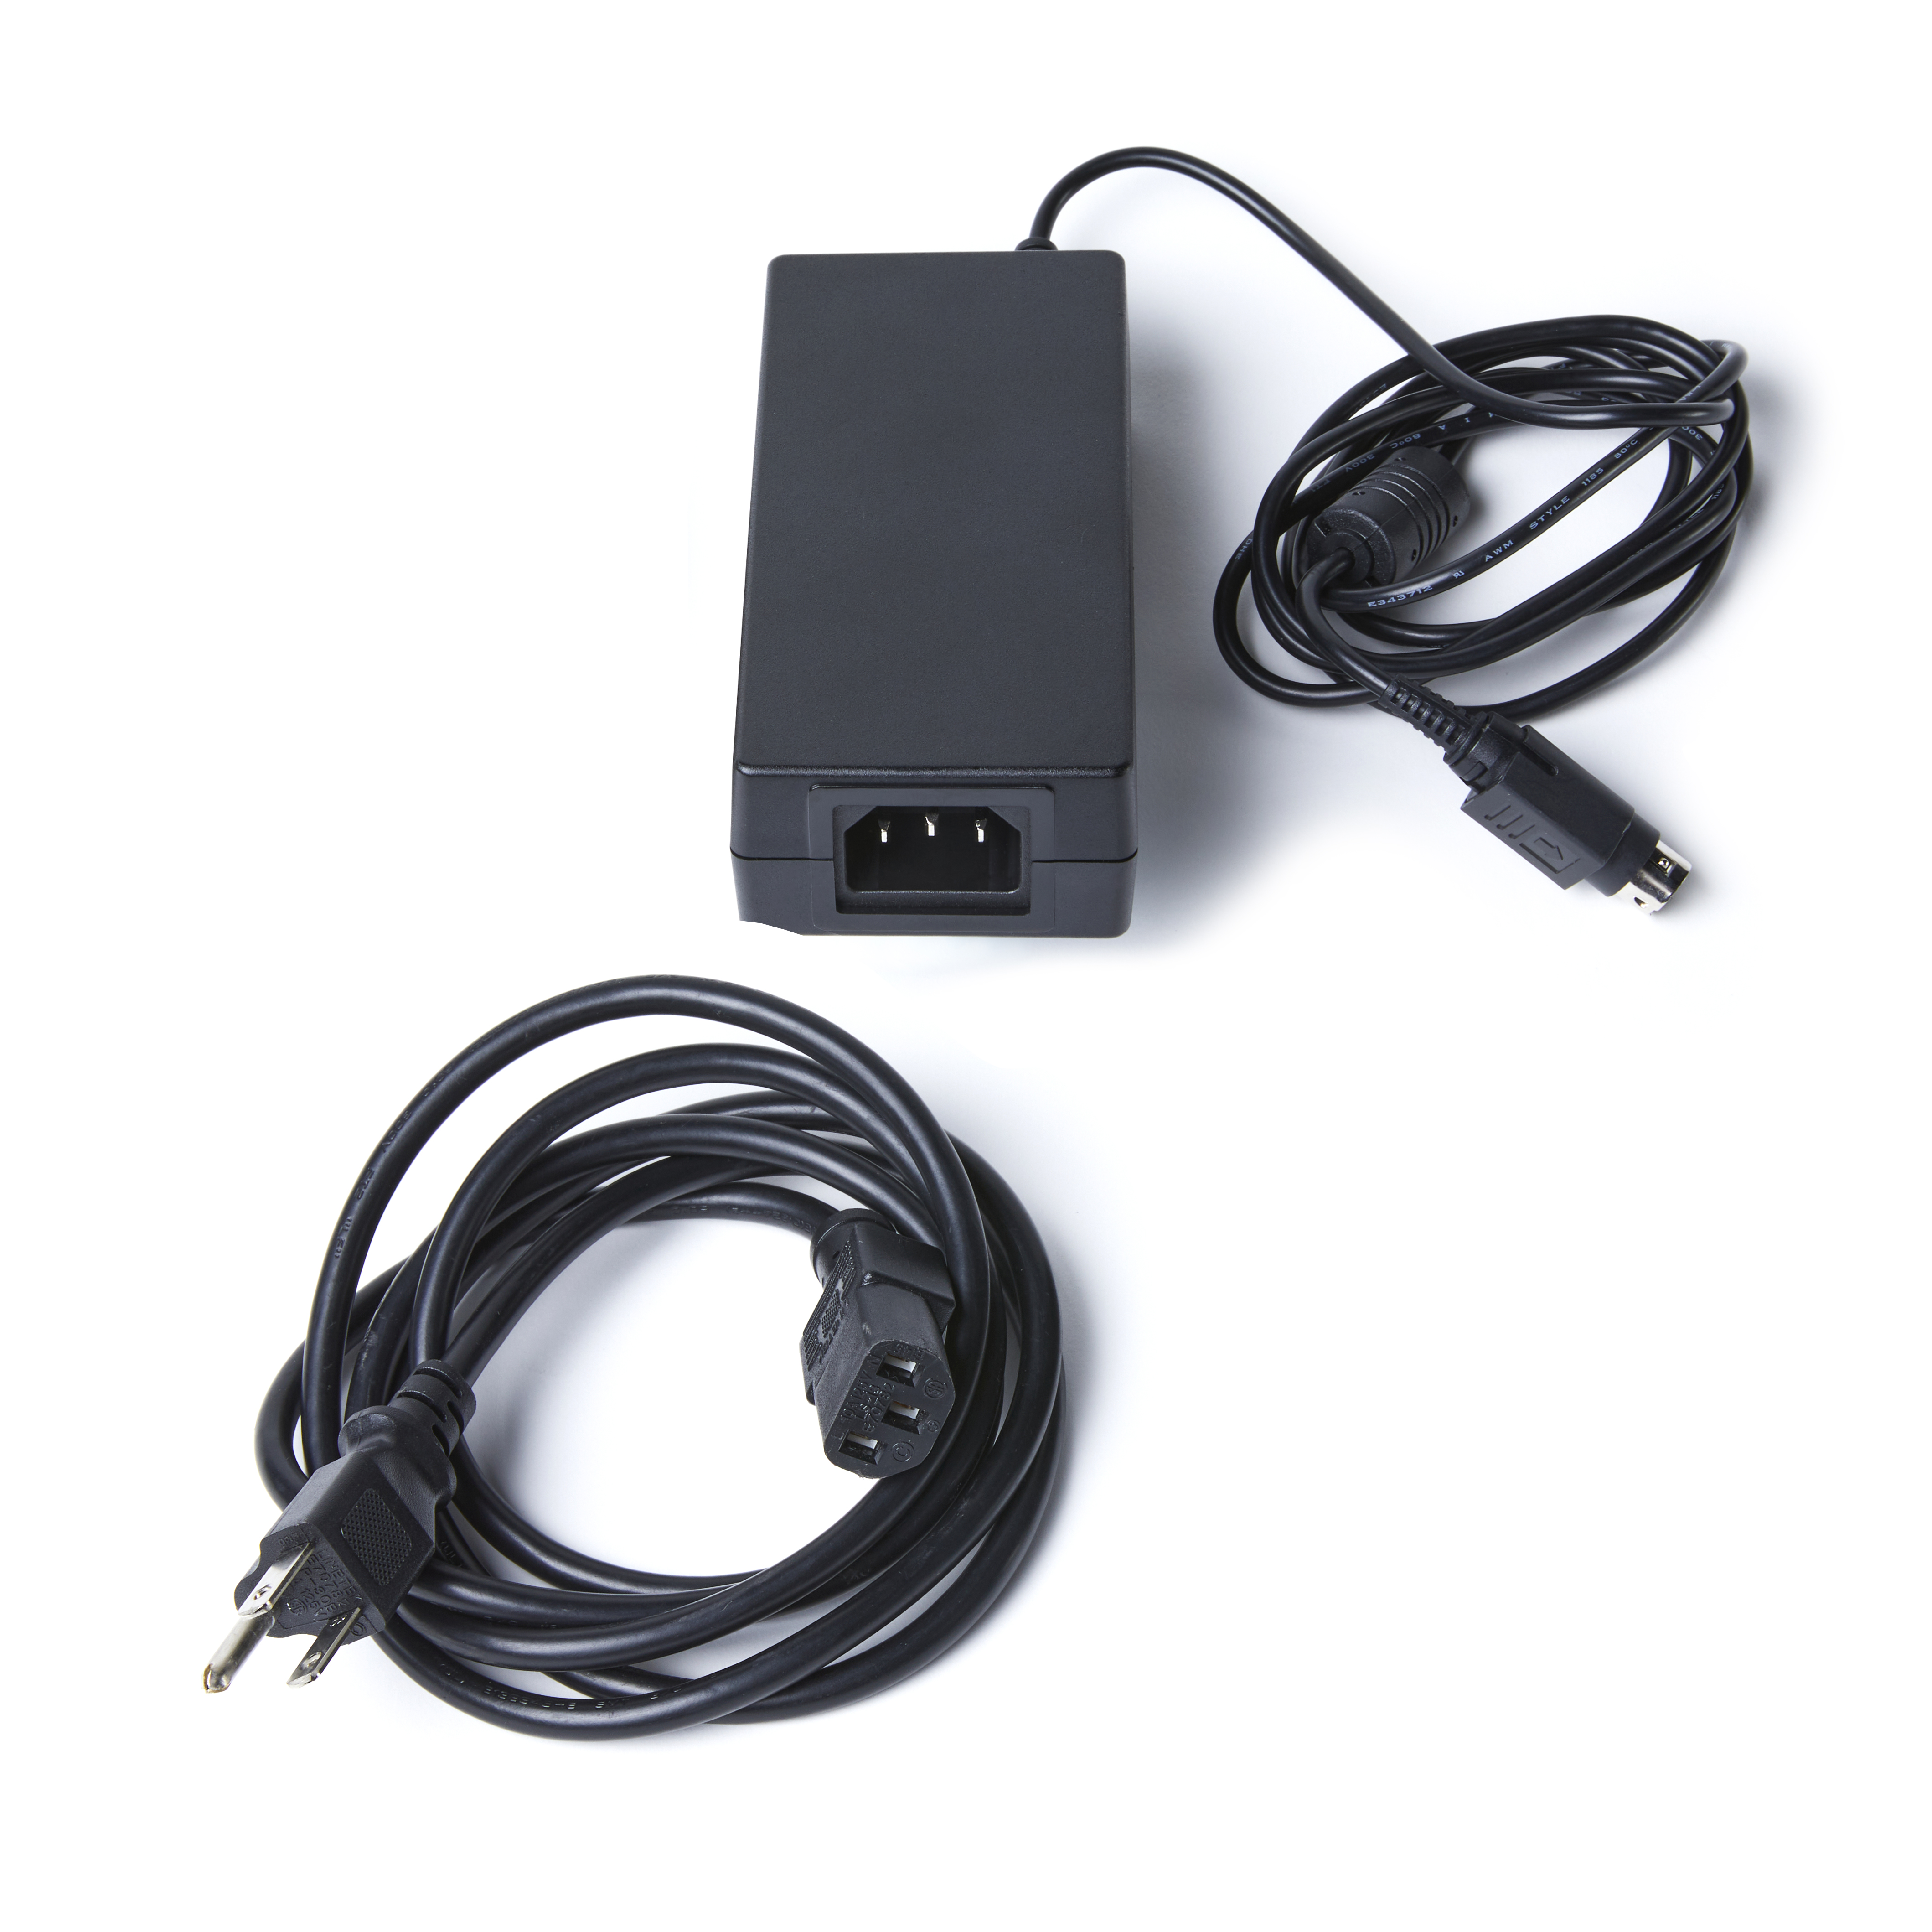 |
|
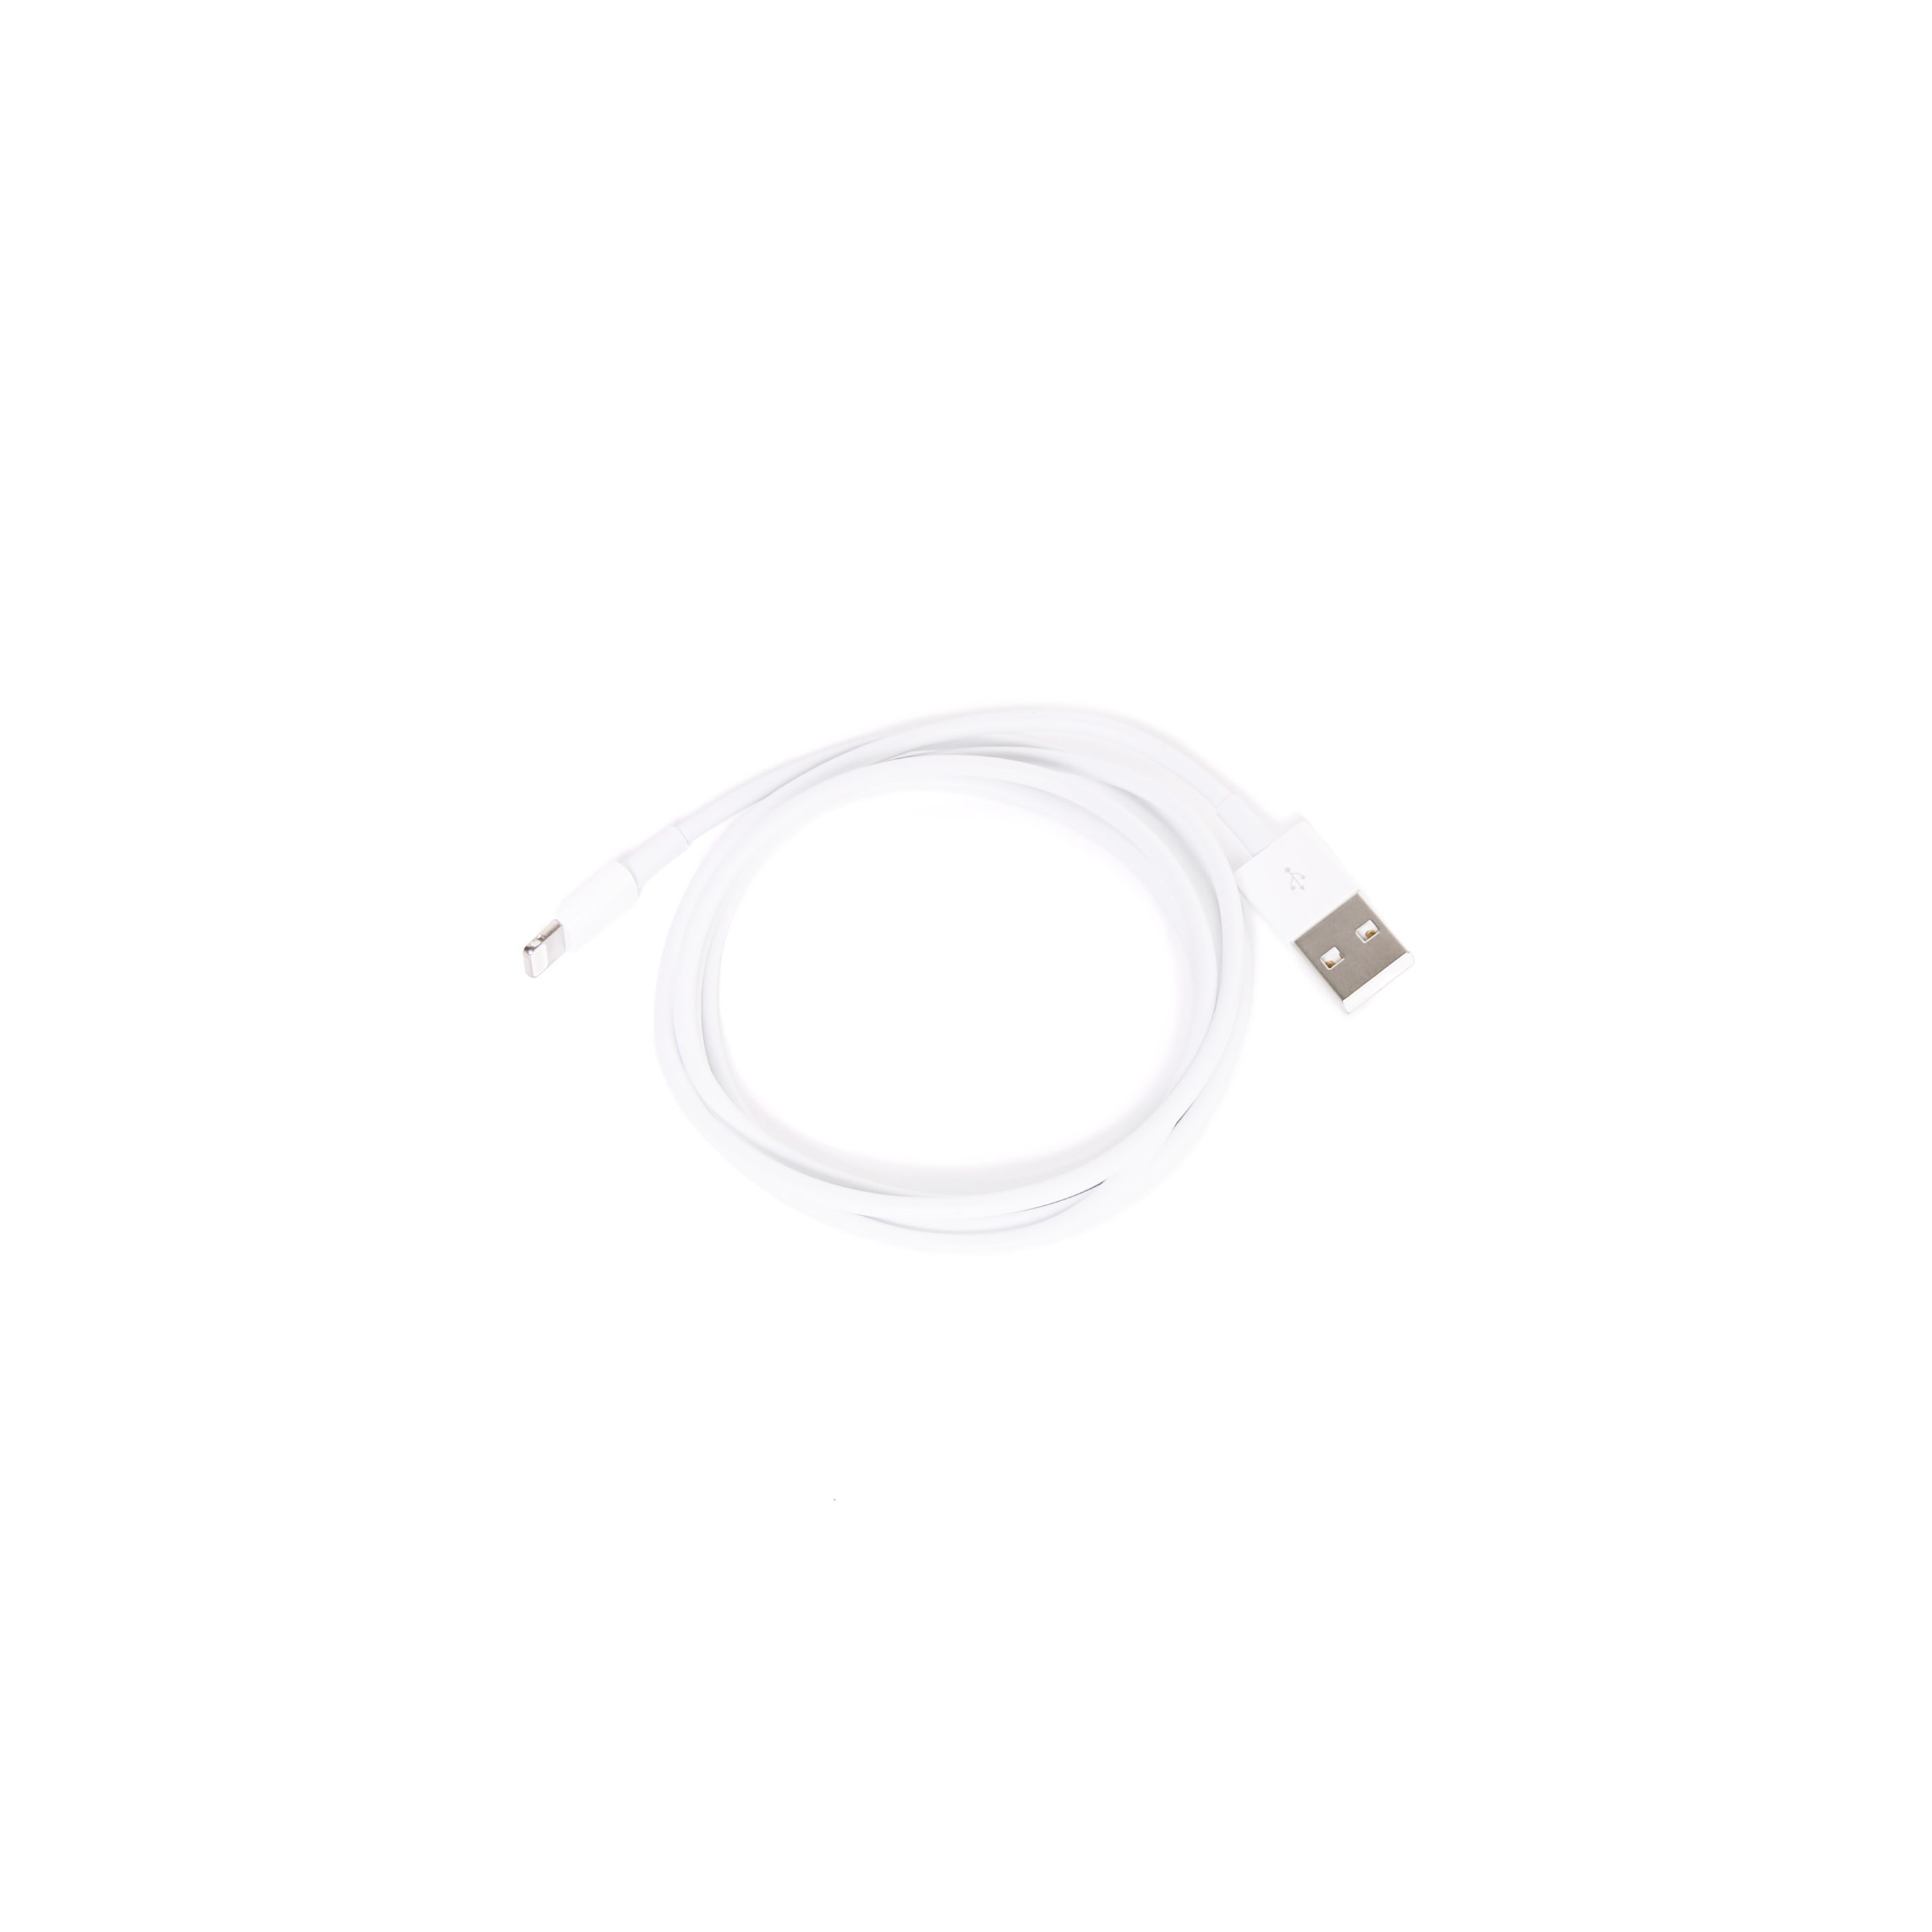
Lightning to USB cable (for iPads)
|
|
|
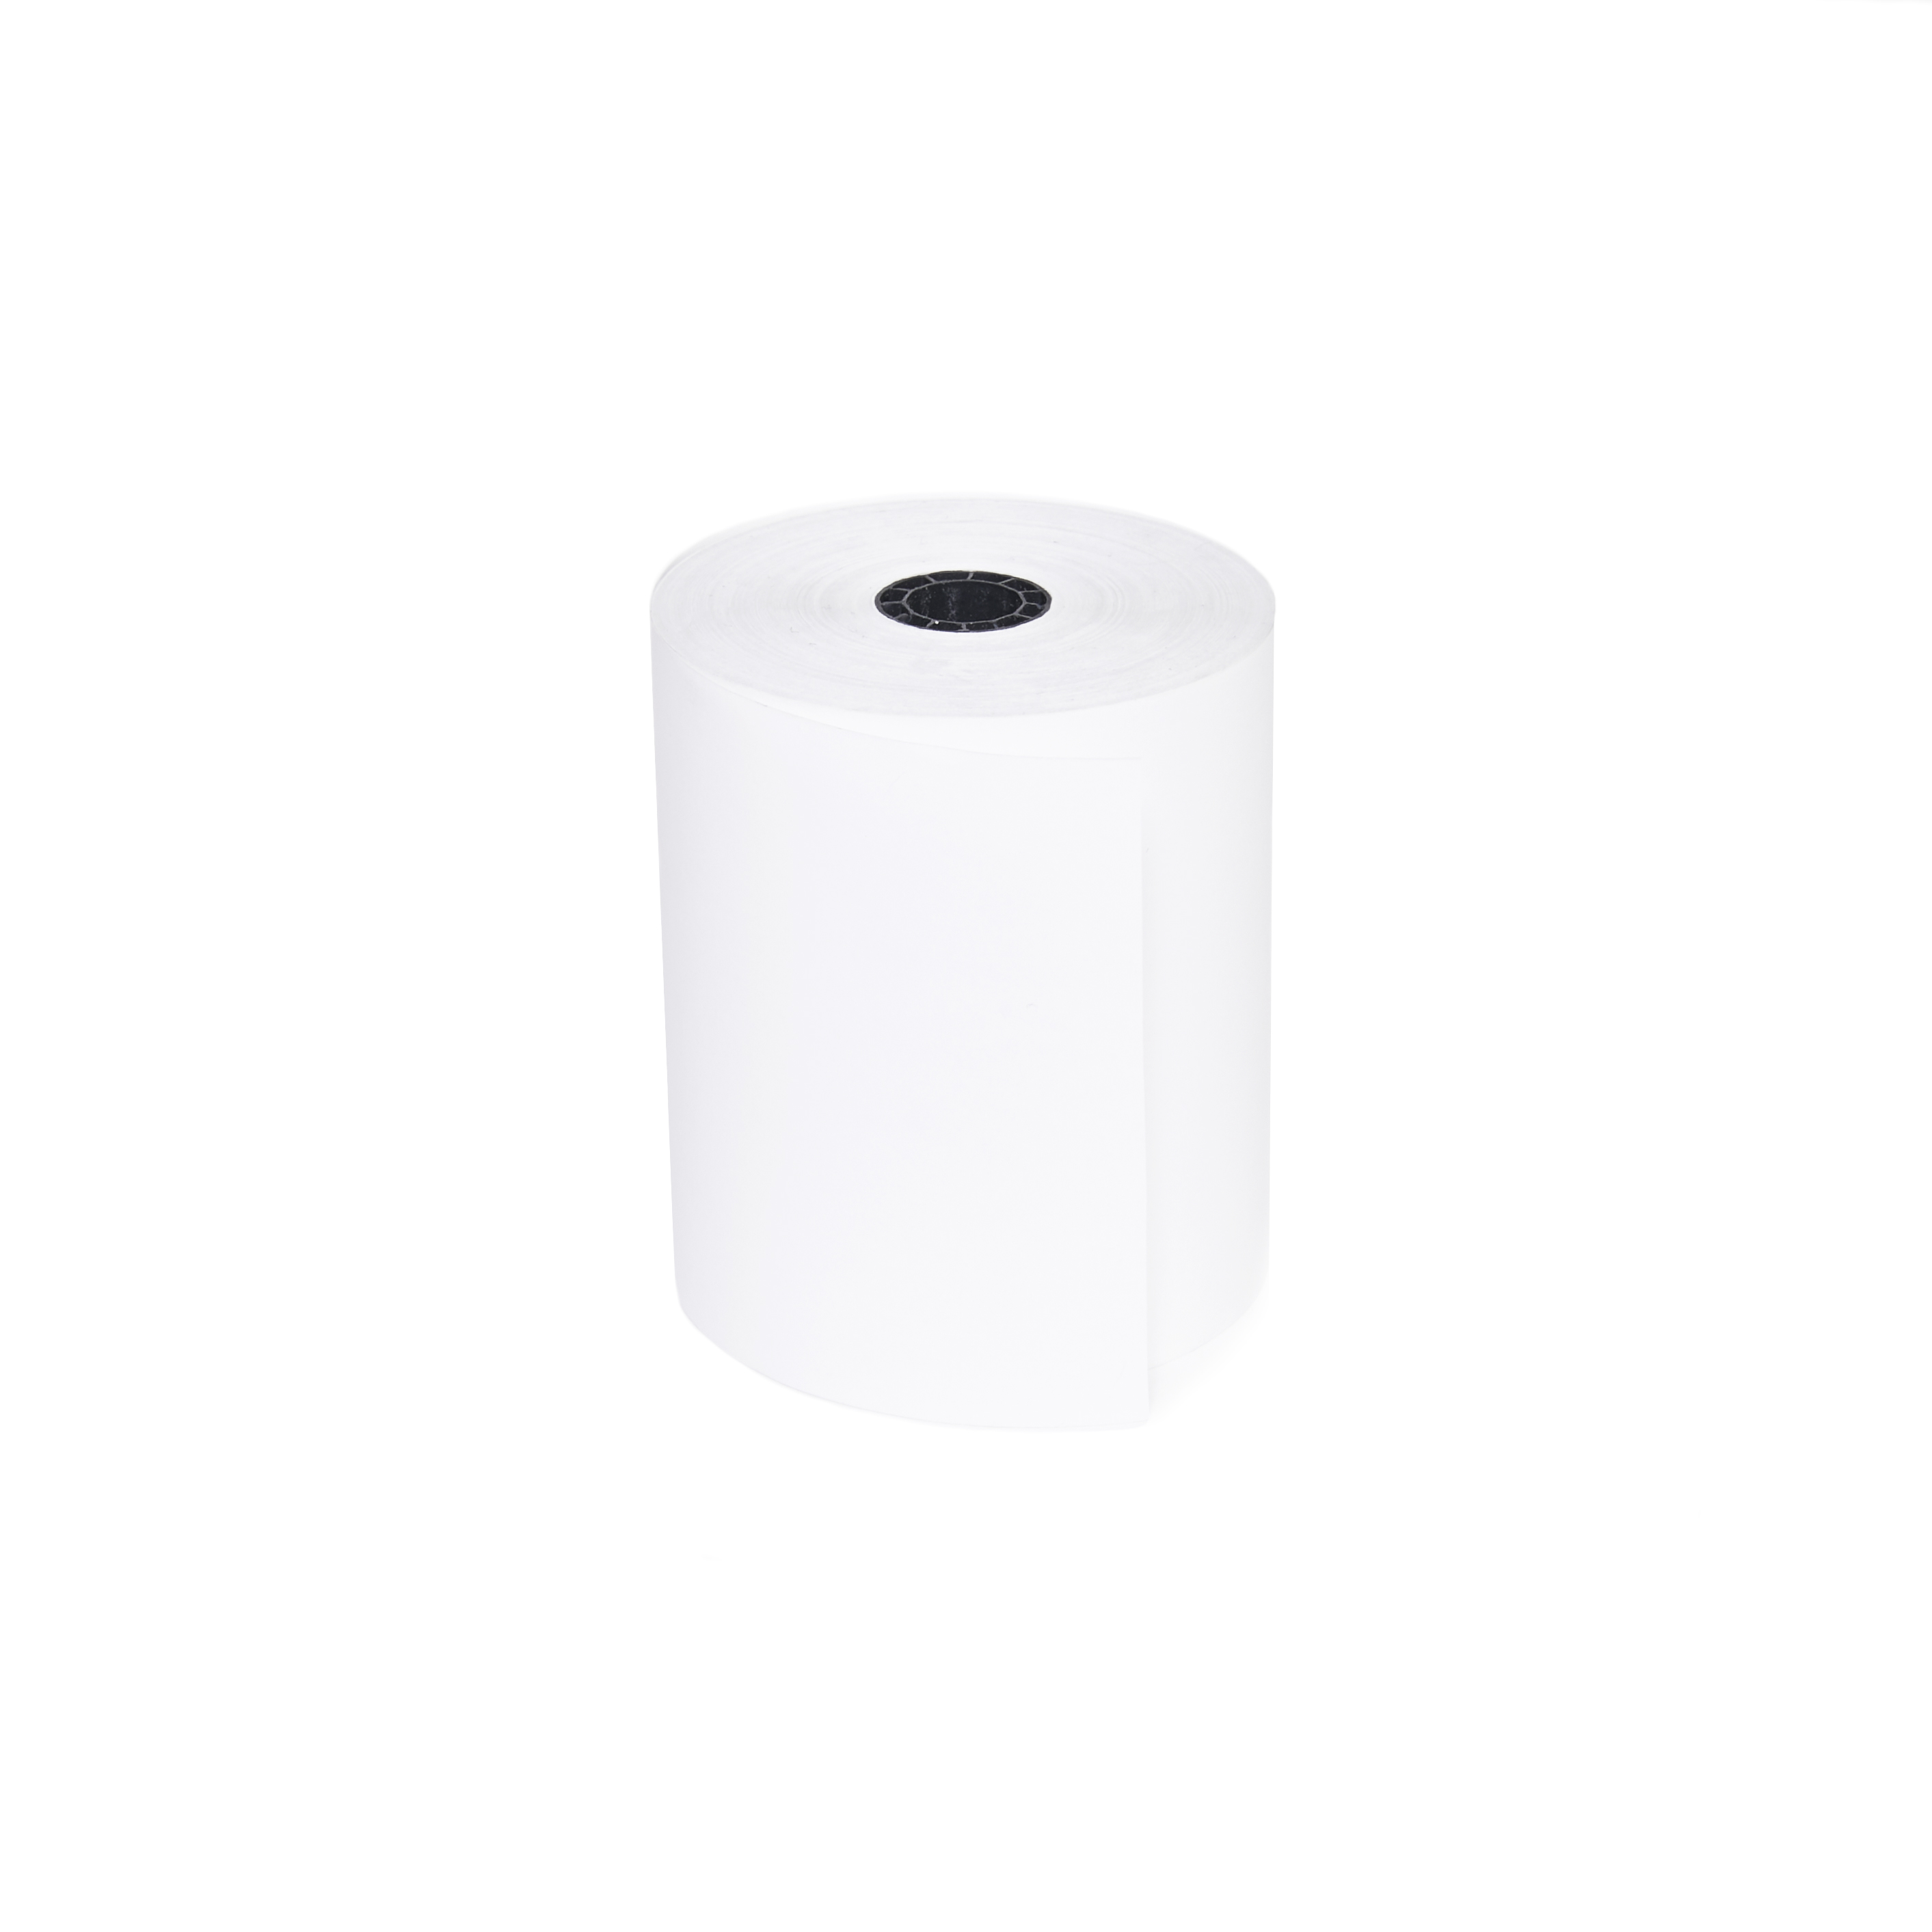
Paper roll
|
|
Once you’ve gathered your equipment, you’re ready to insert paper into your printer.
Inserting paper into the Star mC-Print3 USB
To insert paper into your printer:
- Pull the lever on the left-hand side on the front of the printer to open the printer’s cover.
- Insert the paper roll so the paper feeds over the top, while making sure the roll remains tight.

- Pull the paper out past the cutter at the front of the printer.
- Push the cover to snap the lever shut.
Once you’ve inserted paper into your printer, you’re ready to connect your printer to your iPad.
Connecting the Star mC-Print3 USB to your iPad
To connect your printer to your iPad:
- Remove the back cover of your printer.
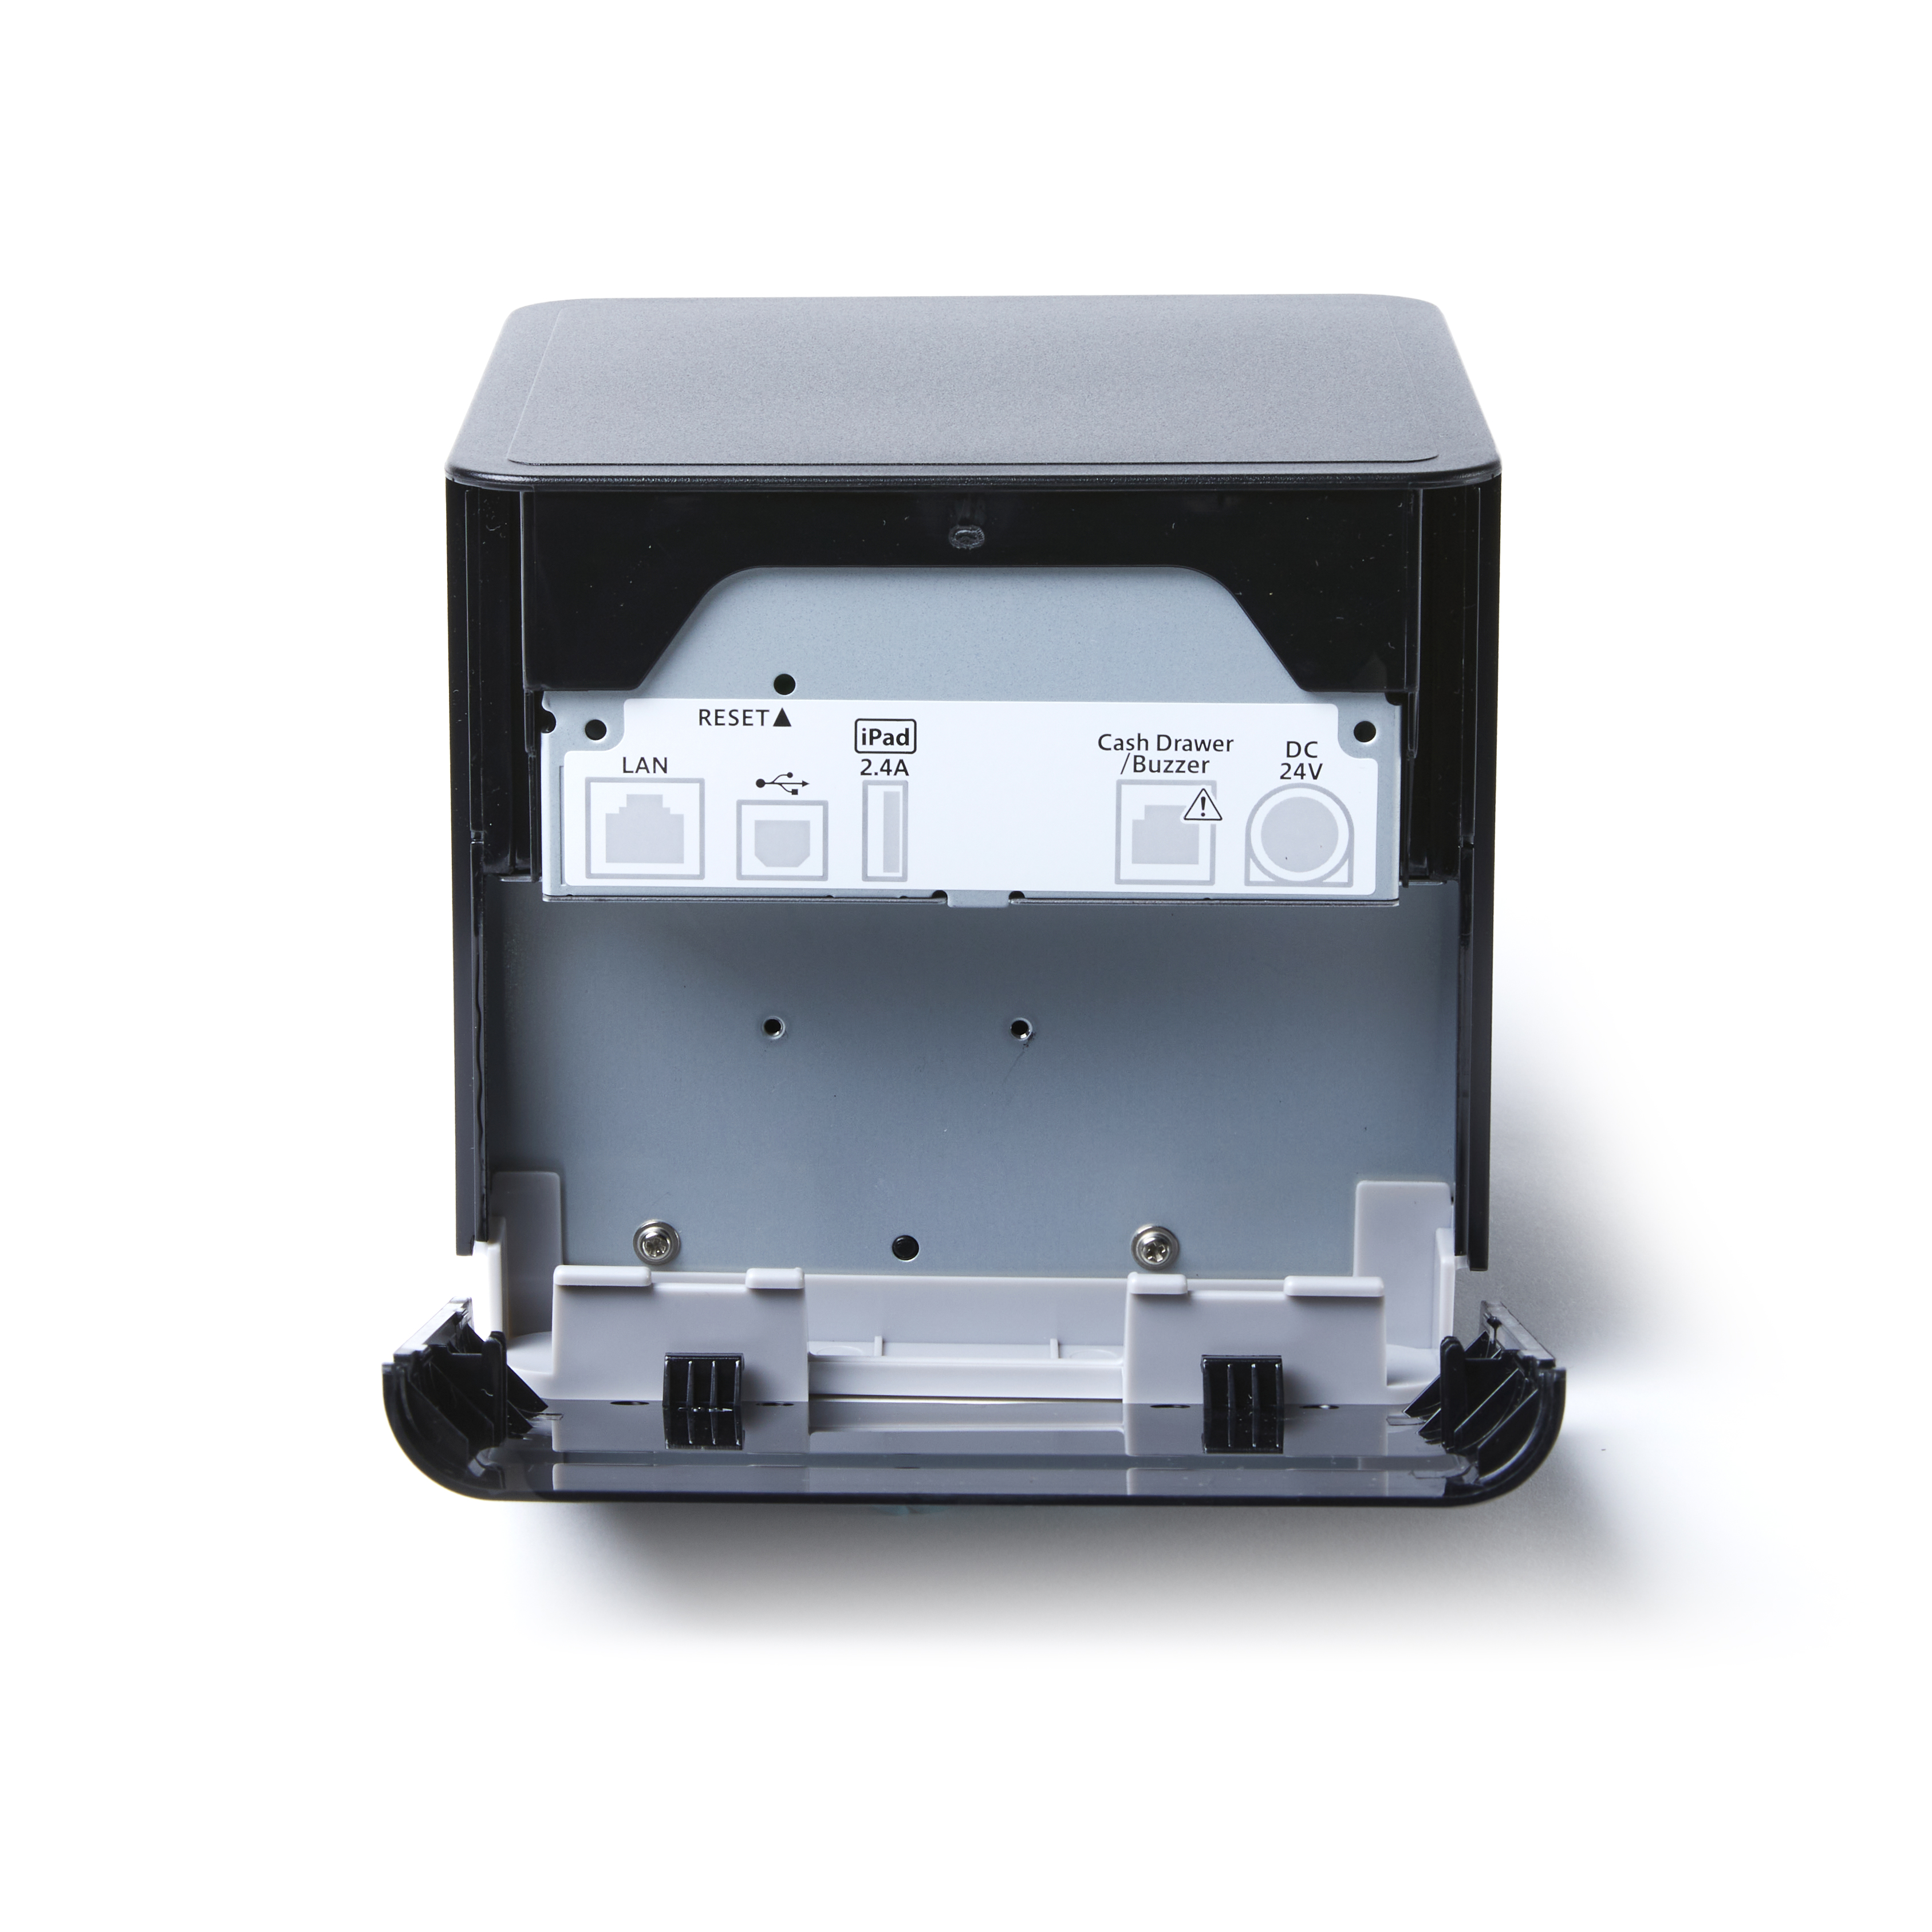
- Connect the lightning cable to your iPad.
- Connect the USB end of your lightning cable to your printer's USB port.
- Plug the power cable of your printer into an electrical outlet.

- Reattach the back cover of your printer.
- Push the power button to turn on your printer. You’ll know you’ve correctly turned on your printer when the LED light flashes green.
Once your printer is connected to your iPad, you’re ready to add your printer to the Restaurant Manager.
Adding the Star mC-Print3 USB to the Restaurant Manager
To add your printer to the Restaurant Manager:
- Log in to the Restaurant Manager.
- From the navigation menu, go to Printing > Printers.
- Select Add New Printer.
- Name the printer after its model, function, or location (e.g. Star mC-Print3, Kitchen Printer...).
- Select Star from the Type drop-down menu.
- Select MC Print 3 (USB) from the Model drop-down menu.
- Input 576 for the Ticket Width.
- (Optional) If you're connecting a cash drawer to this printer, then click the checkbox for Cash drawer attached.
- Click Save.
Once you’ve added your printer to the Restaurant Manager, you’re ready to print a test receipt.
Printing a test receipt
To print a test receipt:
- Log in to Restaurant POS.
- Tap Tools.
- The printers you've added to Restaurant Manager will appear.
Green: Printer is connected.
Red: Printer is not connected. - Tap Star mC-Print3 USB to perform a print test.
Once you’ve printed a test receipt, you’re ready to start printing tickets and receipts from your POS device.
What’s Next?
To create a printing template for your printer, check out Creating printer templates.